Installation · 10 min read
What Should You Check When Installing and Commissioning a Replacement Spiral Belt?
 Written bySpringSales Director, JBL Mesh Belt · 16 years in metal conveyor beltsProjects in United Kingdom · USA · Australia · Brazil · South Korea · Spain · MalaysiaPublished
The new belt has arrived and the freezer is stopped. Every hour counts — and one belt fitted the wrong way round can cost a whole shift.
Short answer
Commission a replacement spiral belt in five stages: confirm drawing, direction and orientation before installation; check joins, tracking, support and clearance while installing; run a slow no-load test for tracking, engagement and noise; then a loaded test; and close with photos, measurements and a test record.
At a Glance
| Product | Application | Key point | Buyer type | What to send |
|---|---|---|---|---|
| Spiral freezer and cooling belts | Fitting a replacement belt | Five stages, each with a record | Maintenance teams, service engineers, OEMs, distributors | Drawing, direction, drive details before shipment; test photos after |
Installation is done by your maintenance team or the freezer maker's service engineer, not by me. What I can do is make sure the belt arrives ready, and give you the checklist I would want followed. Here it is, stage by stage.
01What should be confirmed before the belt is installed?
Most installation problems are decided before anyone touches the belt. They are decided by what was confirmed — or not — at order time.
Short answer
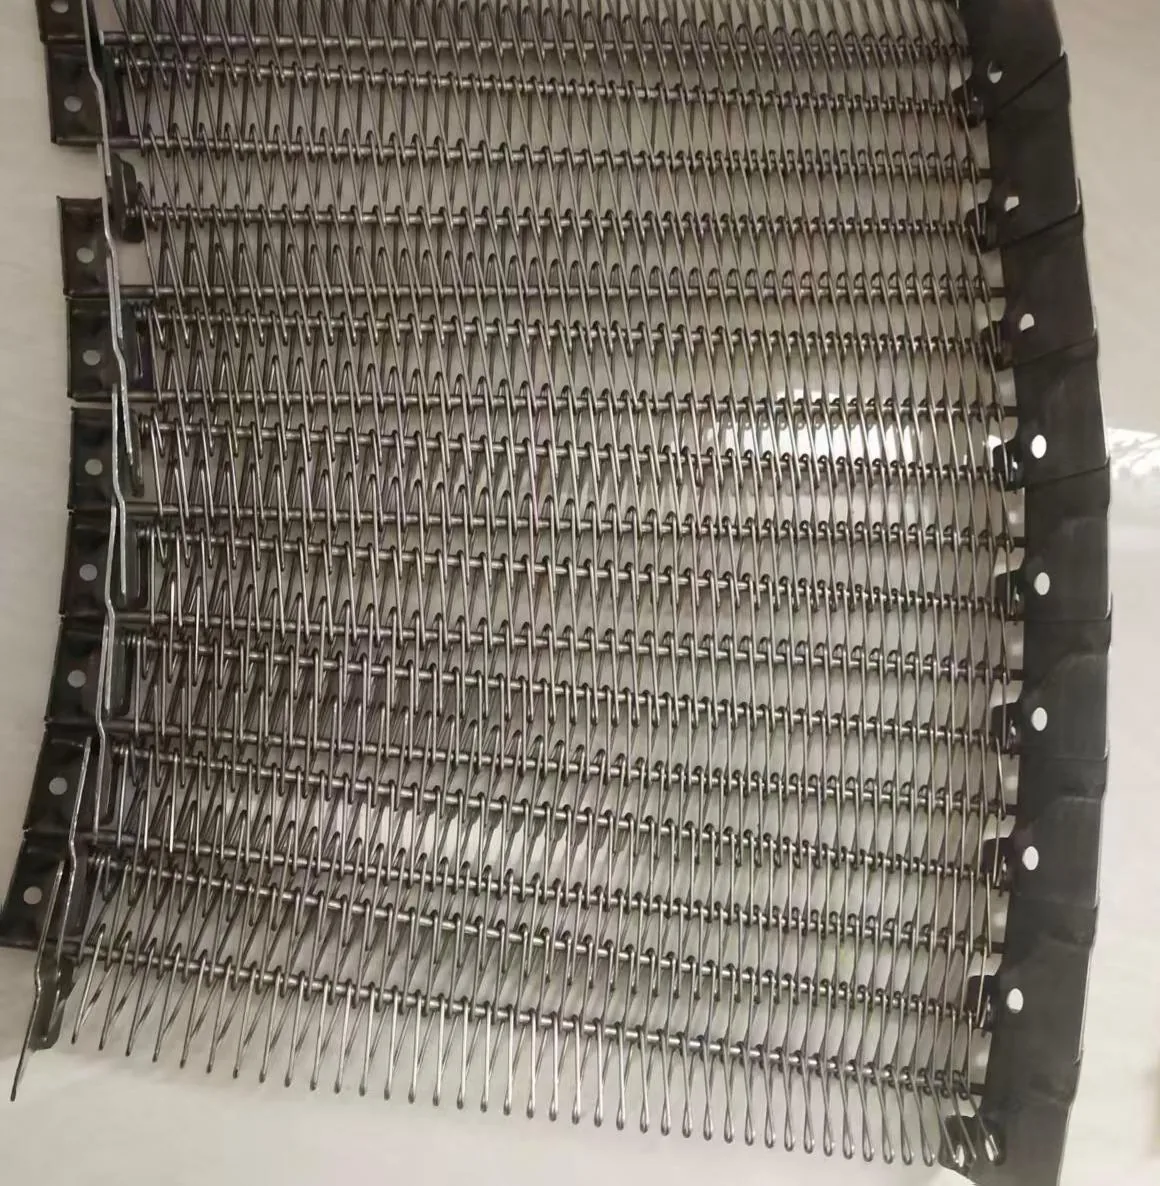
Before installation, confirm the drawing, the running direction (clockwise or counter-clockwise), the belt orientation — which edge is inside and which side is up — the sprockets and the drive interface. Check the shipping list against what arrived: sections, spare rods, sprockets.
| Check | Why it matters | Where it was set |
|---|---|---|
| Confirmed drawing | The reference for every later check | Order confirmation |
| Running direction (CW / CCW) | A reversed belt does not turn correctly | Confirmed at inquiry |
| Belt orientation | Inner edge and top side must be right | Drawing and section labels |
| Sprockets and drive interface | Teeth must match the belt pitch | Engineering review |
| Shipping list | All sections, spare rods and parts present | Packing record |
Running direction is the first thing I confirm at inquiry, because a belt built for one direction cannot simply be turned round. On our engineering page, running direction is listed as a known risk for spiral and self-stacking belts, and it is confirmed at inquiry.
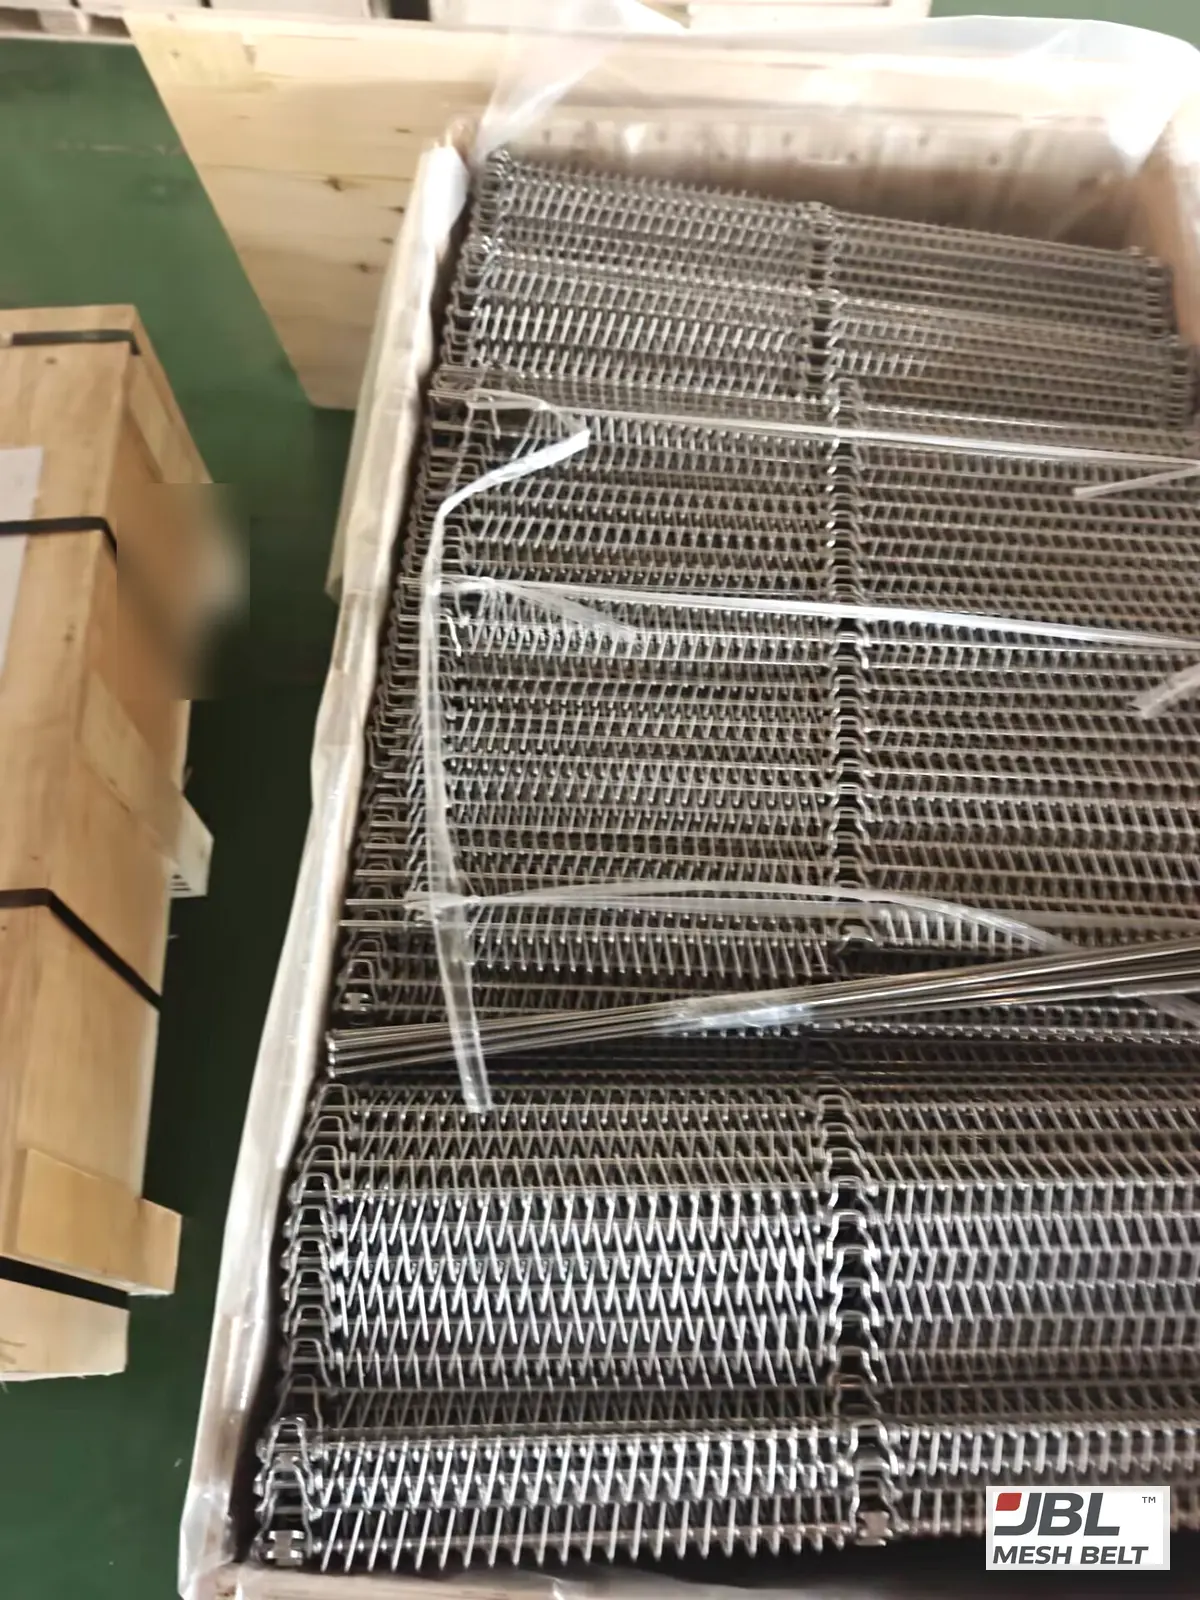
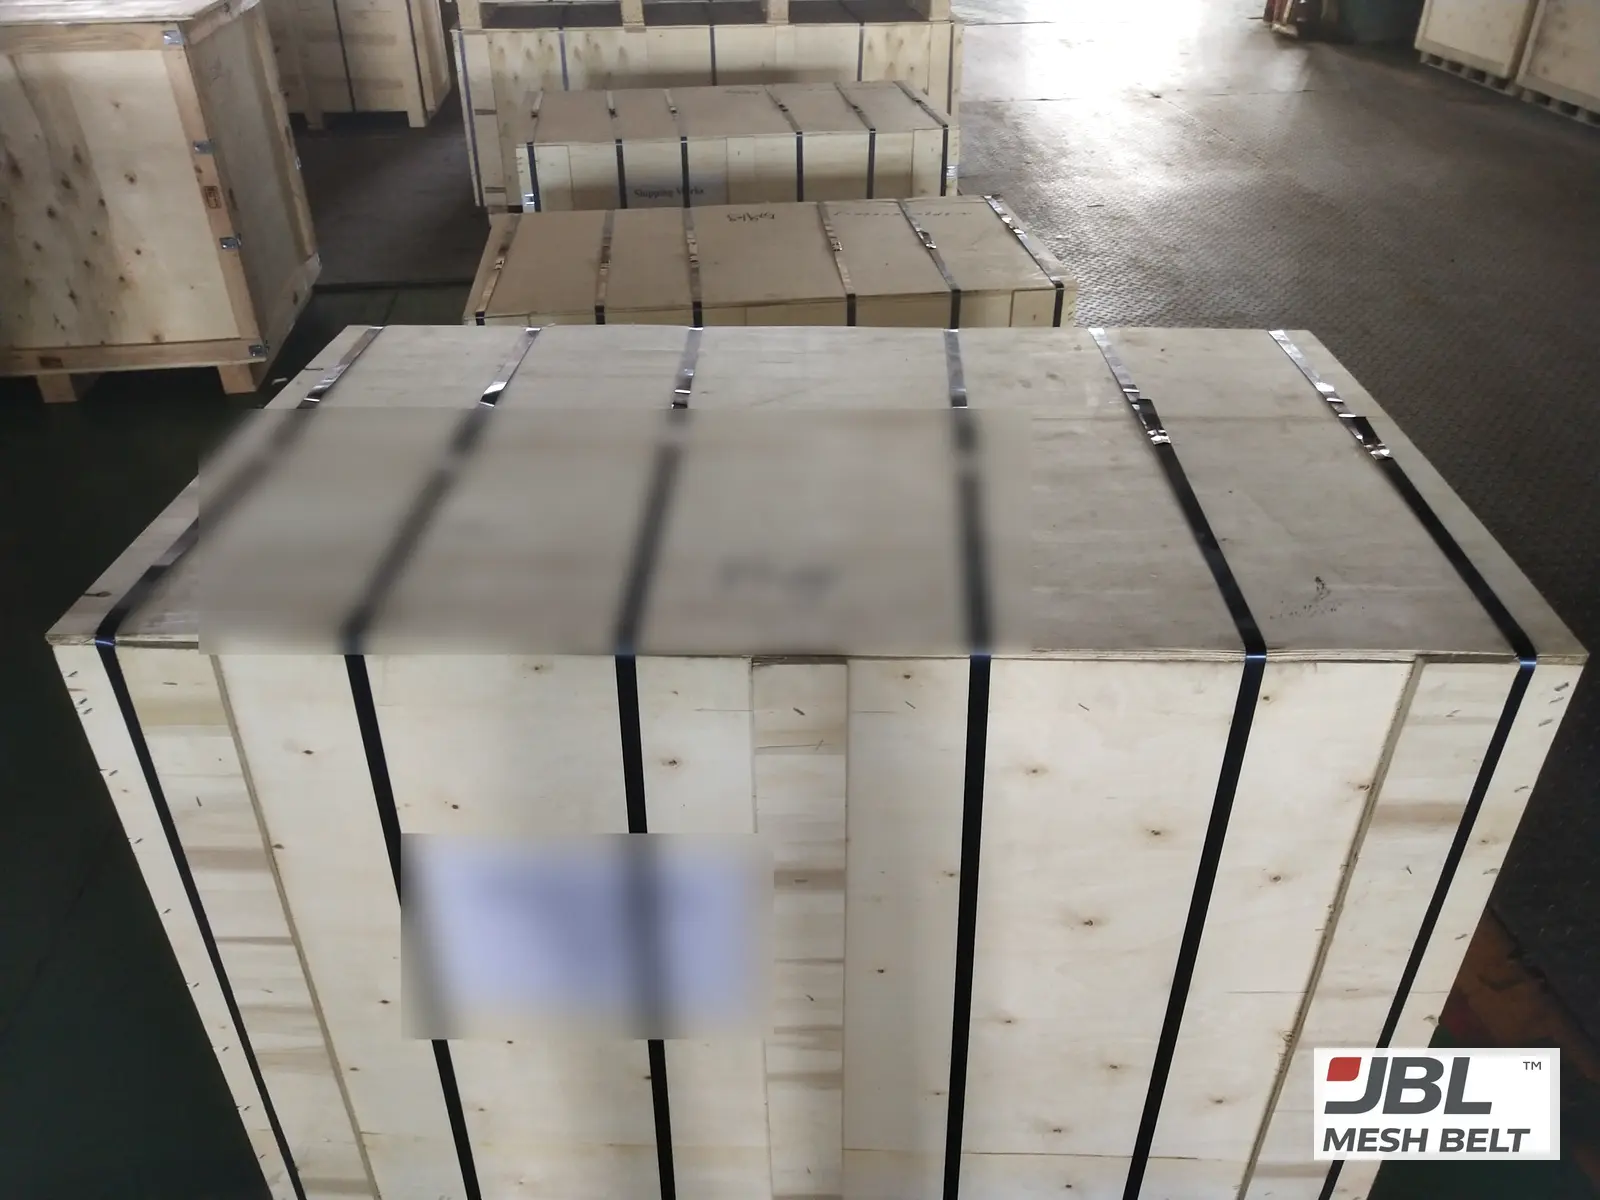
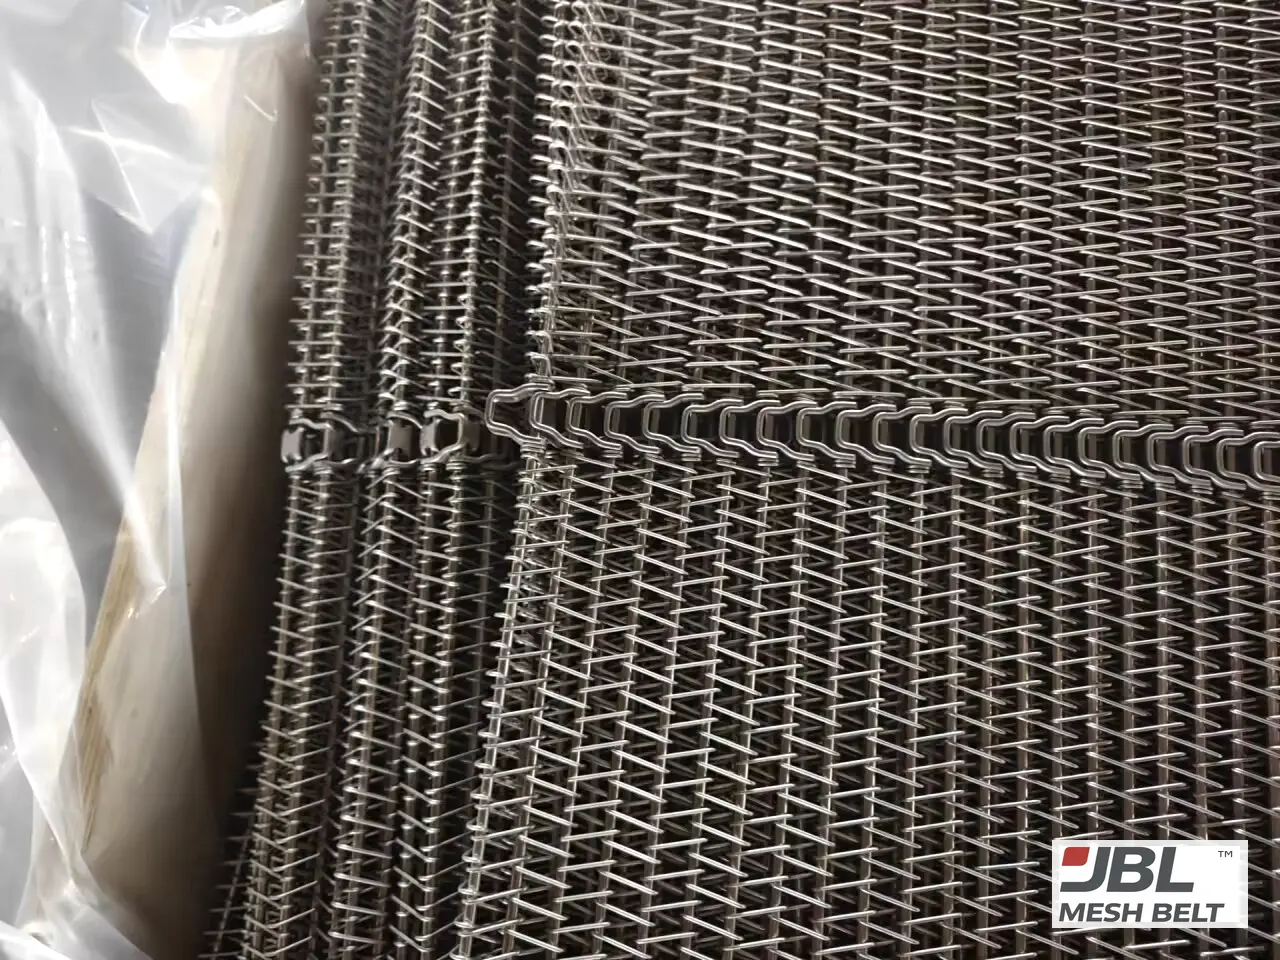
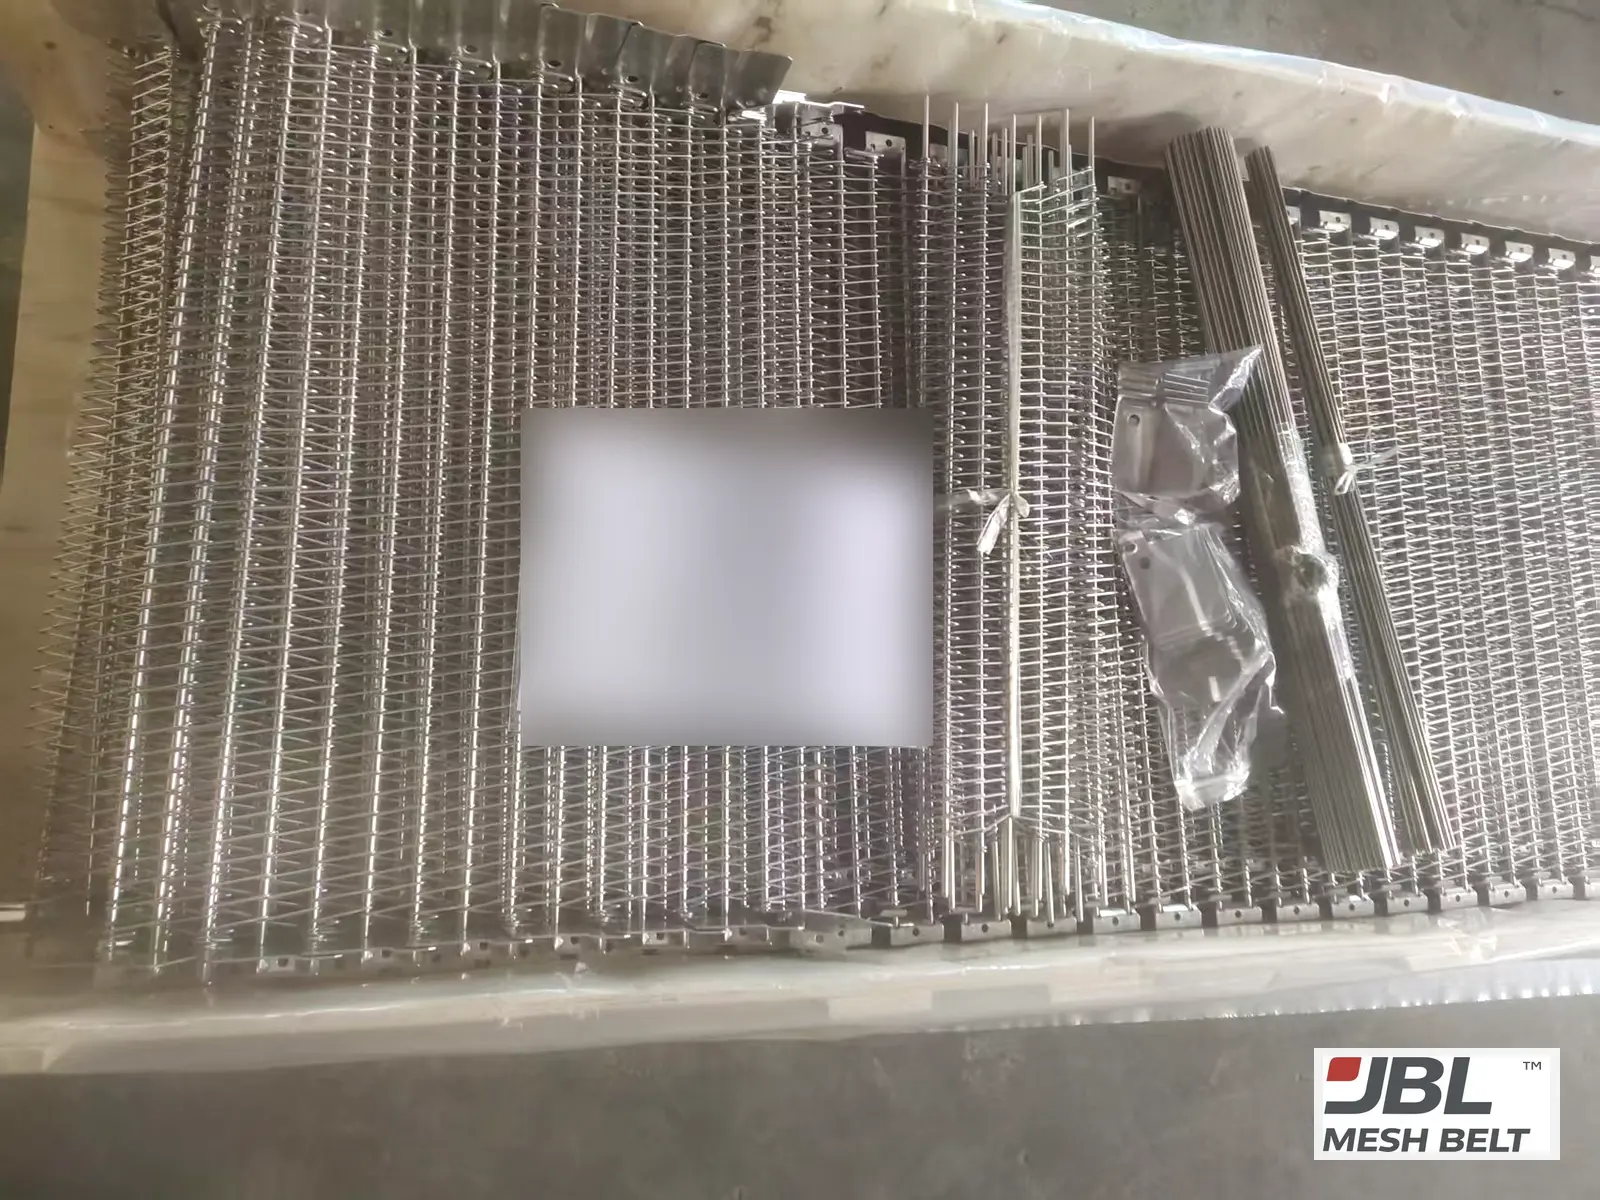
When the belt arrives, compare it with the shipping list before you open the freezer. In Melbourne, the belt shipped with spare rods and the sprockets, with a shipping list on top. In Brazil, the crates held spare rods and side plates. Knowing what you have saves time when a join needs an extra rod.
Lock out the line before any work on the belt or drive. The US rule on controlling hazardous energy describes the procedure; your site will have its own.
02What should be checked while the belt is being installed?
A spiral belt goes in section by section. Each join and each tier is a chance to catch a problem early.
Short answer
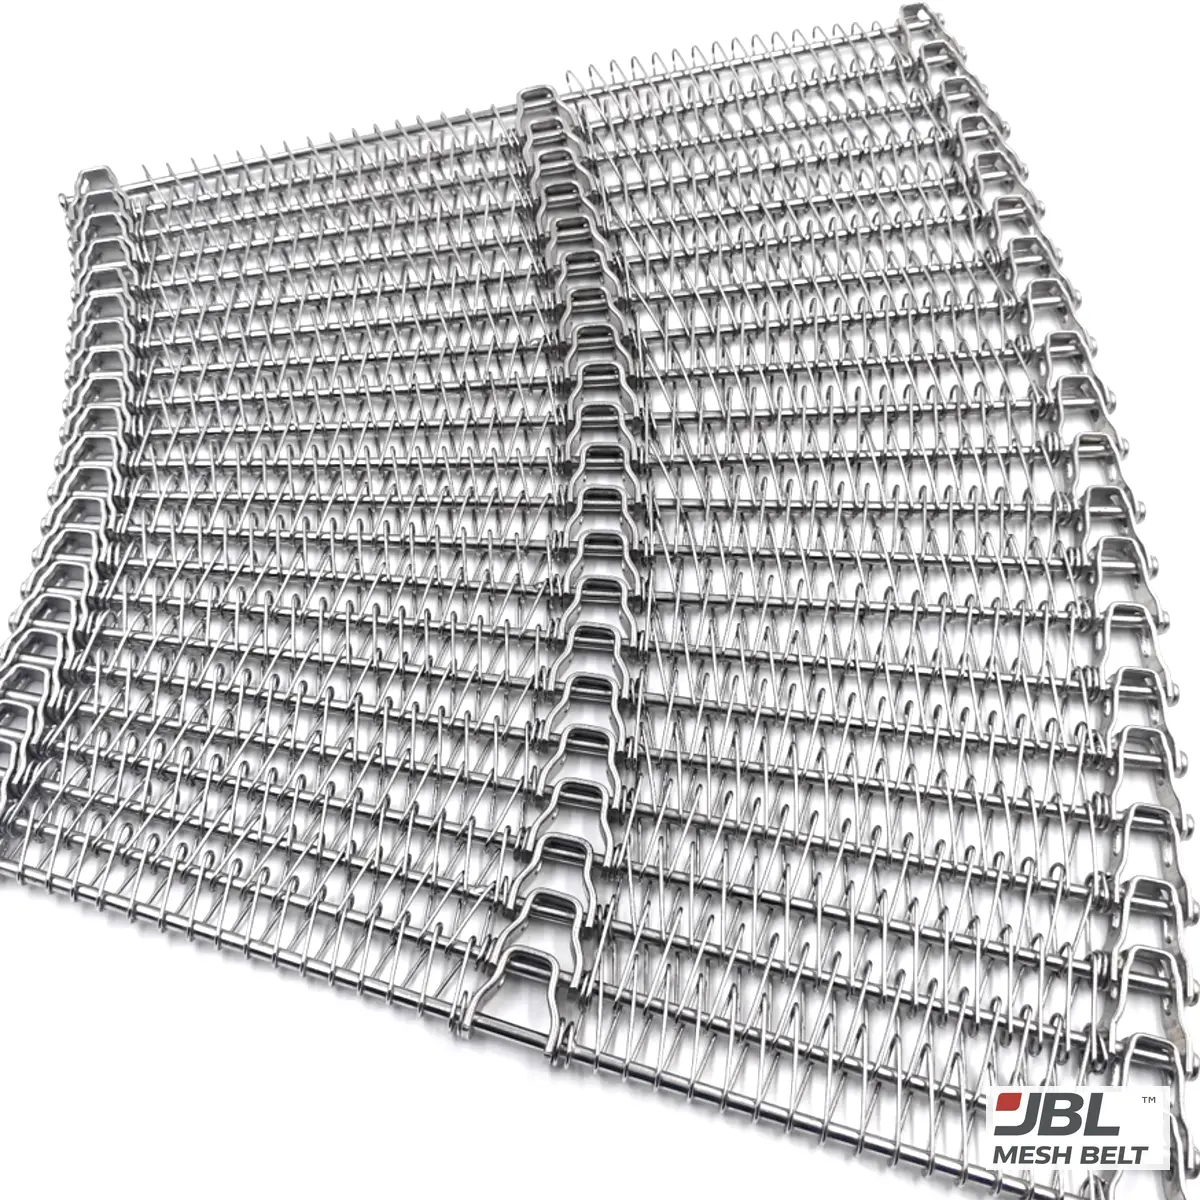
While installing, check each join (splice) is complete and the rods are secured, the belt tracks centrally, it is supported on every tier, nothing catches the edge, and there is clearance between tiers and to the guides. Fix each point before moving on.
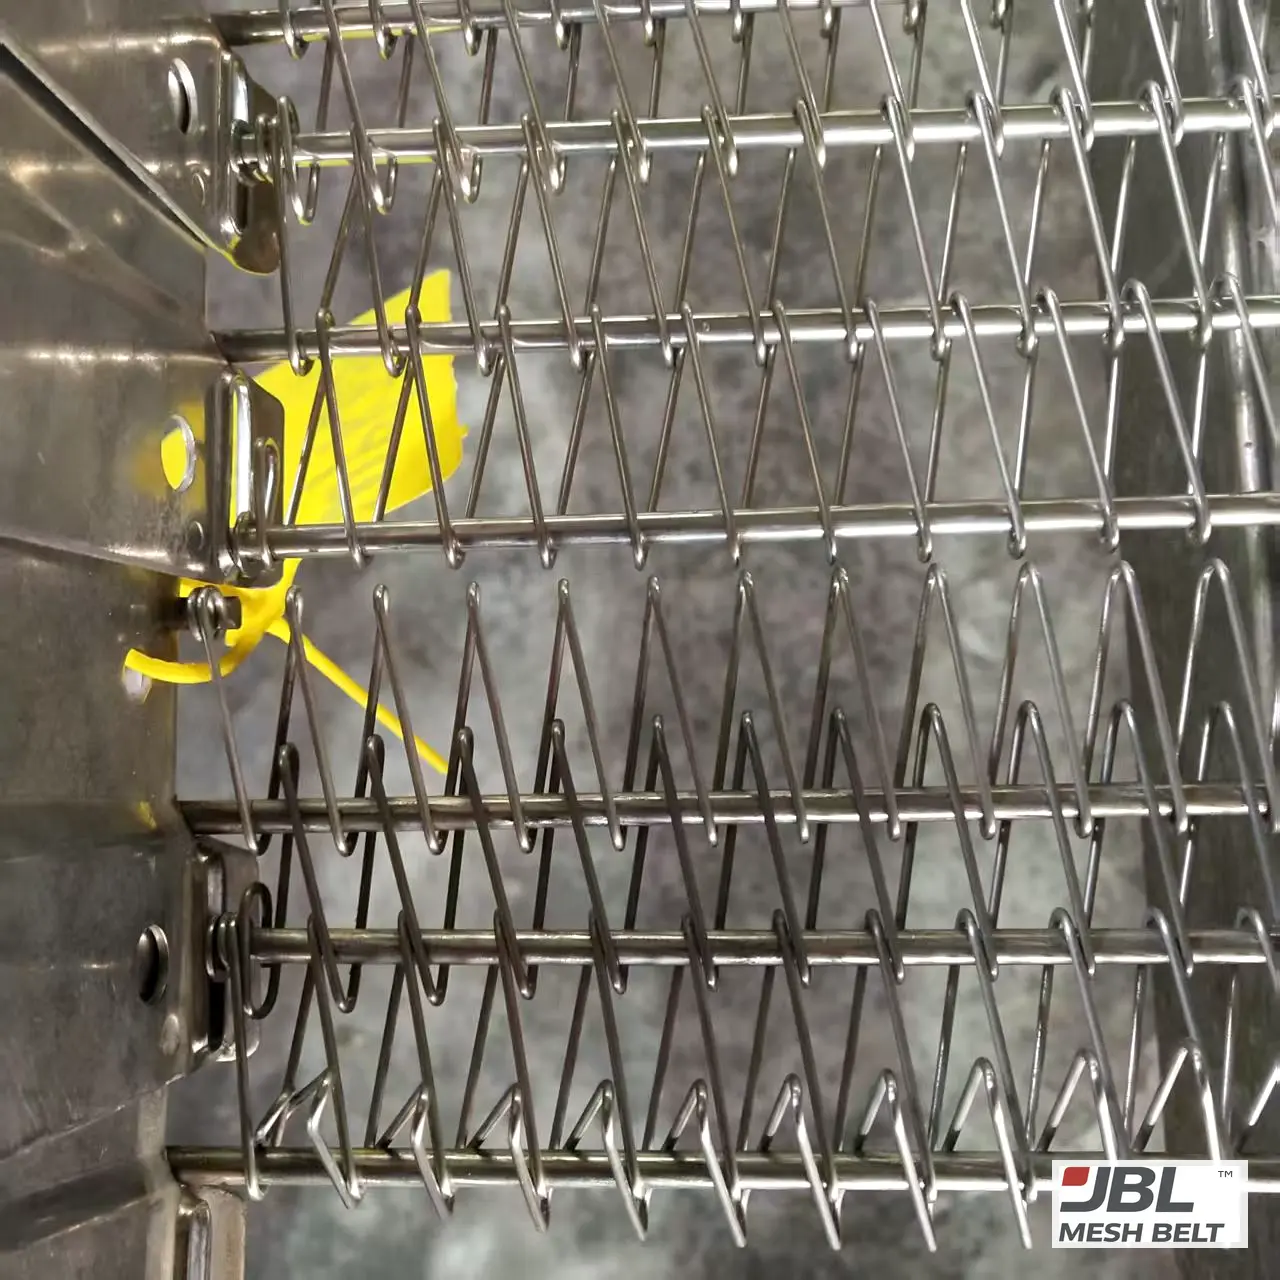
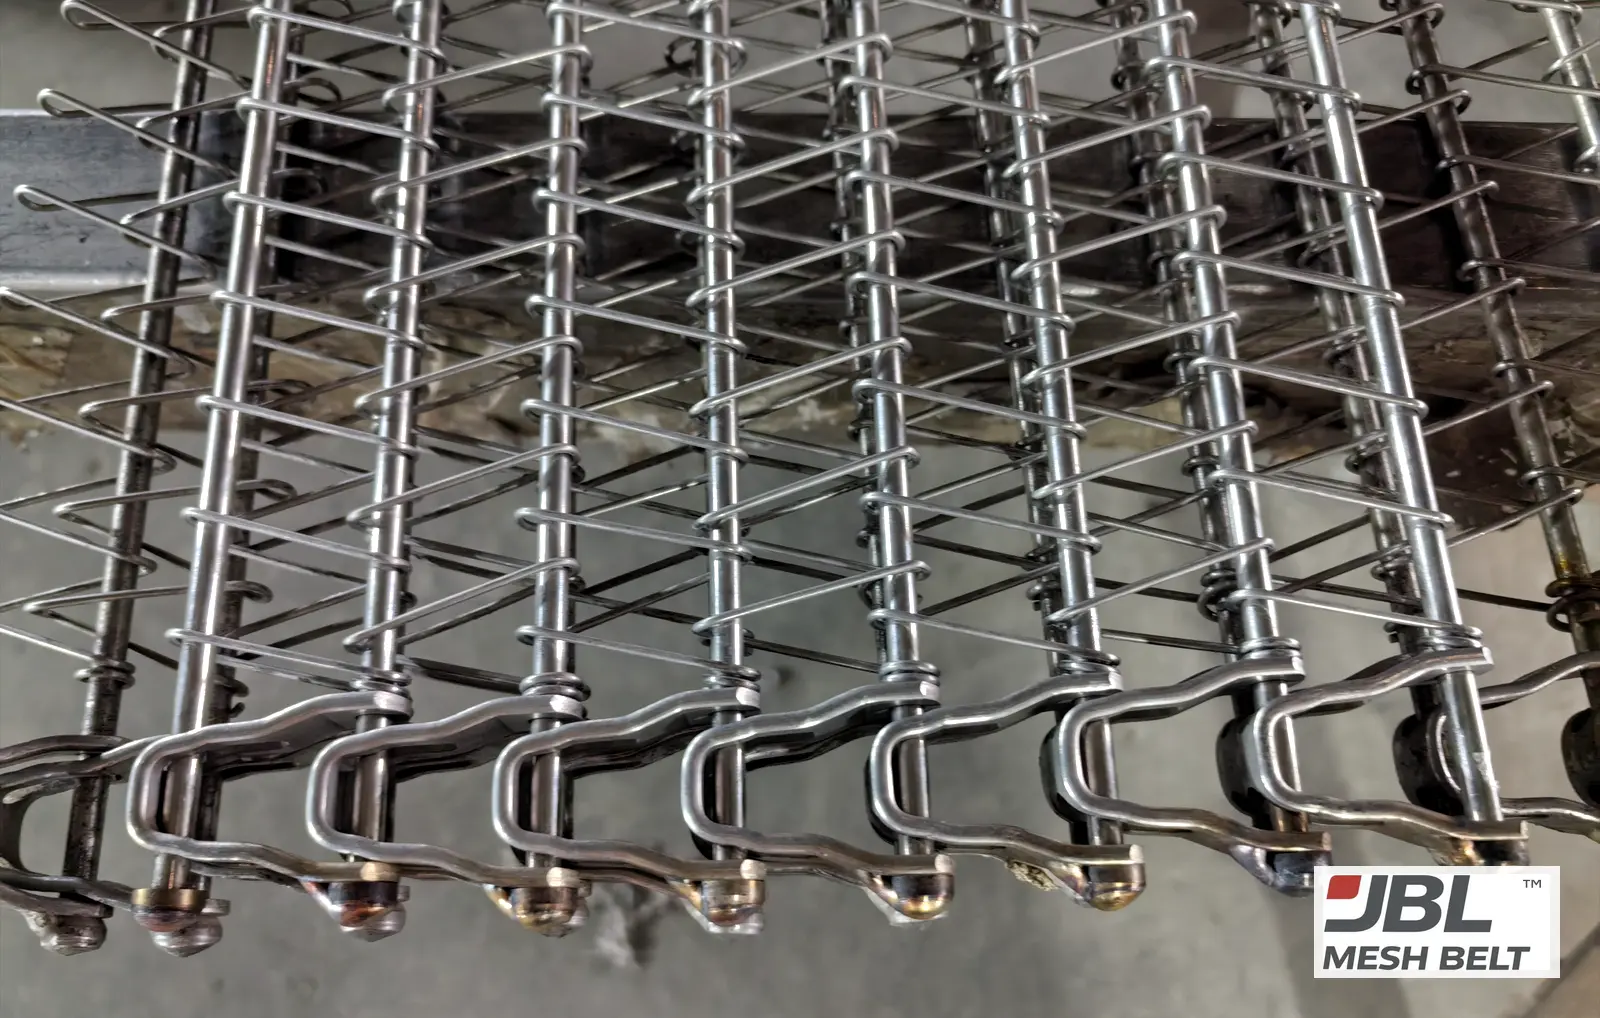
- ✓Splicing — every join complete, rods fully through, rod ends secured as on the rest of the belt.
- ✓Tracking — the belt sits in the same place on the drum and rails tier after tier.
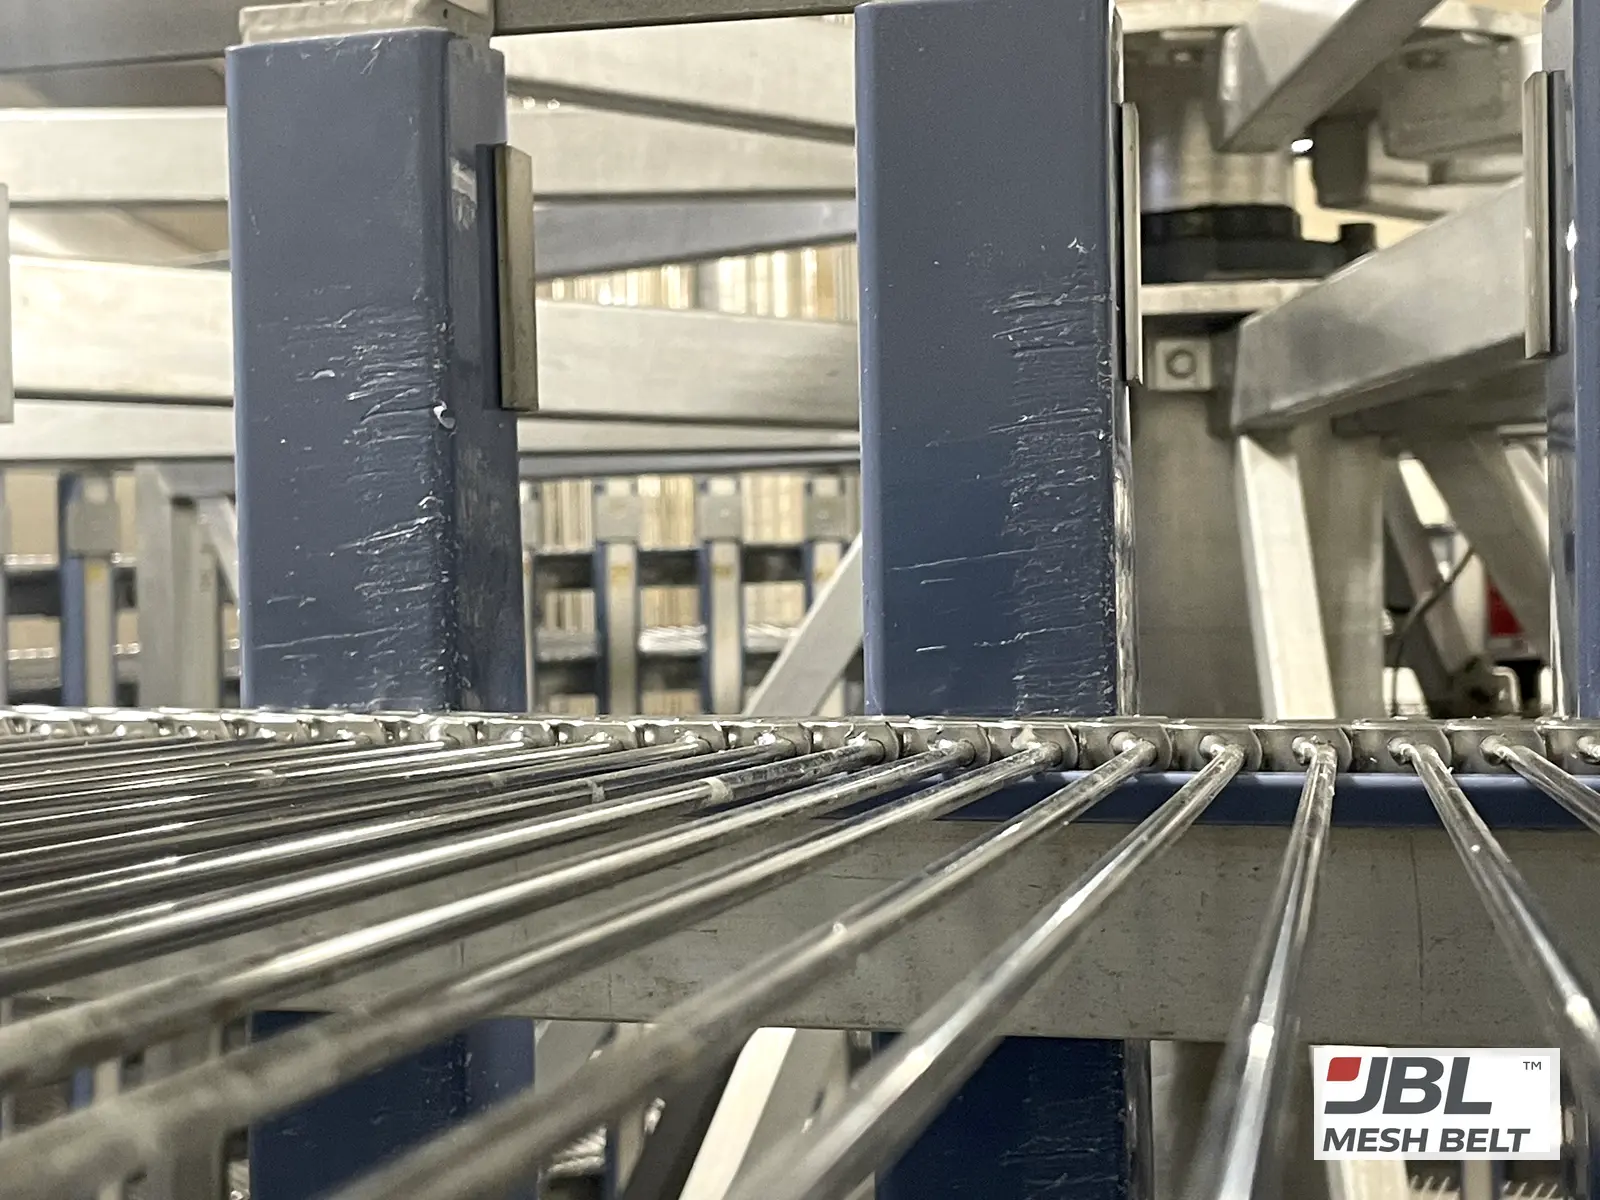
- ✓Support — every tier rests on its rails and wear strips; no section hangs.
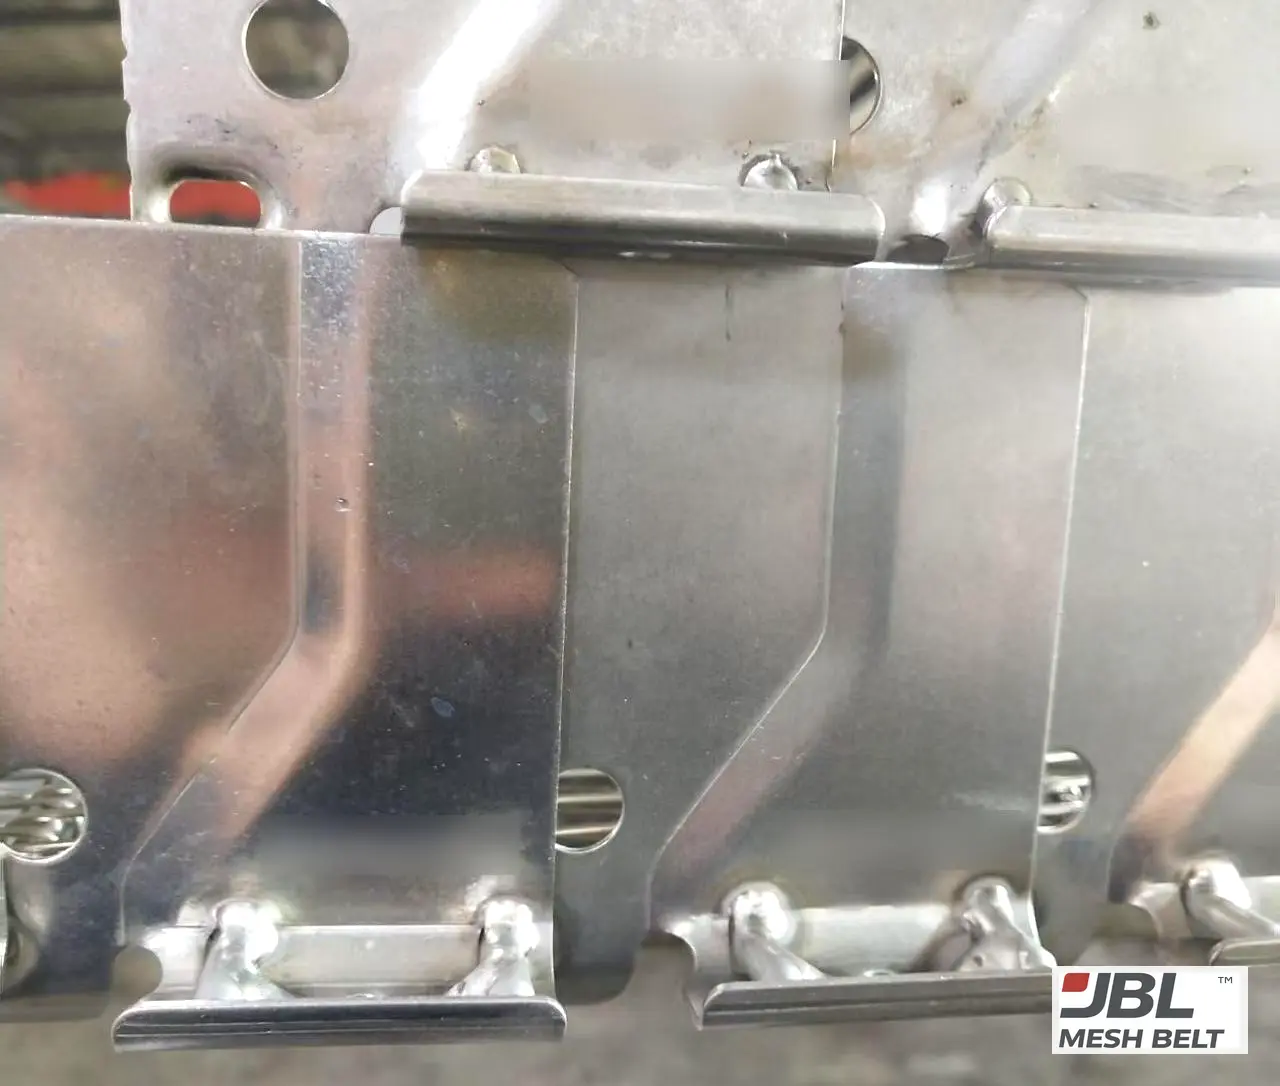
- ✓Catch points — no weld, rod end or side plate touches a guide, bolt or frame.
- ✓Clearance — space between tiers and to guides as on the original installation.
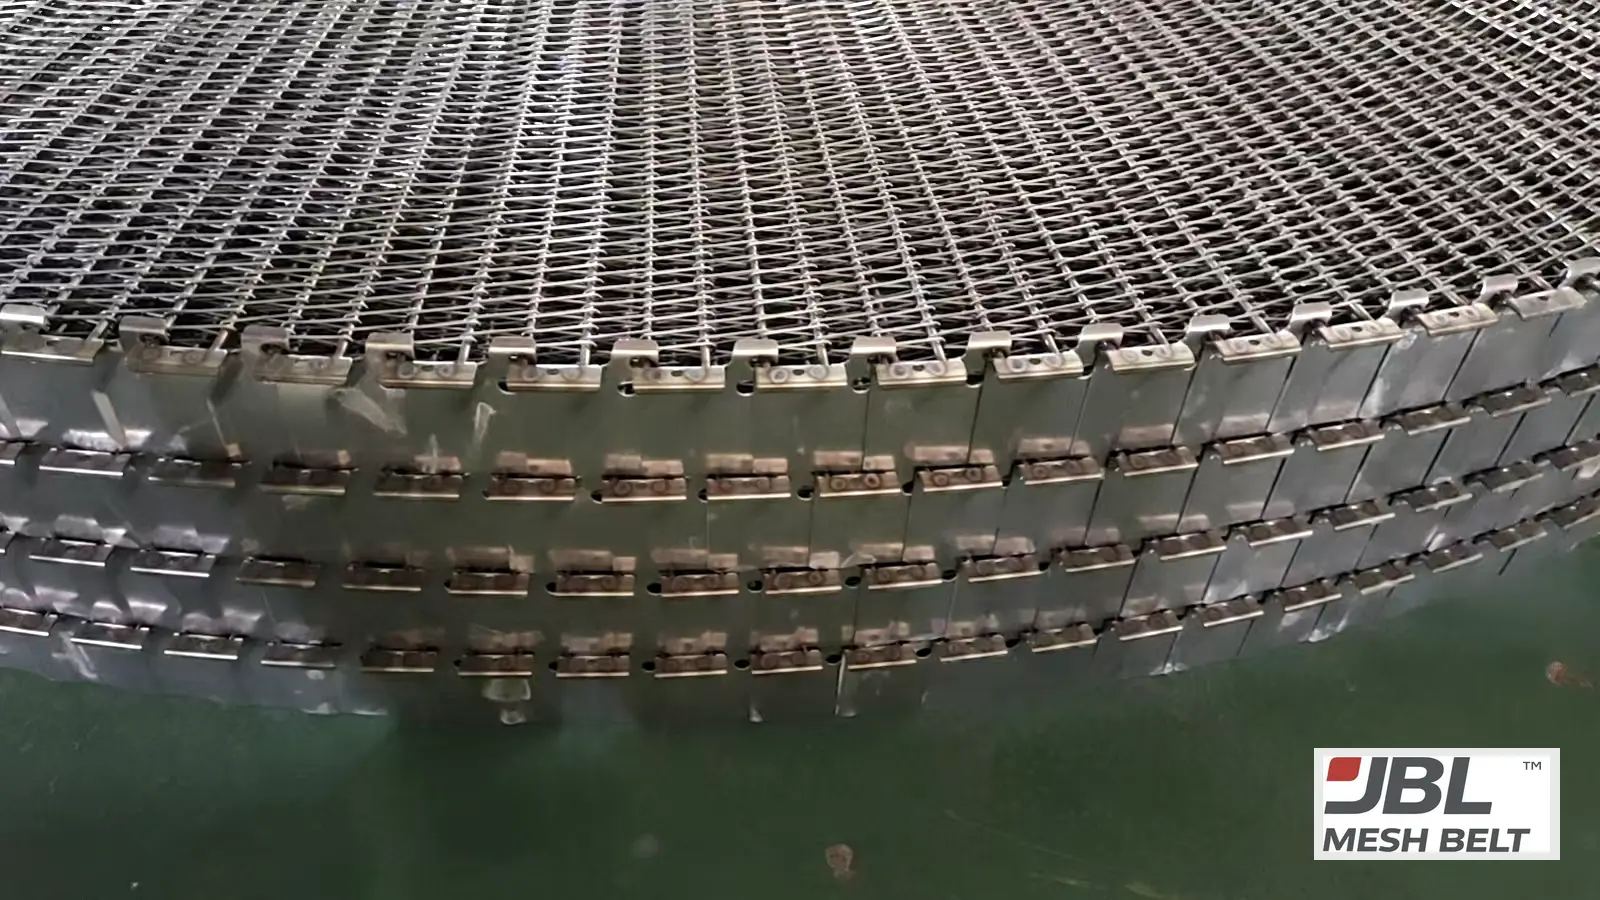
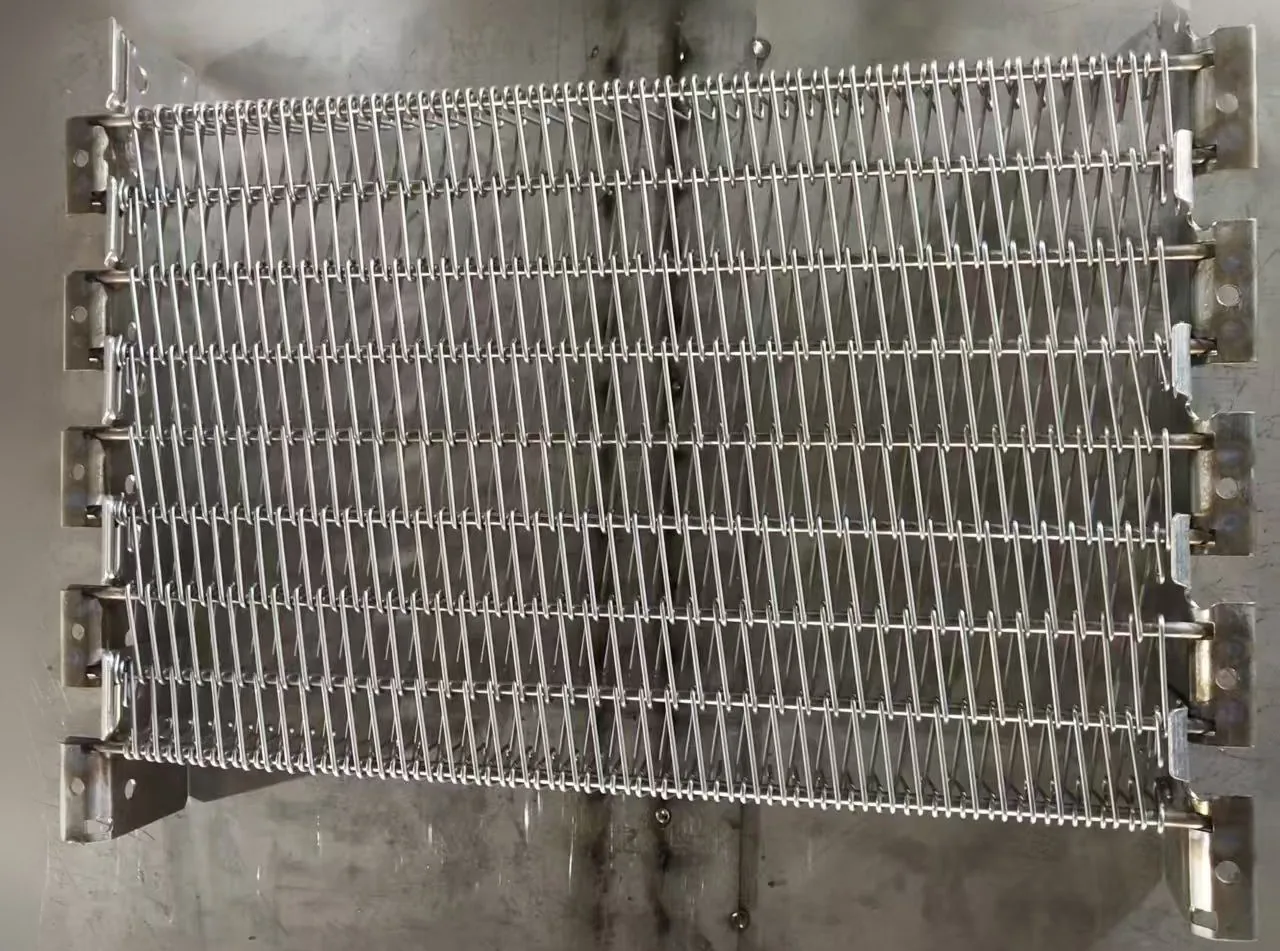
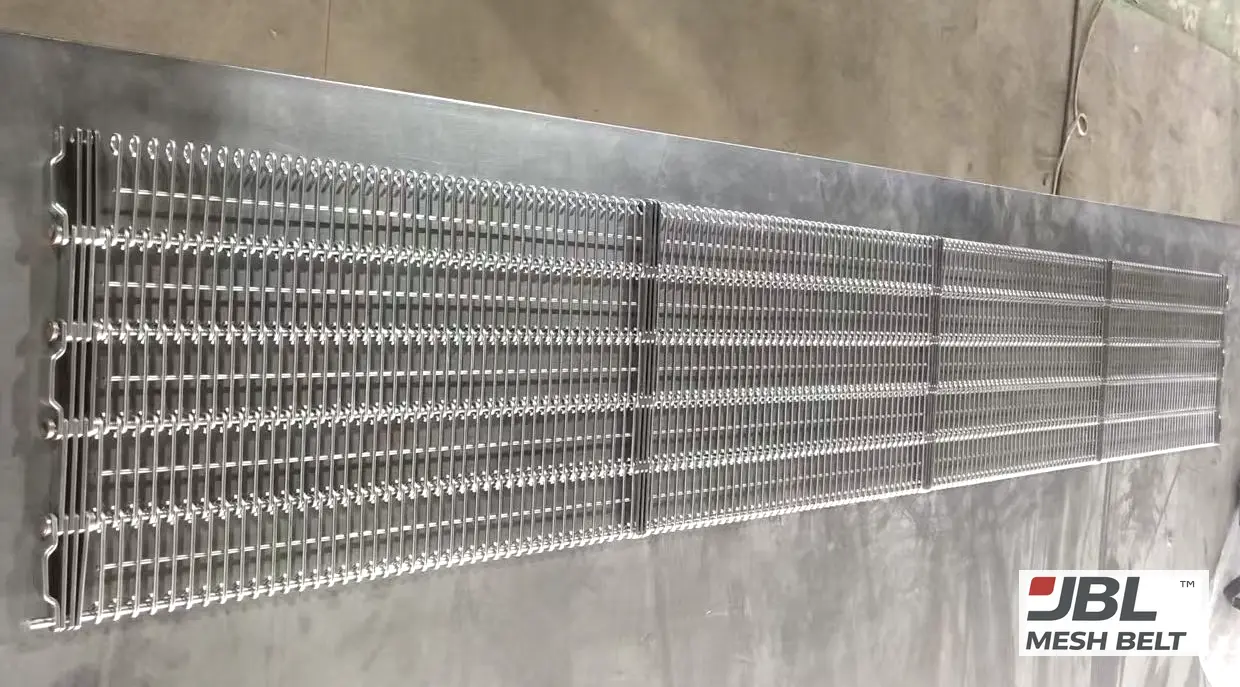
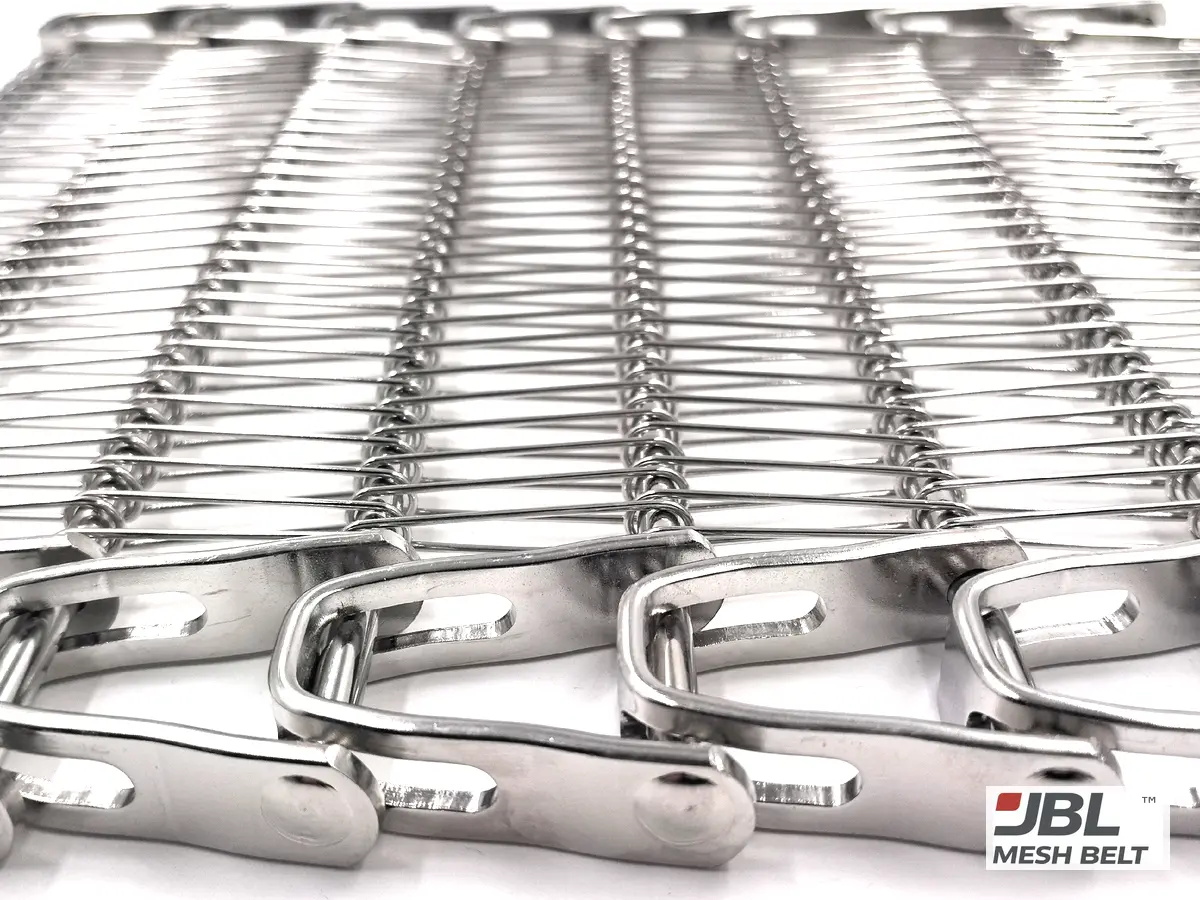
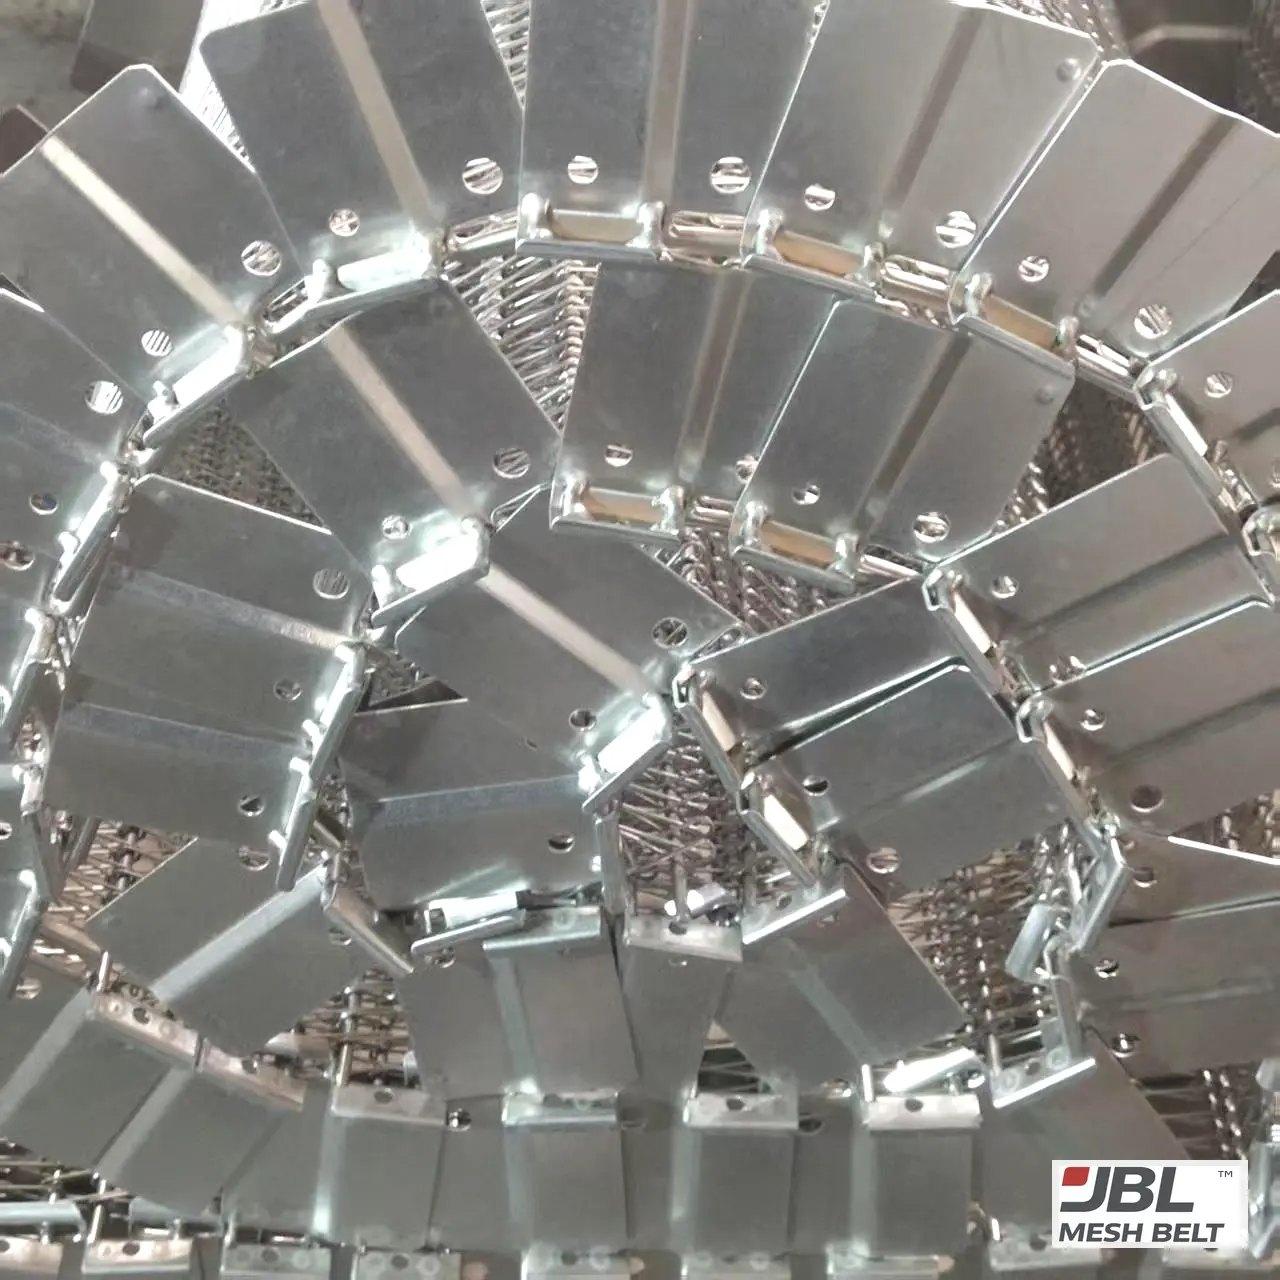
Joins are where a new belt meets an old one, or where two new sections meet. In two of our projects, a join was proved on the bench before shipment: in Brazil, the new belt was joined to the customer's original; on the waffle line, the trial run was linked into the original belt. On site, the same join has to be just as clean.
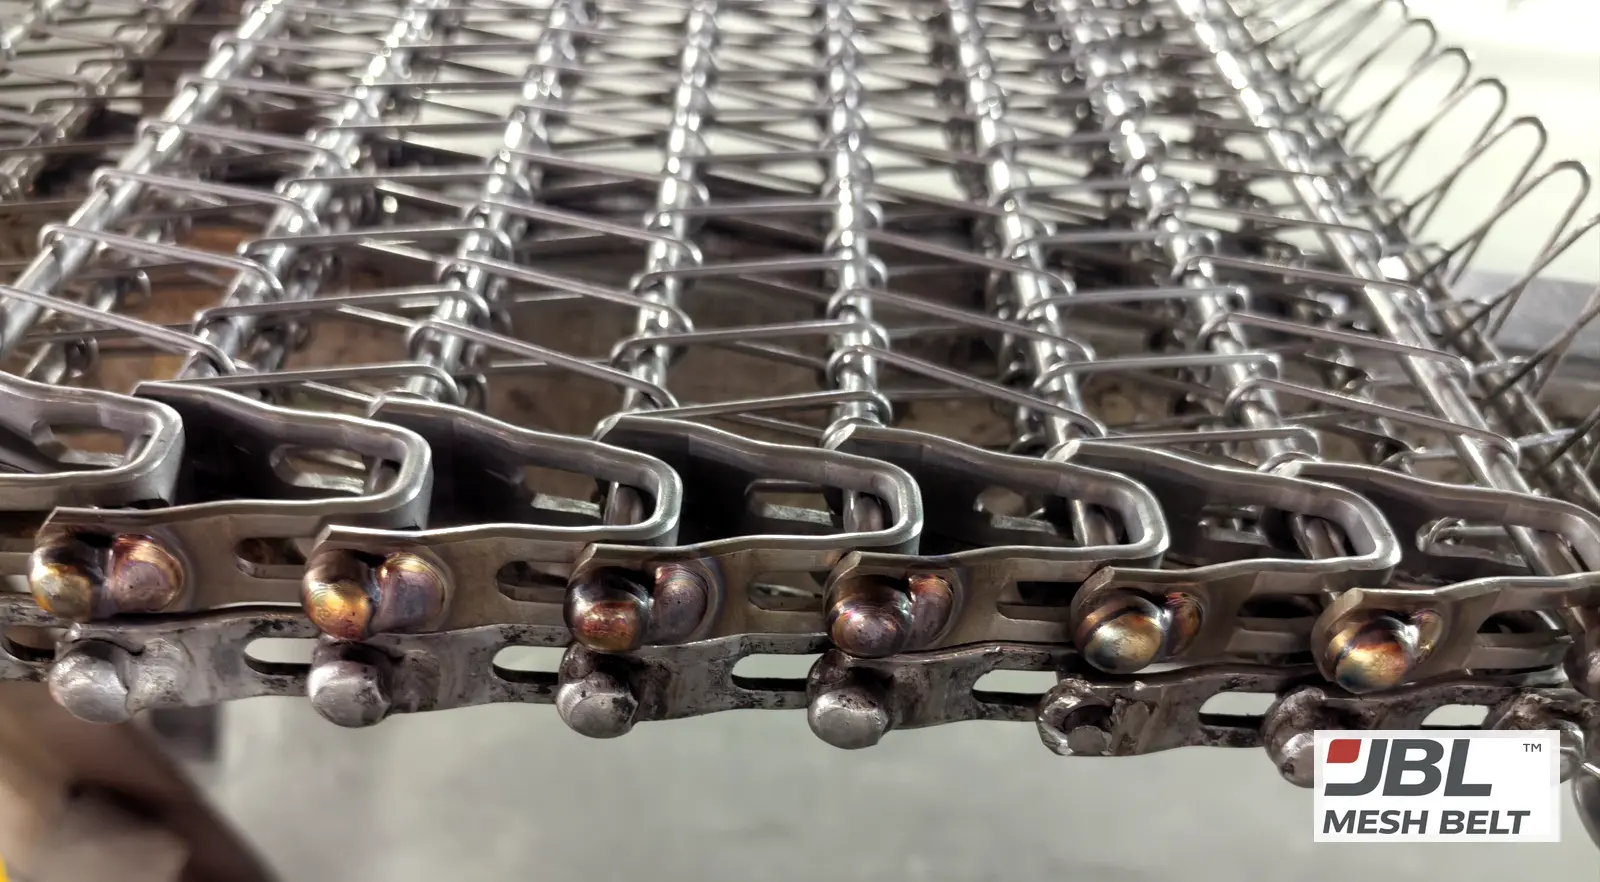
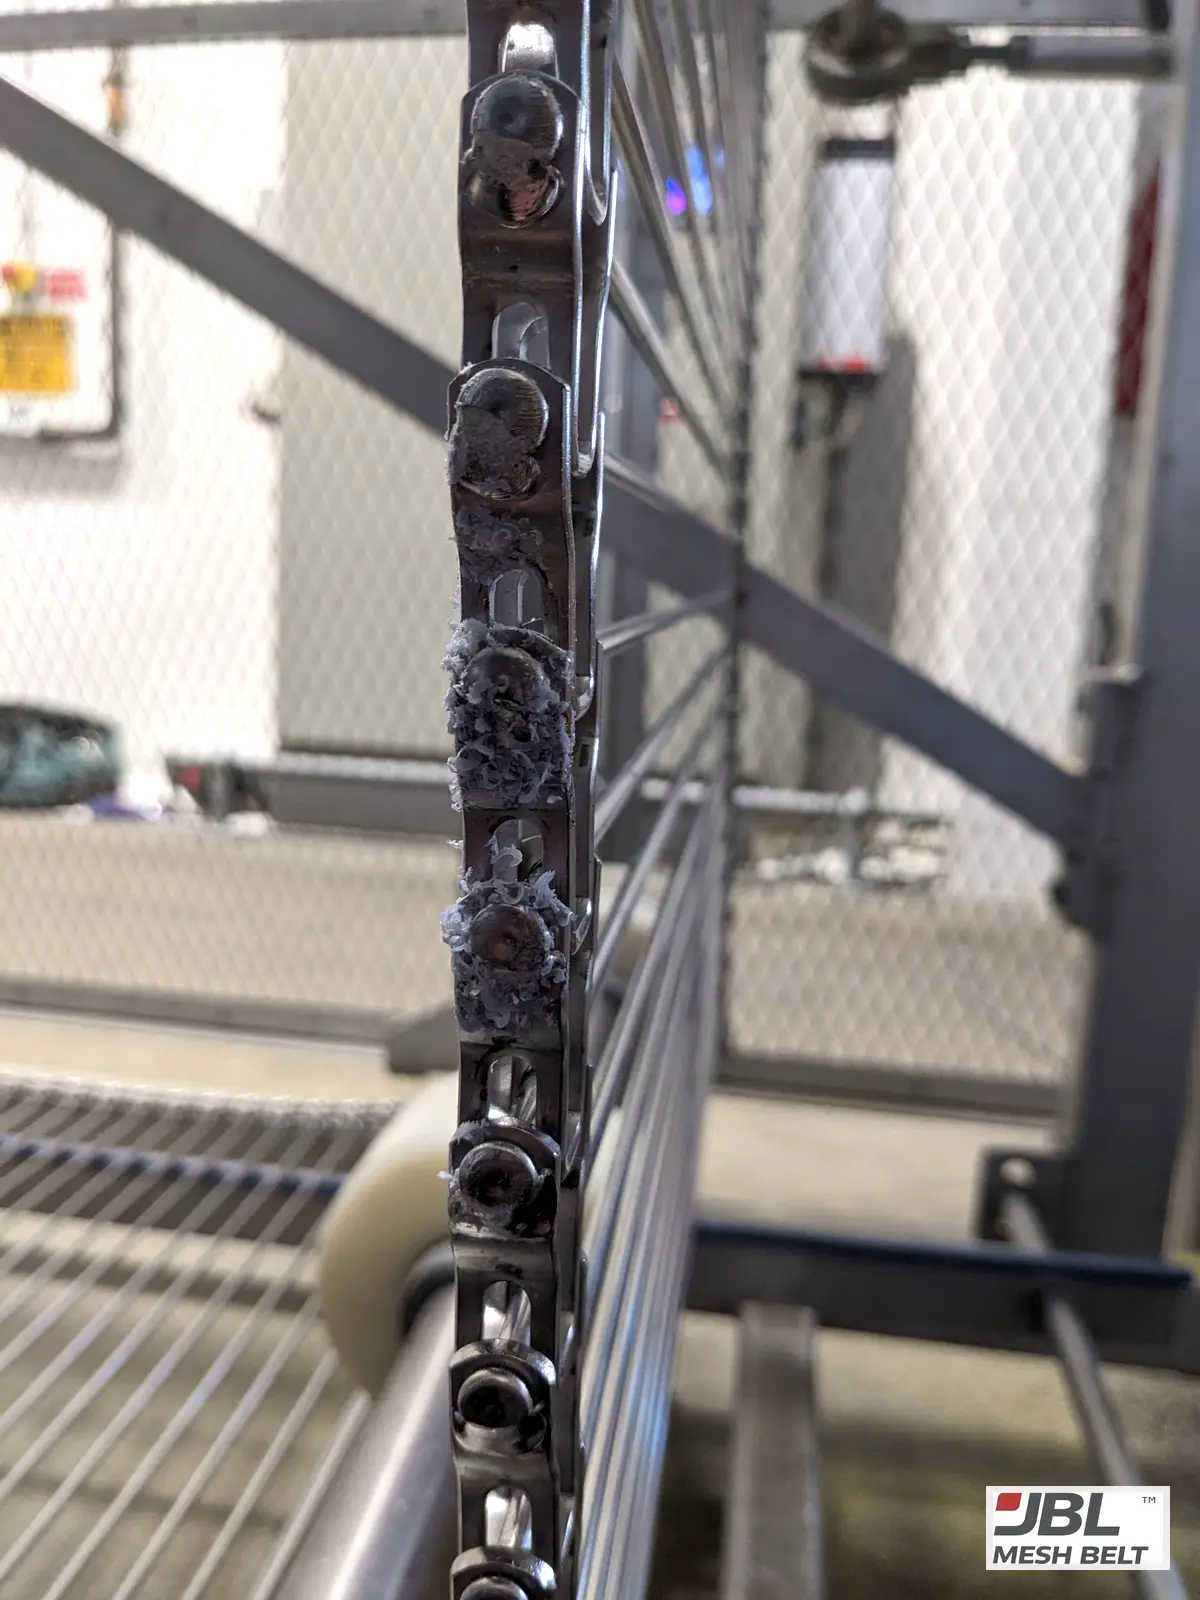
Catch points are worth a slow walk round with a torch. A single weld or rod end that touches a frame member will mark the belt — and the frame — every turn.
03What should a no-load test show?
The first run should be slow and empty. It is the cheapest moment to find a problem.
Short answer
Run the belt empty at low speed for at least one full circuit. Watch tracking on the drum and rails, sprocket engagement, noise, and any contact with guides or frames. The belt should close evenly on the turn, seat cleanly in the sprocket teeth and run quietly.
| Watch | Good | Stop and check |
|---|---|---|
| Tracking | Same position tier after tier | Belt drifts to one side or climbs |
| Turn | Inner edge closes evenly | Lifting, waving or tight spots |
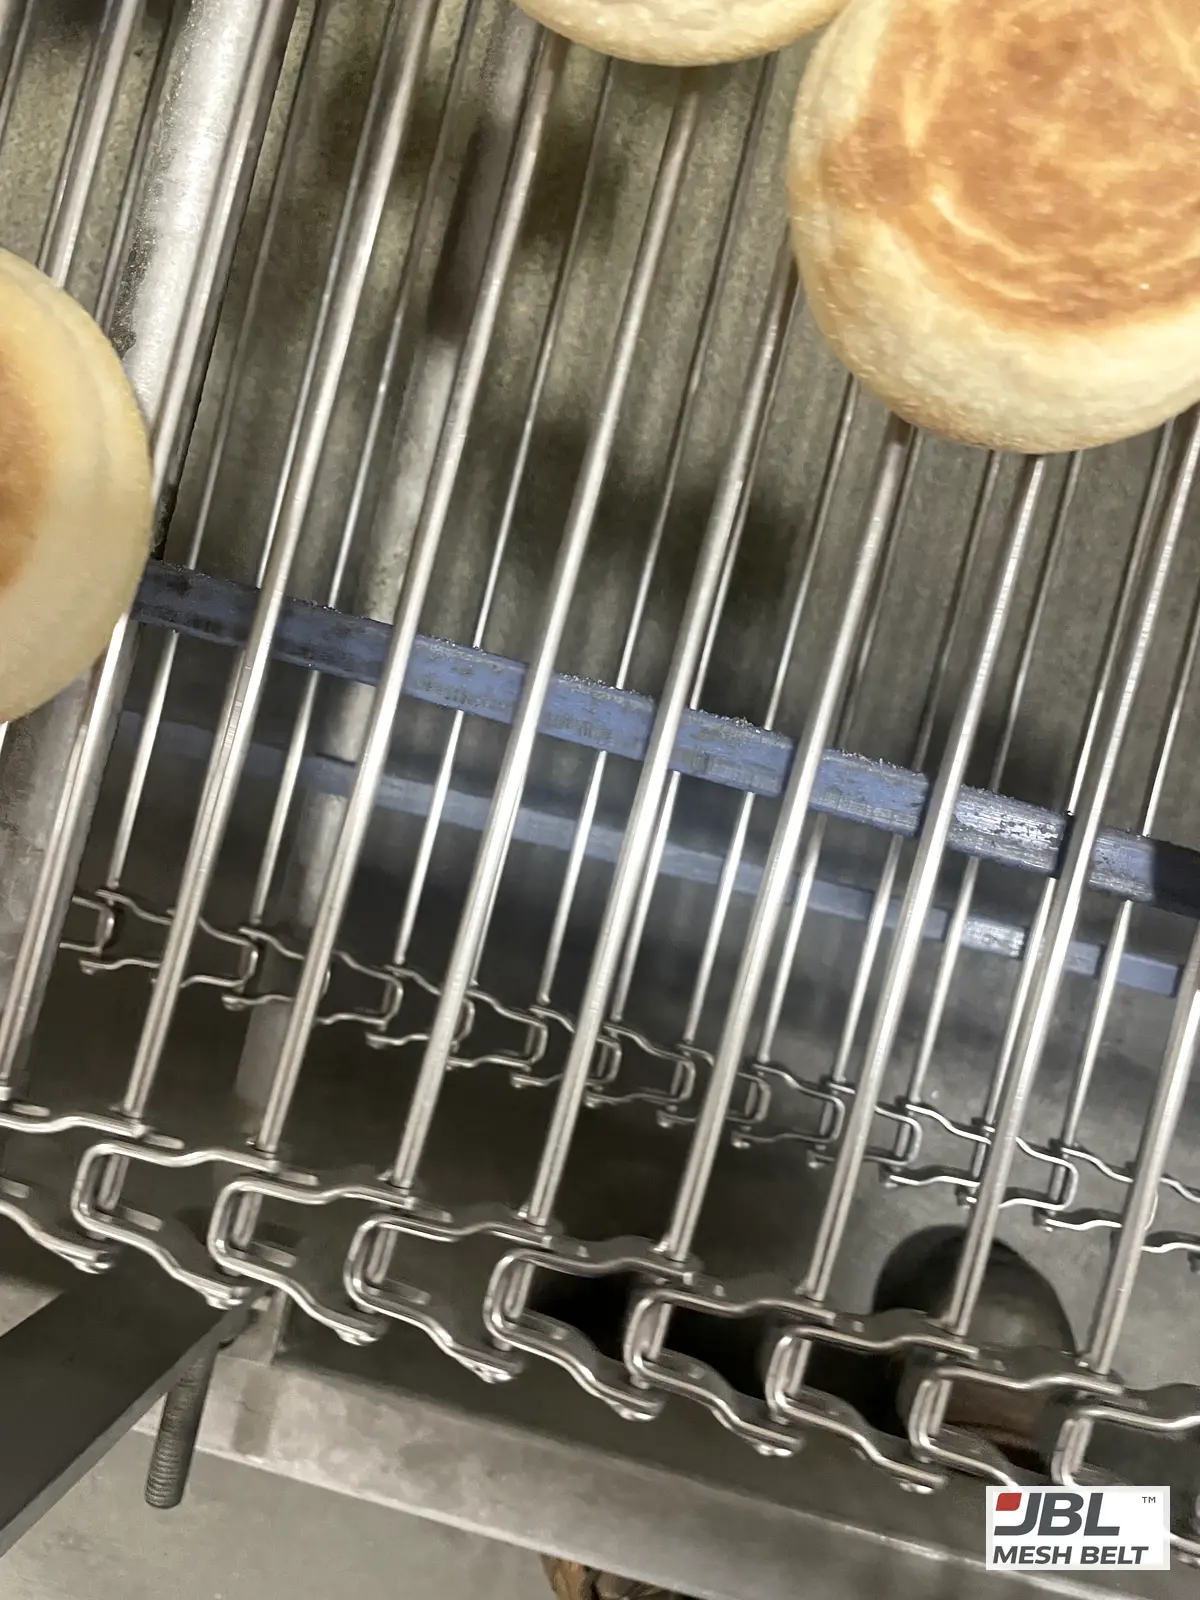
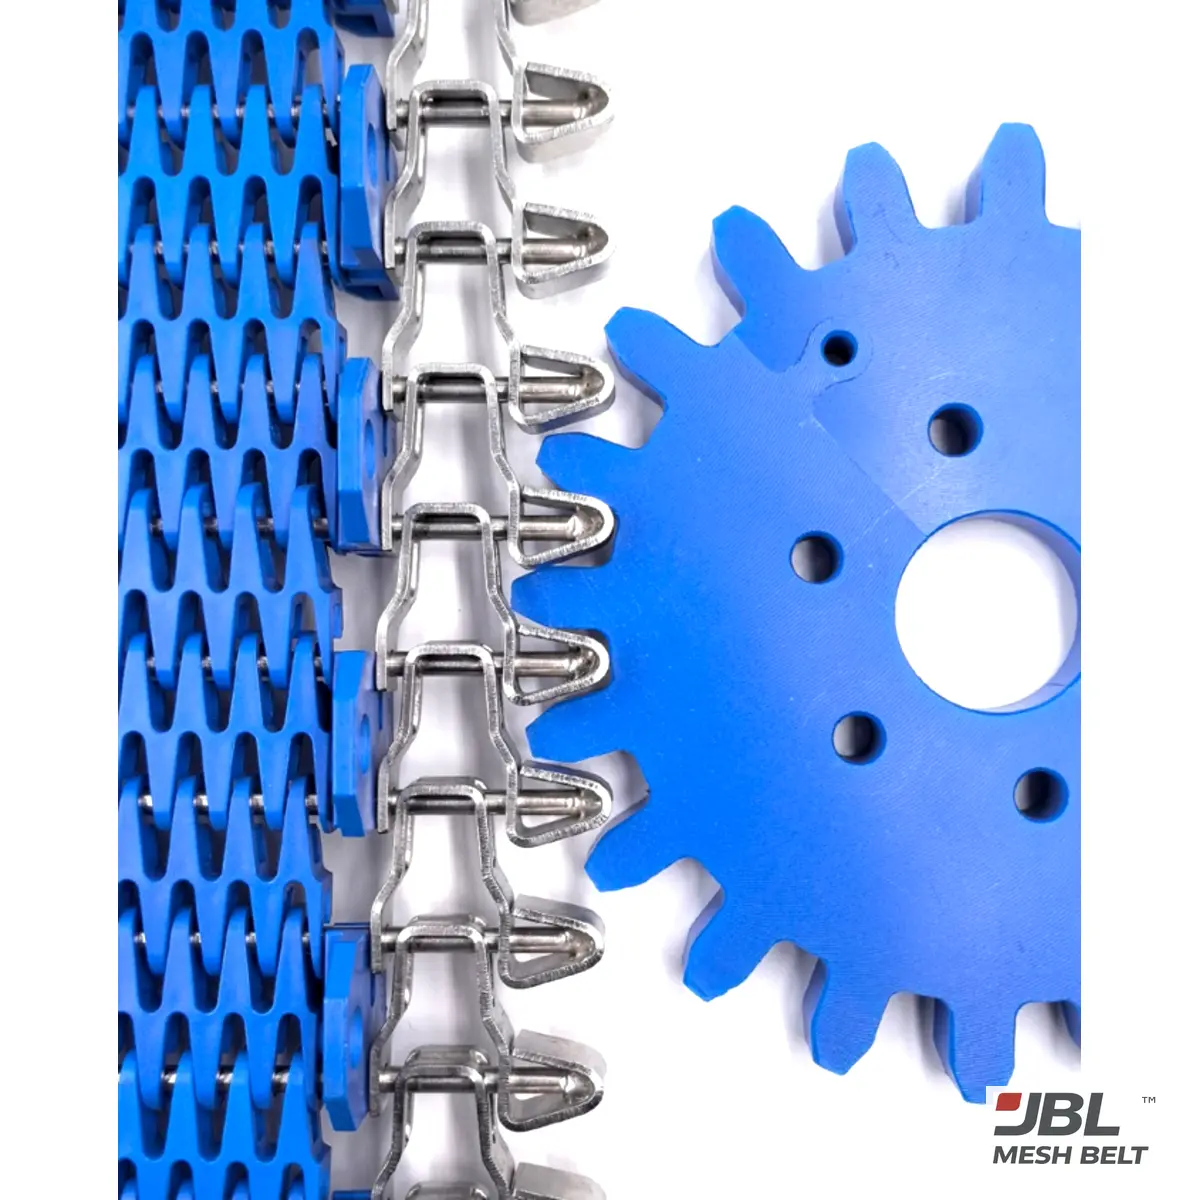
| Sprocket engagement | Teeth seat between rods | Jumping, climbing, clicking |
| Noise | Steady, even sound | Knocks, squeals, rhythmic clicks |
| Interference | No contact with guides or frame | Marks, shavings, rubbing sounds |
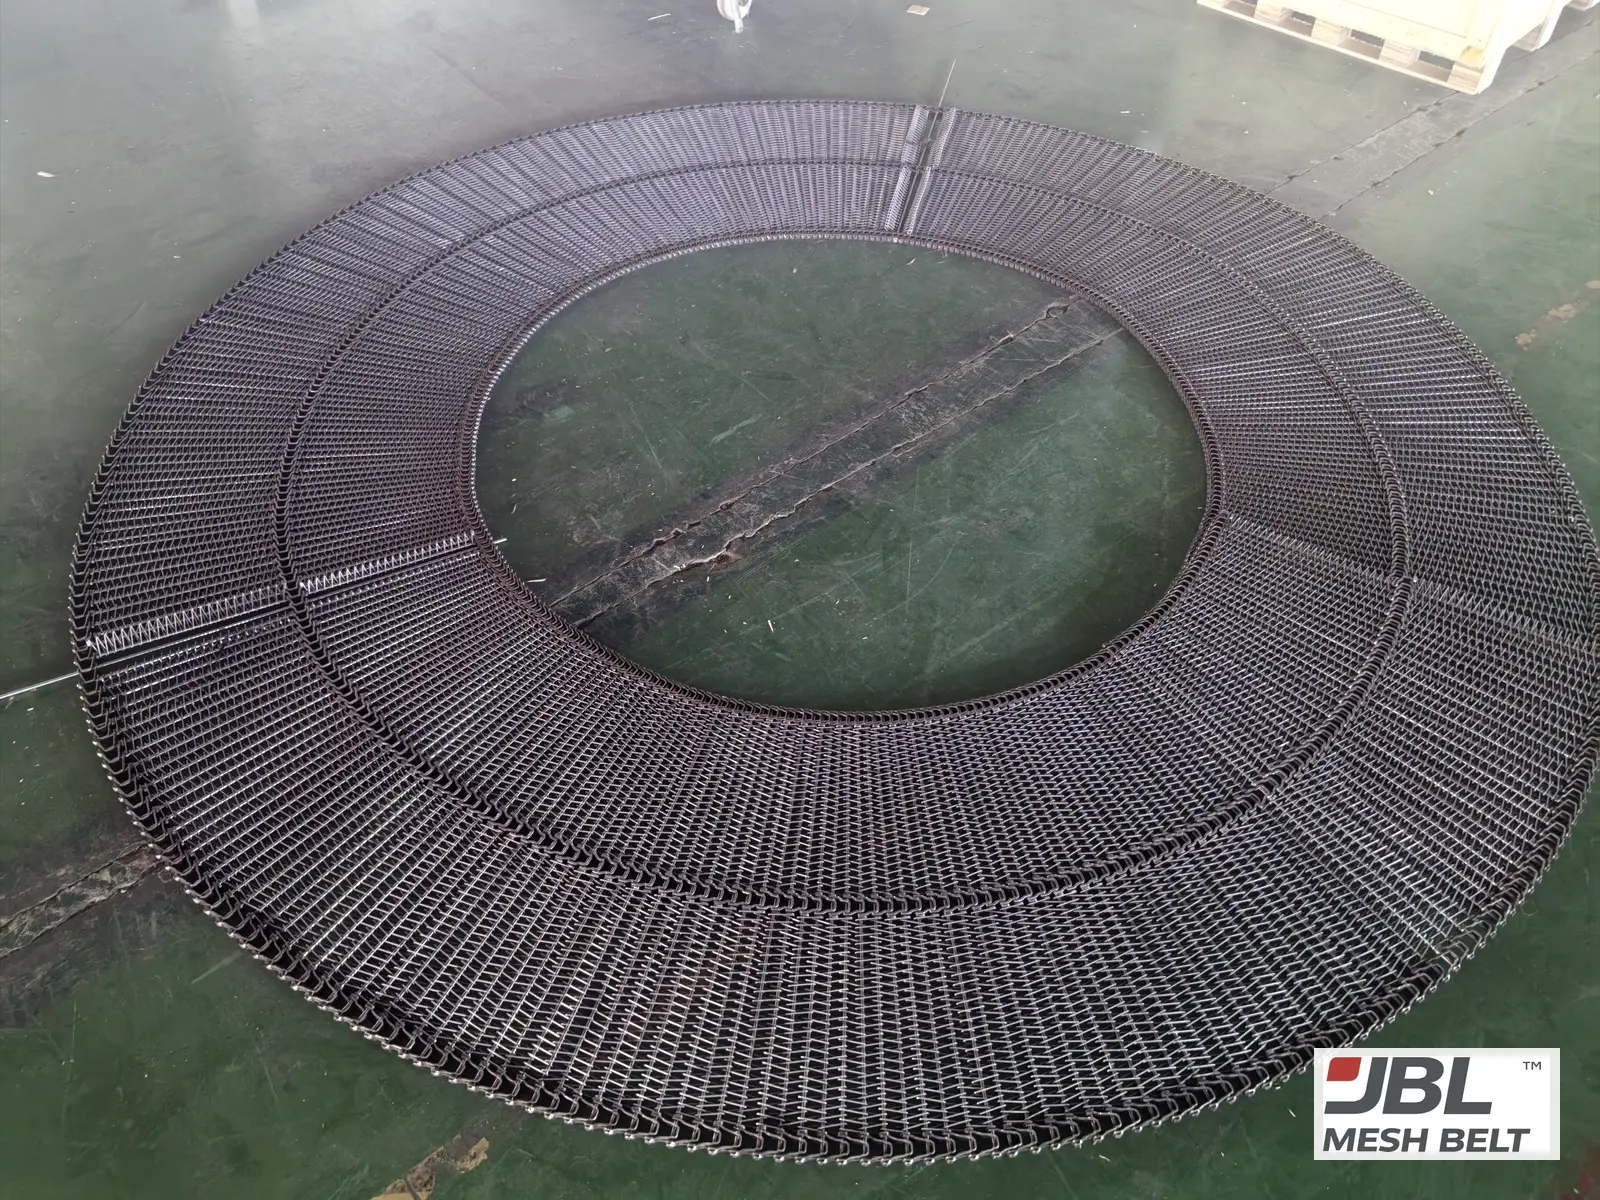
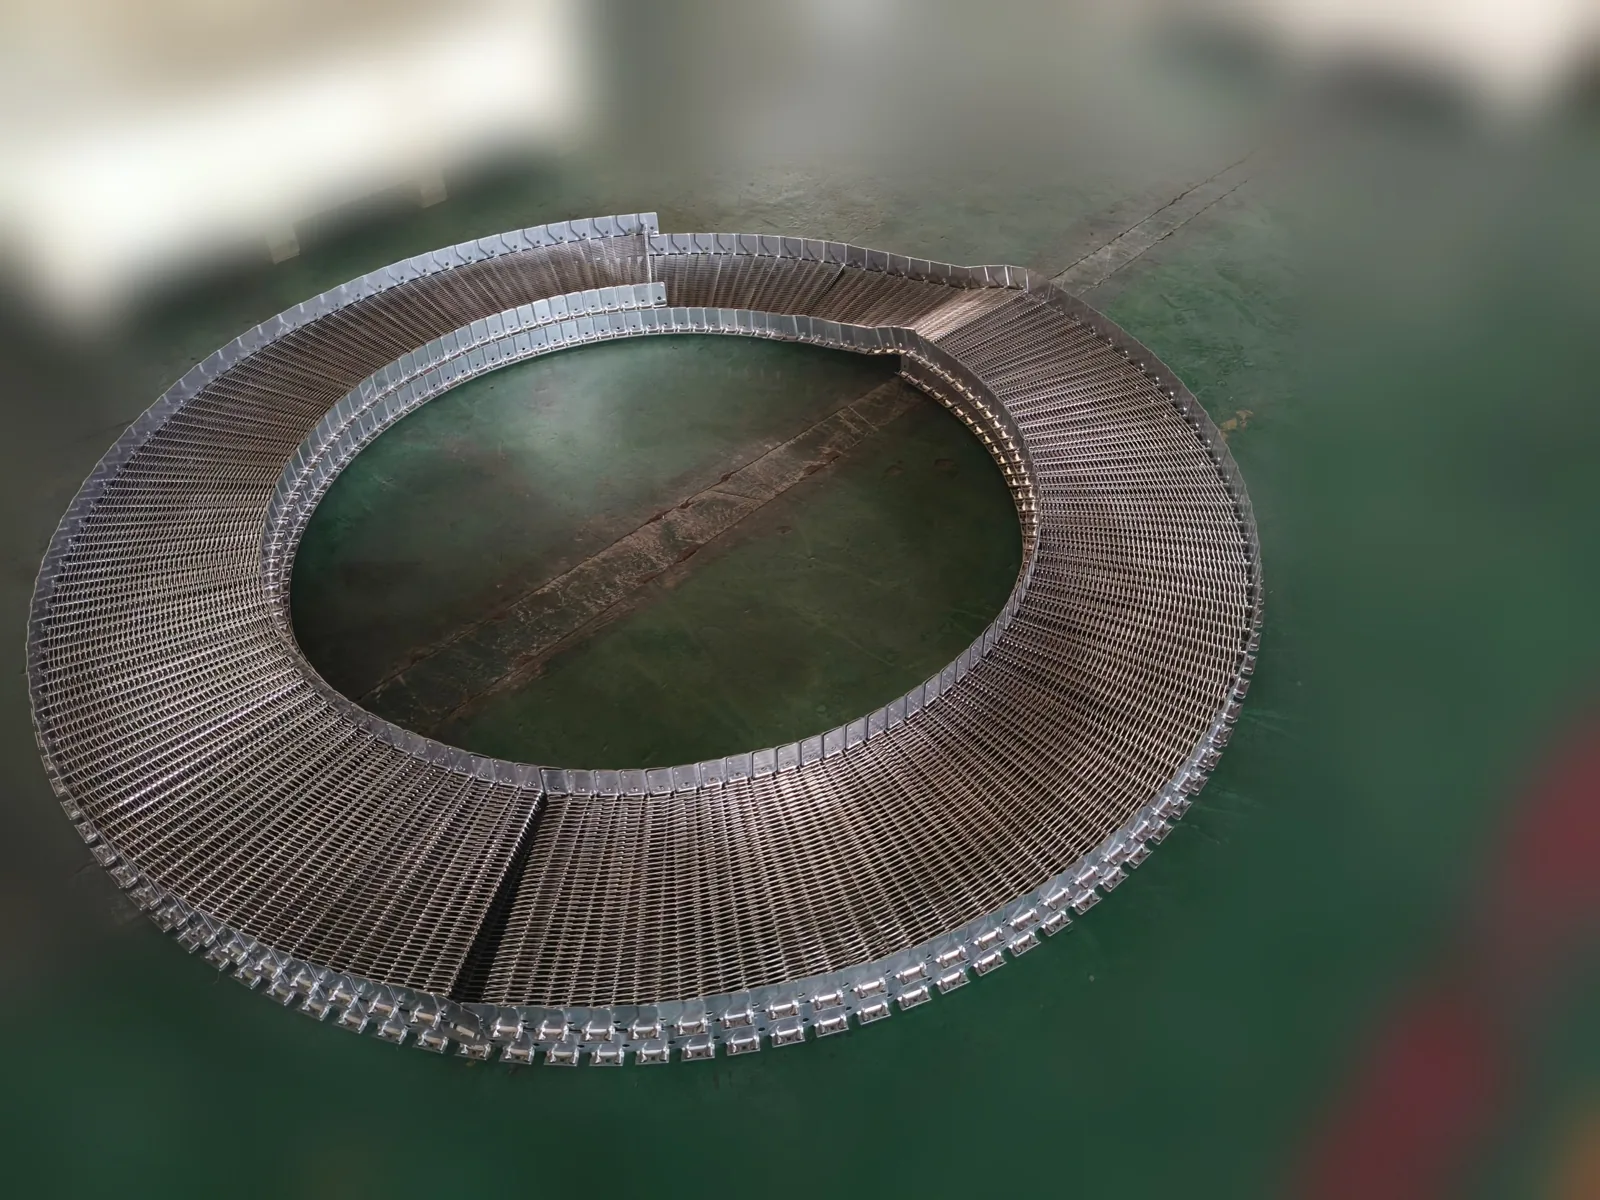
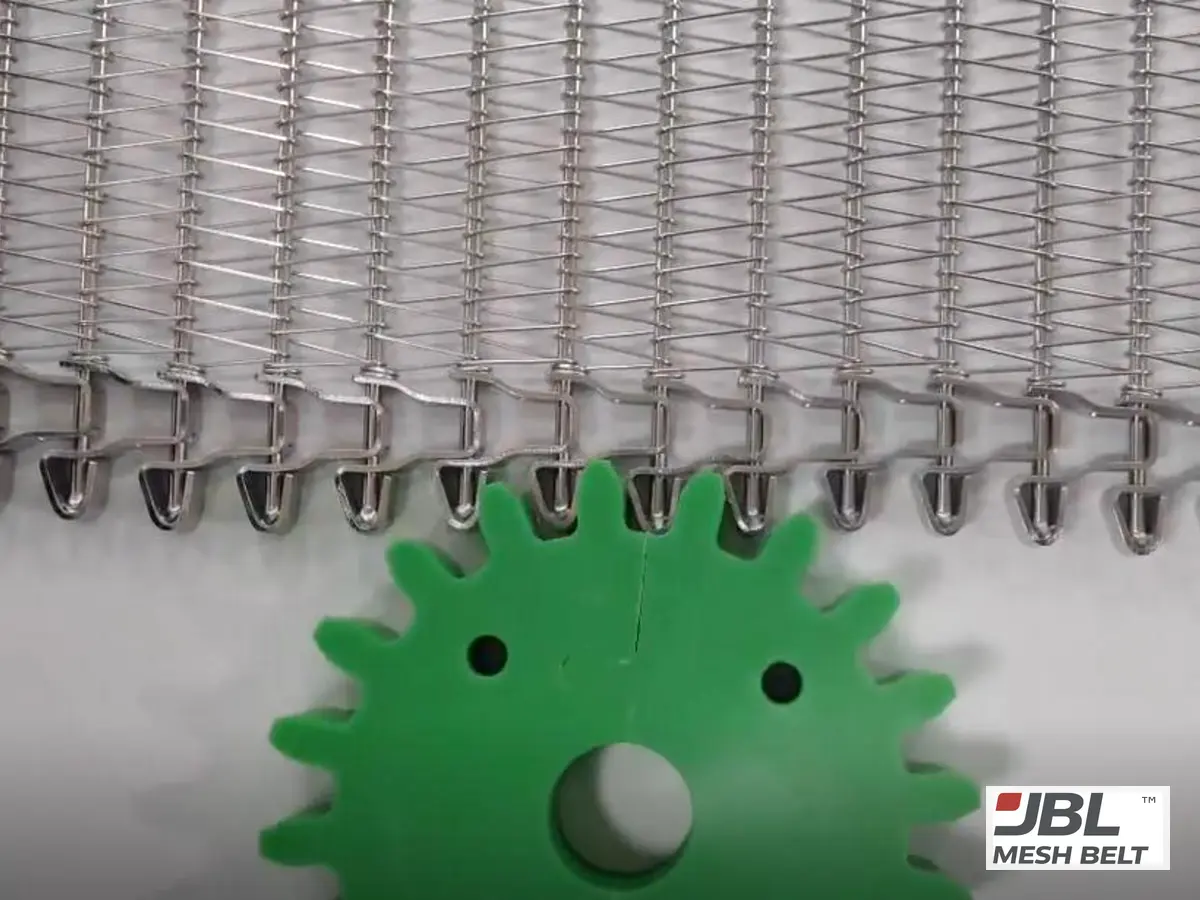
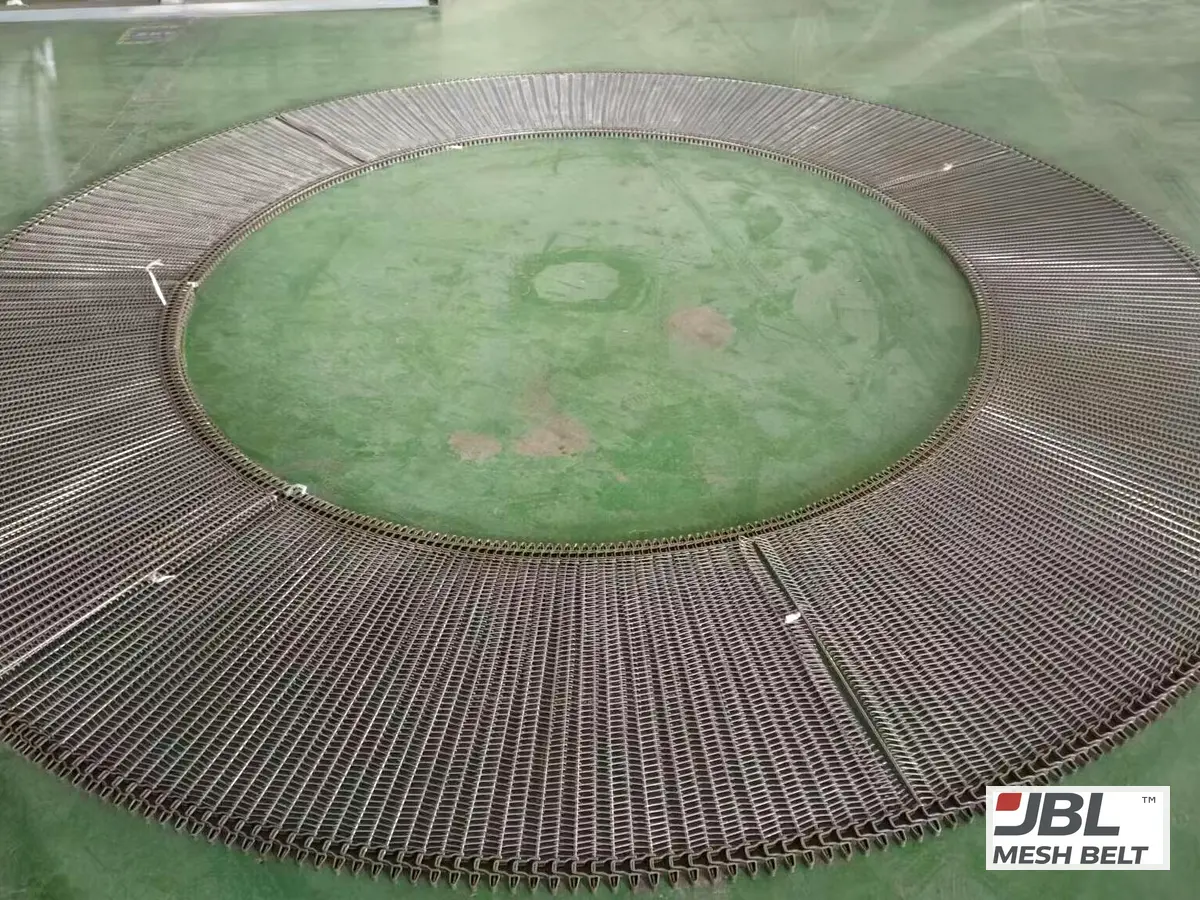
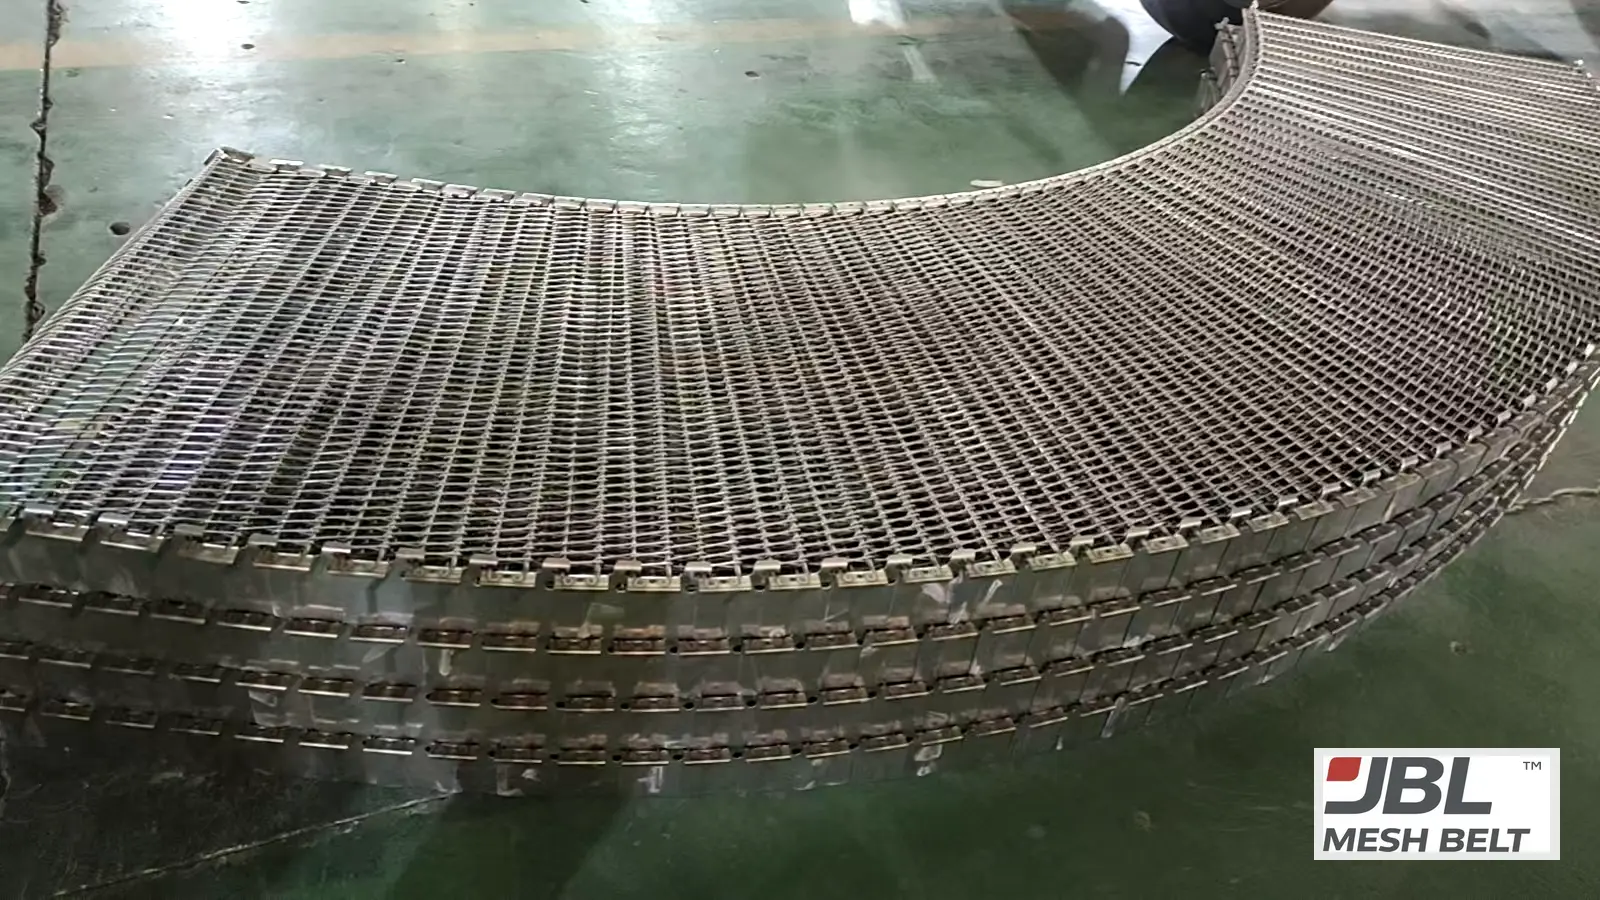
Before shipment, we run the same kind of checks at the factory. The belt is laid out in a circle or turned on a test drum matched to your drum diameter, and sprockets are run on the belt. The video above is from Melbourne. Those factory tests do not replace your no-load test, but they make surprises much less likely.
I explain what each factory test proves in what a turning test and a stacking test should show.
04What should a loaded test show?
An empty belt and a loaded belt do not behave the same. Product adds weight, cold and moisture.
Short answer
Under product load, check that the belt still tracks and turns evenly, the drive stays stable without slipping or surging, product is supported and not marked, and behaviour does not change as the freezer reaches operating temperature. Increase load in steps if you can.
| Loaded check | What to look for |
|---|---|
| Belt behaviour | Tracking and turn unchanged from no-load |
| Drive stability | No slipping, surging or jumping |
| Product | Supported, not marked, not falling through |
| Temperature | No change as the freezer reaches operating temperature |
| Edges and welds | No new marks on drum bars or guides |
Temperature matters. Metal contracts in the cold, and plastic parts such as wear strips and sprockets change too. A belt that runs well at room temperature should be watched again once the freezer is down to temperature.
The strongest line test in our projects was the customer's own. In Brazil, the customer ran about 50 m of new self-stacking belt on the freezer before ordering the full 350 m. That run answered the question no bench test can: does it stack and run on this machine?
After the first weeks of production, look at the drum bars and guides again. New scratches or dark residue are early signs of an edge problem; see weld burrs and IQF contamination.
05What records should close the commissioning?
A belt that runs today will need replacing one day. The records you keep now make that next order simple.
Short answer
Close commissioning with photos of the installed belt, drive and joins, key measurements such as pitch and tension settings, and a written test record of the no-load and loaded runs. Keep them with the factory's pre-shipment readings, so a repeat order matches this one.
| Record | What it contains |
|---|---|
| Photos | Installed belt, joins, drive area, sprockets, take-up |
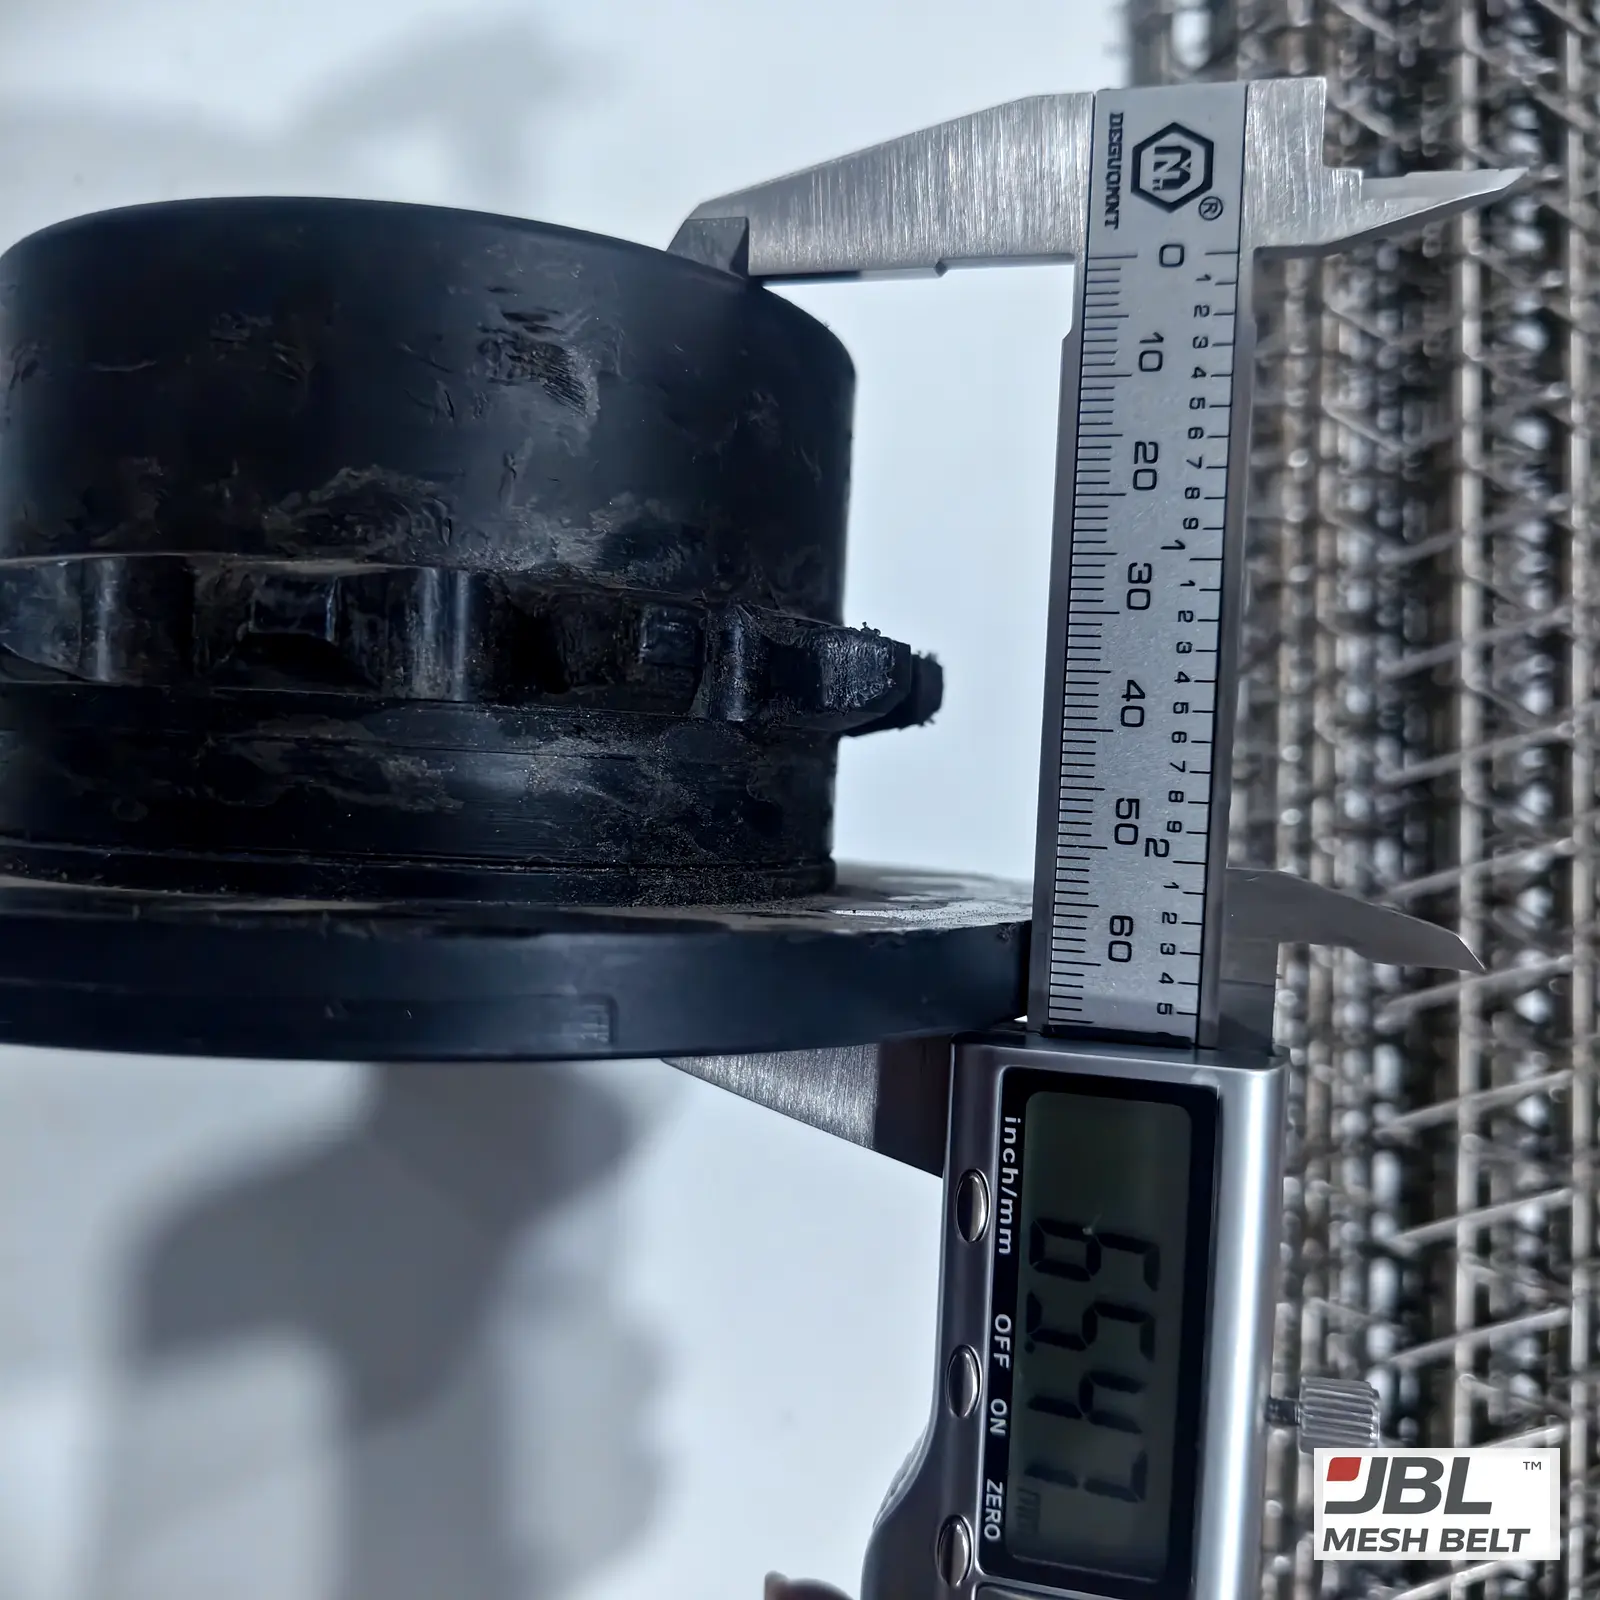
| Measurements | Pitch over several rods, take-up position, any settings changed |
| Test record | No-load and loaded results, date, who checked |
| Factory records | Pre-shipment readings, photos and test video |
| Specification | Confirmed drawing for the next order |
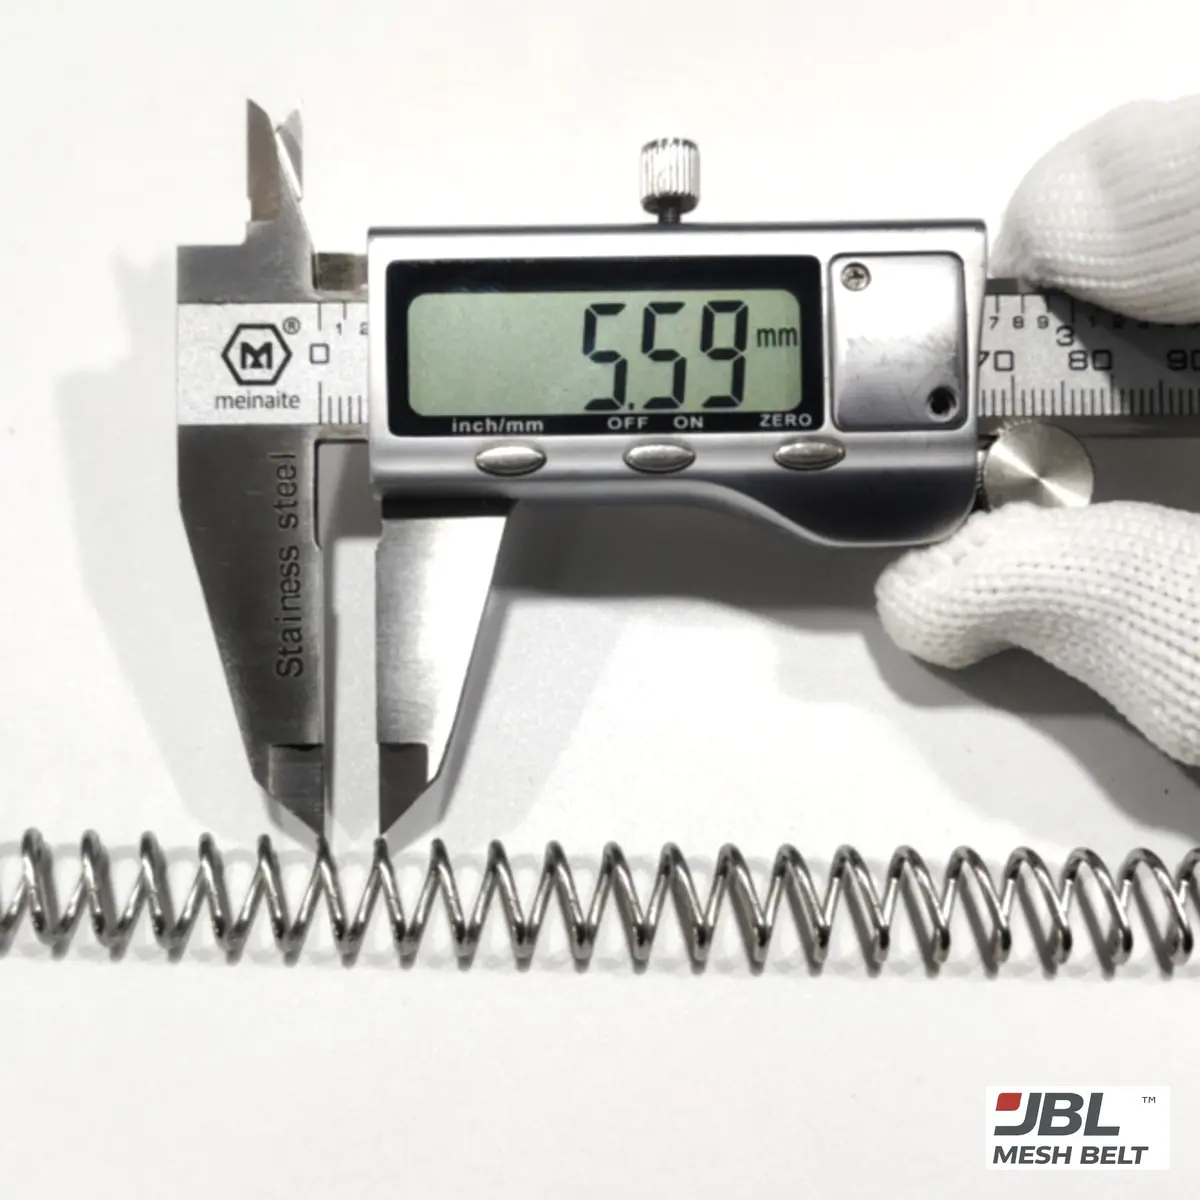
On our side, each order is documented with the confirmed drawing, inspection records, packing photos and shipment notes, so a repeat order follows the recorded specification. On the UK belt, the rod pitch read 30.00 mm on the original, the sample and the bulk belt. Records like that make the next belt predictable.
Your site records complete the picture. If a problem appears later, the first question will be what changed. Photos and settings from commissioning answer it.
Planning a belt change?
Send me your drawing, running direction and drive details before the belt is made. I confirm direction and orientation with you before production and send the factory test photos before shipment.
When This Is Not the Right Choice
- ✕This checklist does not replace the freezer maker's installation manual or safety procedures; follow those first.
- ✕If the freezer itself is being modified at the same time, commissioning becomes a machine project; involve the maker or integrator.
- ✕If the belt arrived damaged, do not install it; photograph the damage and the crate and contact the supplier first.
From My Engineering Experience
I am not on site when our belts are installed. So I put my effort into the part I control: confirming direction and orientation before production, proving joins and turns at the factory, and sending photos and video before the crate is closed.
The Brazil customer showed me the value of the next step. They ran about 50 m on their own freezer before ordering 350 m. That was a line test before the real commissioning. The 350 m order followed, and the replacement was completed on site.
If I could ask every buyer for one thing, it would be the records from commissioning. They make the next belt easier for both of us.
— Spring, Sales Director, JBL Mesh Belt
Evidence From Our Work
Brazil, 2025 — a trial length run on the freezer first →
| Step | Detail |
|---|---|
| Before shipment | New belt joined to the original; stacking test on a curve |
| On the line | About 50 m run on the customer's freezer |
| Then | 350 m ordered and replaced on site |
| Result | Second 350 m ordered after |
Malaysia, 2026 — turn-tested before shipment →
| Step | Detail |
|---|---|
| Before bulk | Trial run photos approved; samples sent |
| Edge | Welds and rod ends ground a second time |
| Turn test | Belt laid out in a full circle |
| Result | Bulk installed in place of the original belt |
FAQ
Q1What should I check before installing a replacement spiral belt?
The drawing, running direction (CW / CCW), belt orientation, sprockets, drive interface and the shipping list.
Q2How should the first run be done?
Empty and at low speed for at least one full circuit, watching tracking, engagement, noise and interference.
Q3Why test again under load?
Product weight, cold and moisture change how the belt and drive behave.
Q4Do you install the belt?
No. Your team or the freezer maker installs it; we confirm direction and orientation and test the belt before shipment.
Q5What records should we keep?
Photos, key measurements, the no-load and loaded test record, and the factory's pre-shipment records.
Conclusion
Confirm before, check during, test empty, test loaded, then record. Five stages make a replacement spiral belt start quietly.
Download the Spiral Freezer Belt Technical Specification (PDF)
Specification ranges and options in mm and inch. Enter your work email and the file downloads right away.
References

Your contact for this belt
Spring · Sales Director, JBL Mesh Belt · 16 years
“Your belt is worn, the OEM price is high, and there is no drawing. That is where I start.”
Send me a worn section, a few photos with a caliper in the picture, or a drawing. I tell you what fits, what is missing, and show you a sample measured against your own belt before you pay for the full length. Buyers in the UK, the USA, Australia, Brazil, South Korea, Spain and Malaysia have replaced belts this way.
- ✓Readings on your original next to readings on our sample
- ✓Nothing in bulk until you approve the sample
- ✓Turning, stacking or sprocket tests before your belt ships
- ✓A reply from me, usually within 8 hours