Troubleshooting · 10 min read
When Is Replacing the Spiral Belt Not Enough — and Which 7 System Components Should You Inspect?
 Written bySpringSales Director, JBL Mesh Belt · 16 years in metal conveyor beltsProjects in United Kingdom · USA · Australia · Brazil · South Korea · Spain · MalaysiaPublished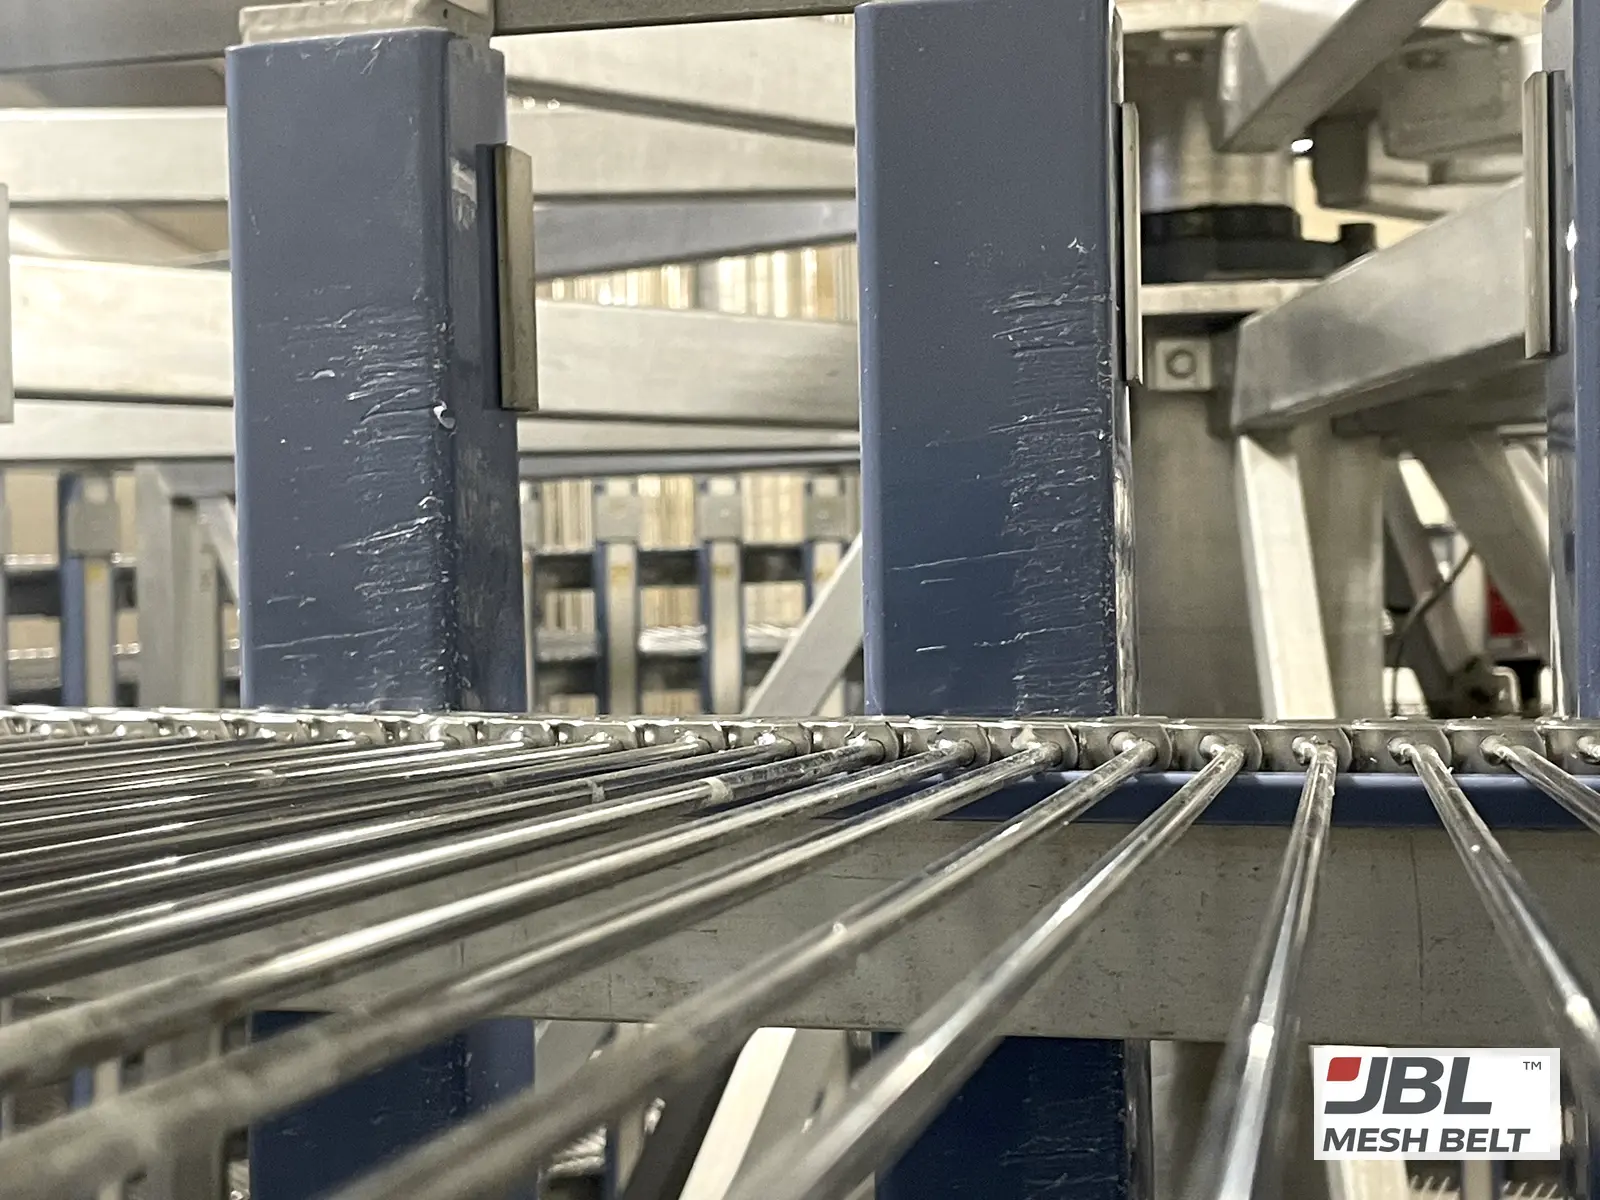
The belt failed, so you bought a new one. Months later it fails the same way, and the supplier gets the blame. The belt may never have been the problem.
Short answer
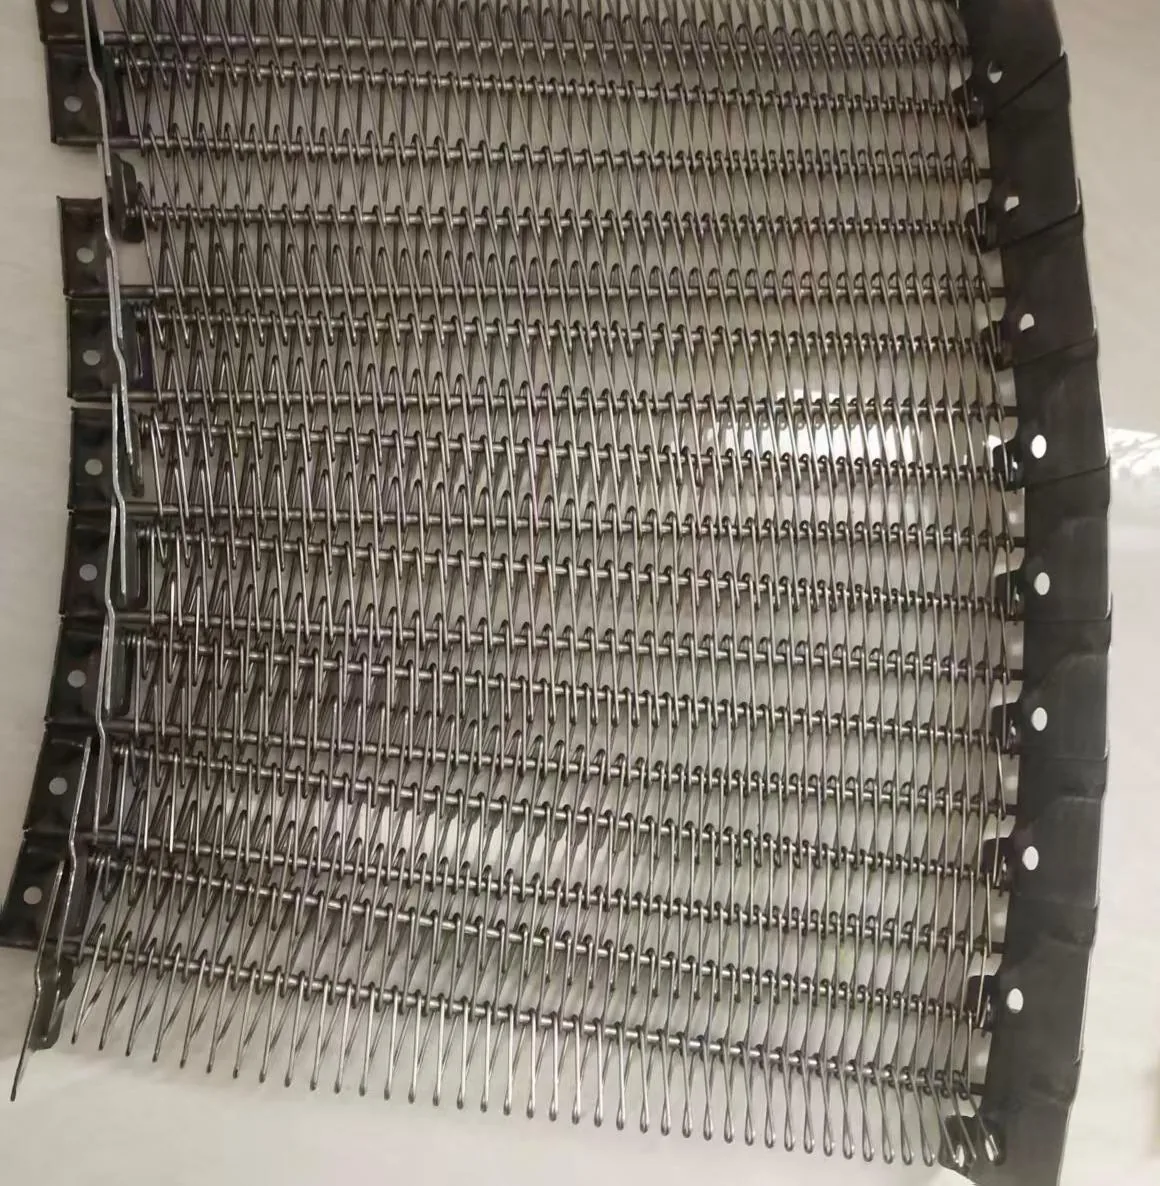
Replacing the belt is not enough when the parts around it are worn. Before ordering, inspect seven components: drum or cage, drive sprockets, idler sprockets, wear strips, support rails, take-up or tension system, and bearings, shafts and alignment. A new belt cannot make up for a worn drive system.
At a Glance
| Product | Application | Key point | Buyer type | What to send |
|---|---|---|---|---|
| Spiral freezer and cooling systems | Repeated belt failure, planned replacement | Inspect the system before the belt | Maintenance, plant engineers, service teams | Photos of belt damage, drive area, sprockets, drum, wear strips, nameplate |
Here is the order I follow, and for each of the seven components what wears, what it does to a new belt, and what to photograph for me.
01Why does a new belt sometimes fail like the old one?
If the cause of the first failure is still in the machine, it will act on the new belt in exactly the same way.
Short answer
A new belt fails like the old one when the cause sits outside the belt: worn sprockets, grooved drum bars, scored wear strips, a tension problem or misalignment. The order should be: identify the failure pattern, inspect the components around the belt, confirm the cause, then write the replacement specification.
| # | Component | What wears or drifts | What it does to a new belt |
|---|---|---|---|
| 1 | Drum / cage | Bars grooved, scratched or loose | Edge wear, poor drive, tracking |
| 2 | Drive sprockets | Teeth hooked or thinned | Jumping, impact, link and rod wear |
| 3 | Idler sprockets | Teeth worn, not turning freely | Drag, uneven tension, noise |
| 4 | Wear strips | Scored, grooved, missing | Belt runs on metal, edge damage |
| 5 | Support rails | Bent, uneven, loose | Belt not flat, tiers interfere |
| 6 | Take-up / tension | Setting drifted, part stuck | Too much or too little tension |
| 7 | Bearings, shafts, alignment | Worn bearings, bent shaft, misaligned | Tracking off, uneven load |
- 01
Old belt fails
Do not automatically order an identical belt.
- 02
Identify the failure pattern
Where is the damage, how often, since when?
- 03
Inspect surrounding components
The seven parts in the table above.
- 04
Verify the root cause
Belt, machine, or the match between them.
- 05
Write the replacement specification
Belt plus any parts that must be replaced with it.
I sort failures into belt, machine and match in spiral belt failure: is it the belt or the machine?. This article goes one step further: a checklist of the machine components themselves.
Tension settings, bearings and alignment are the freezer maker's or your maintenance team's work. I do not adjust machines. But I can tell you when the belt evidence points at them, and I ask for photos so we do not ship a new belt into the same problem.
02What should you check on the drum or cage?
On a friction-drive spiral, the inner edge of the belt rides against the drum bars every turn. The bars wear too.
Short answer
Check the drum bars for grooves, scratches, dark residue and loose or bent bars. Grooved bars wear the belt edge and change how the drum drives it. Residue on the bars is often a sign of burrs on the belt edge welds. Send photos along the drum height.
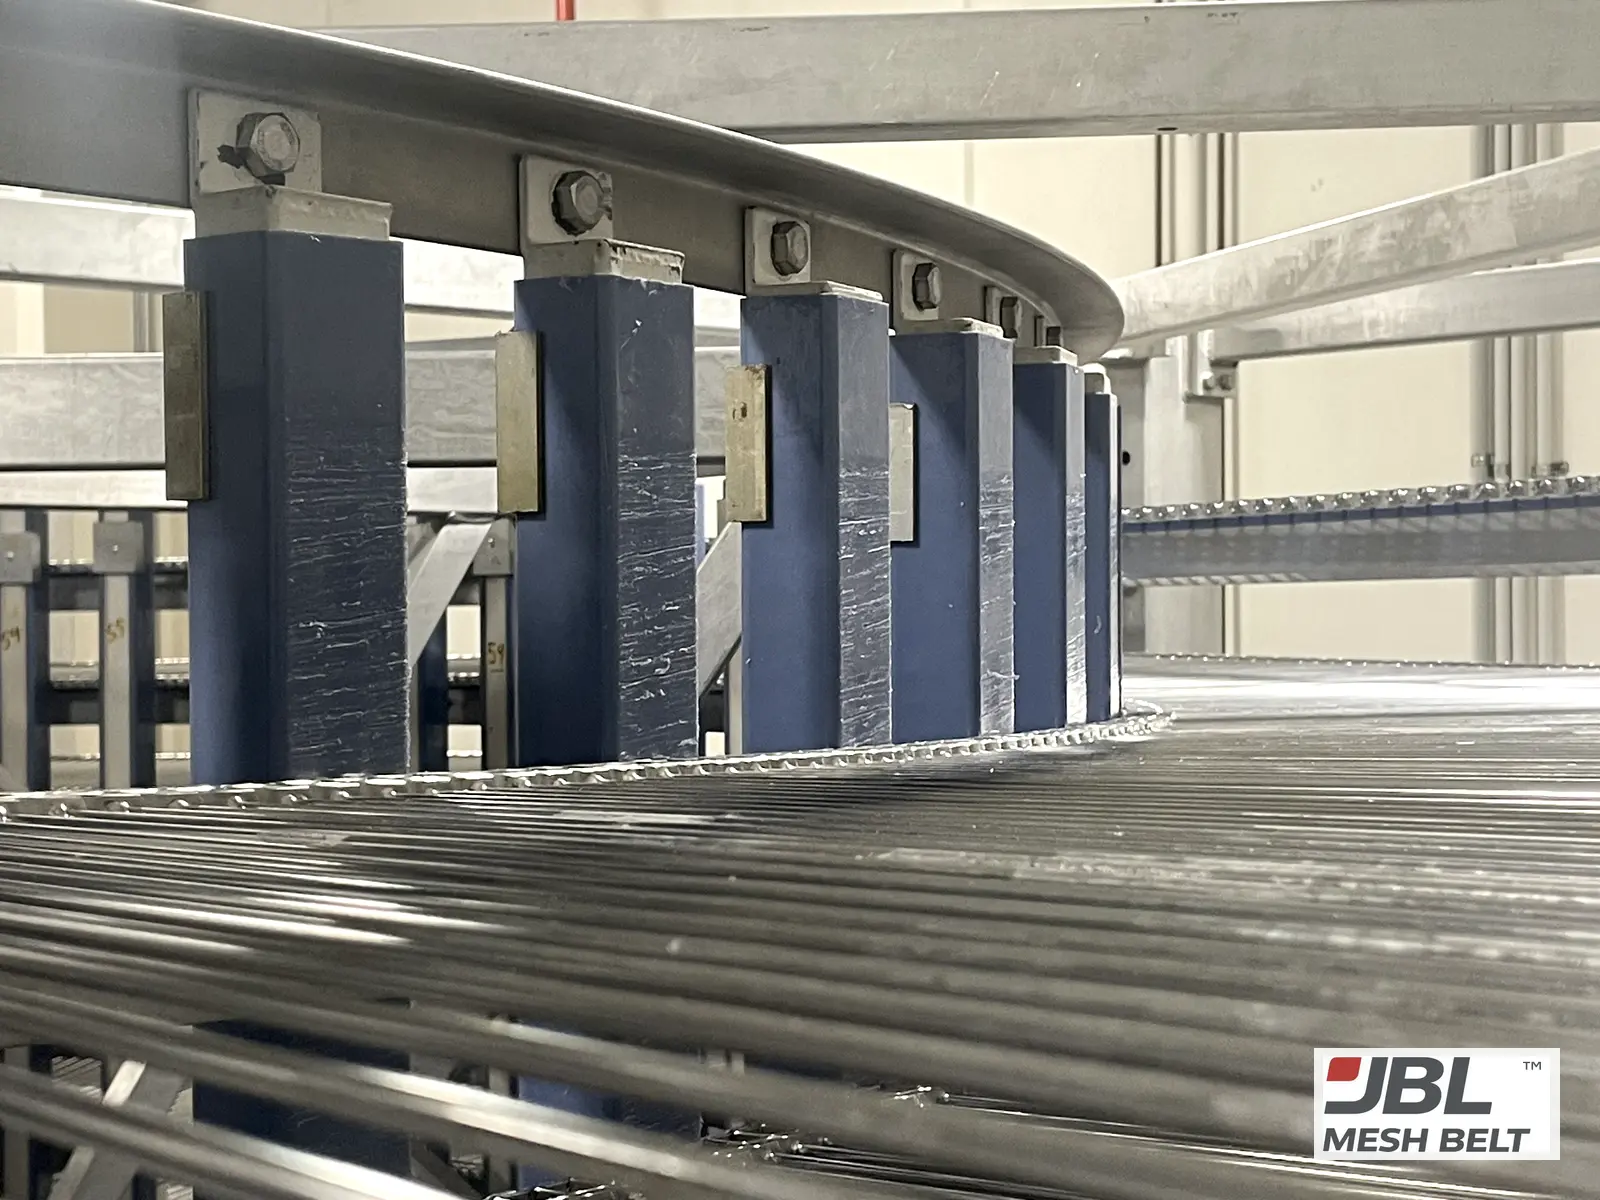
The drum is the largest part the belt touches. If its bars are grooved, a new belt edge sits in those grooves and wears to their shape. If some bars are loose or bent, the belt is driven unevenly around the turn.
| What you see on the drum | Likely cause | What to do |
|---|---|---|
| Deep and shallow scratches on bars | Burrs on belt edge welds | Smooth welds on the new belt; repair bars if deep |
| Dark residue on bars | Material scraped off the bars | Clean; check edge welds |
| Grooves at one height | Long wear in one spot | Repair or replace bars |
| Loose or bent bars | Mechanical damage | Repair before fitting the belt |
Scratches and residue on the drum bars are the starting point of a contamination problem I describe in weld burrs and IQF contamination. They are worth checking even when the belt still runs.
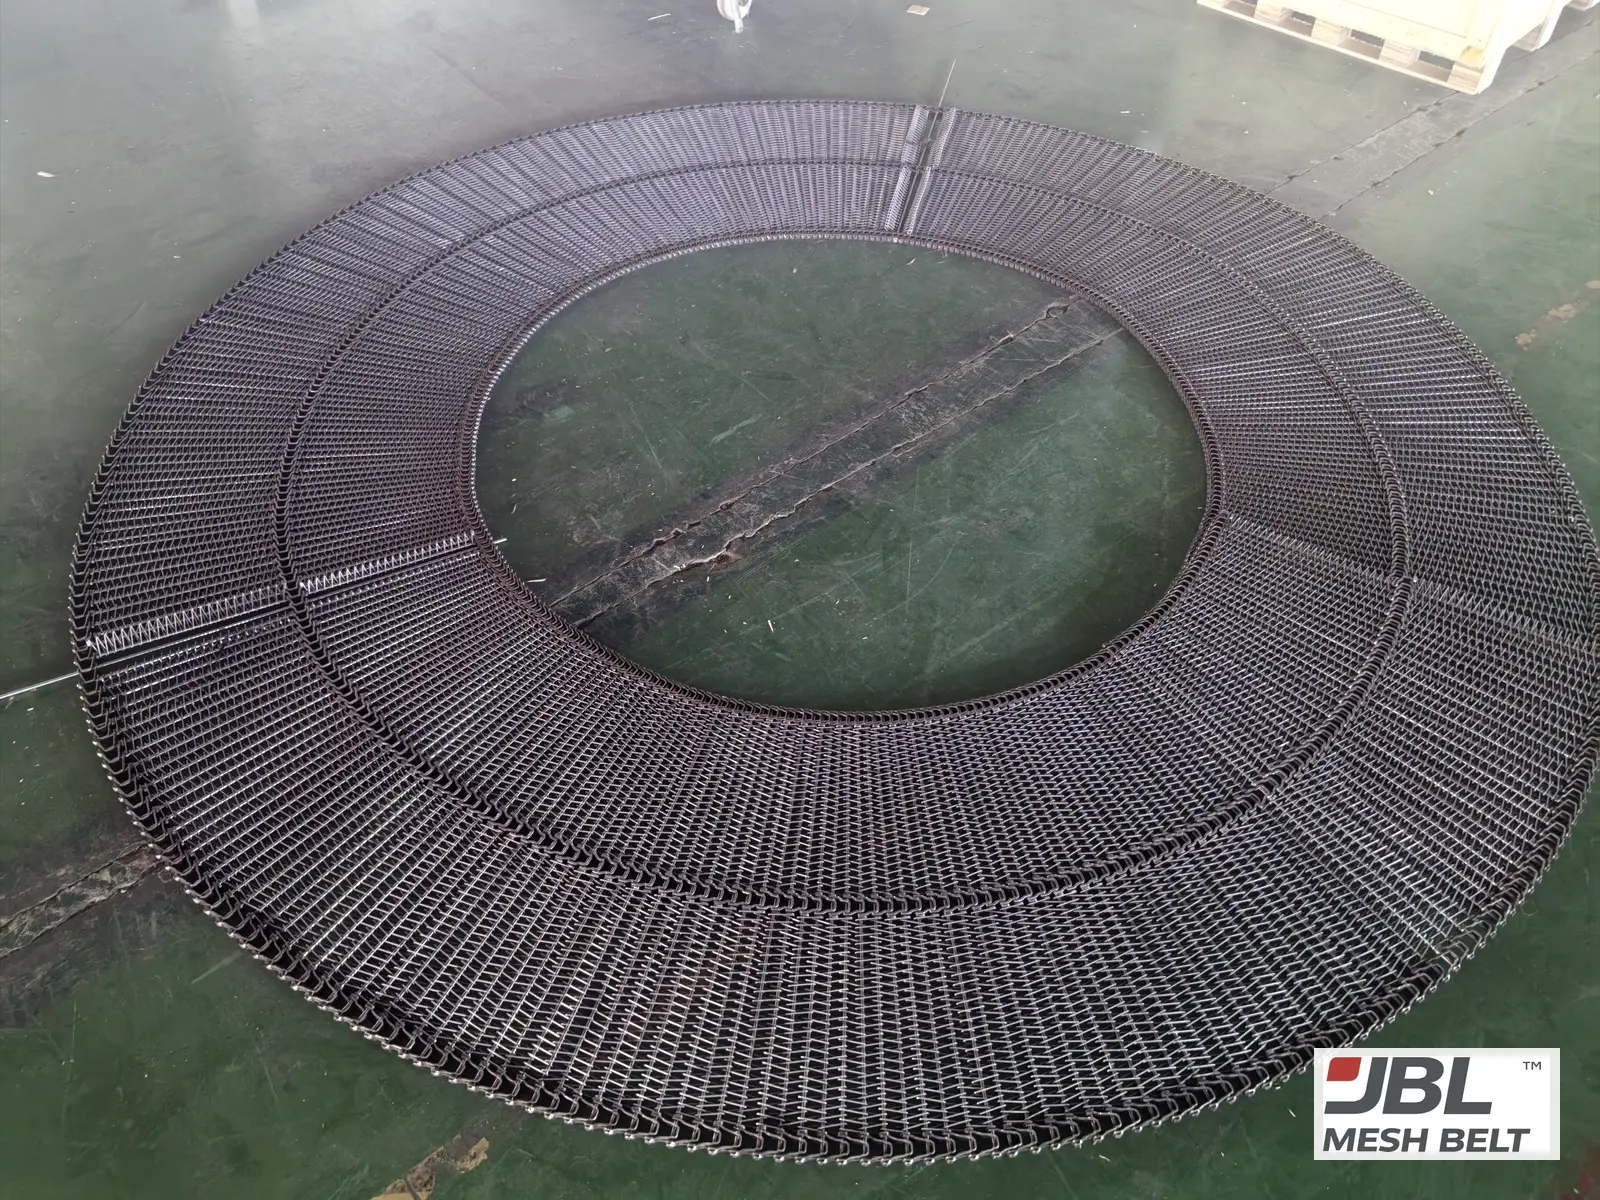
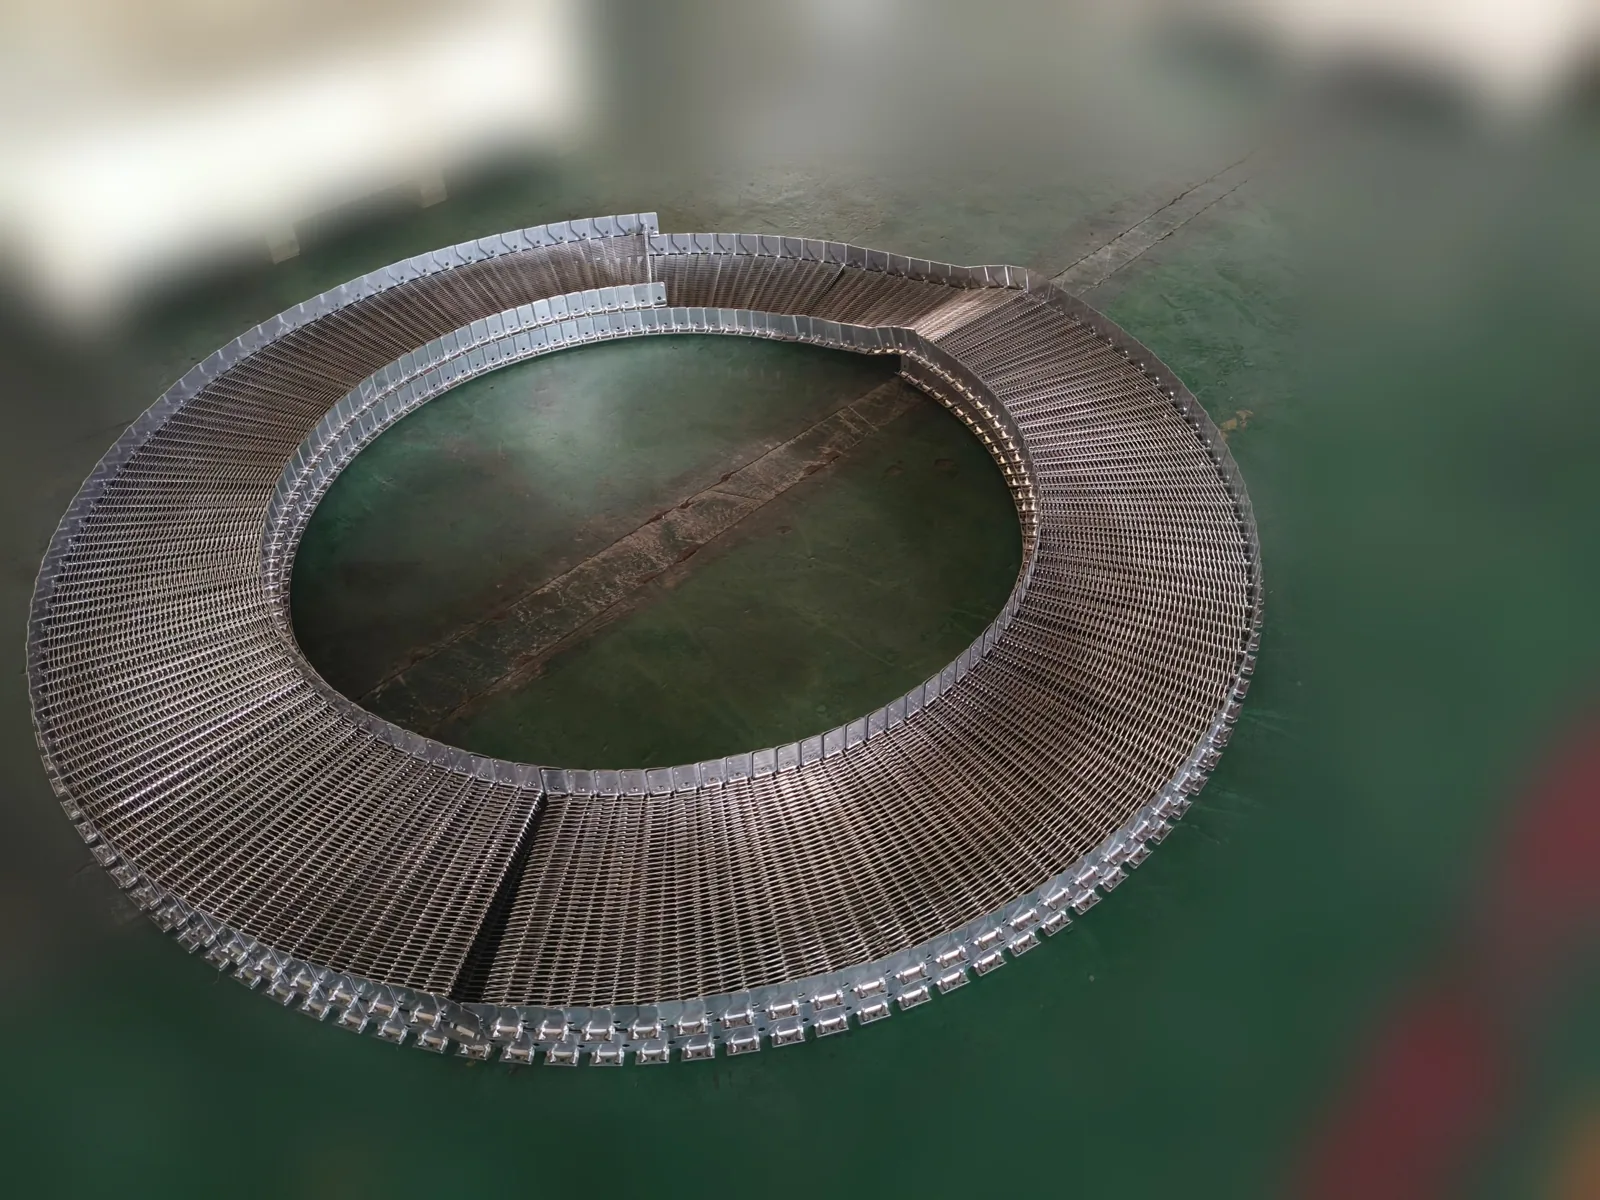
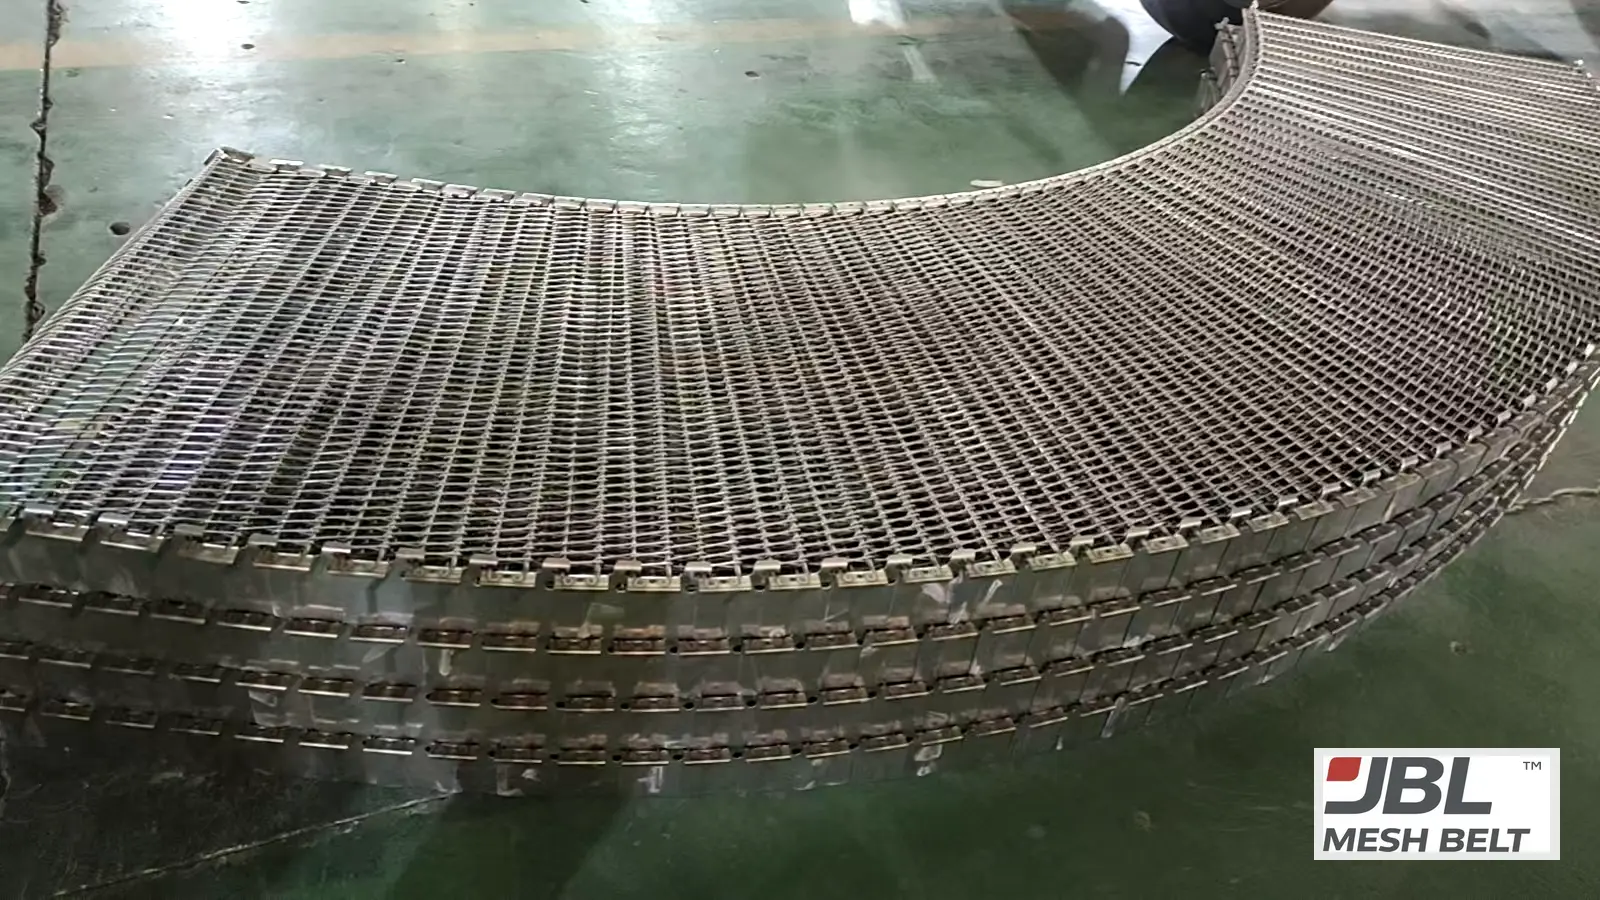
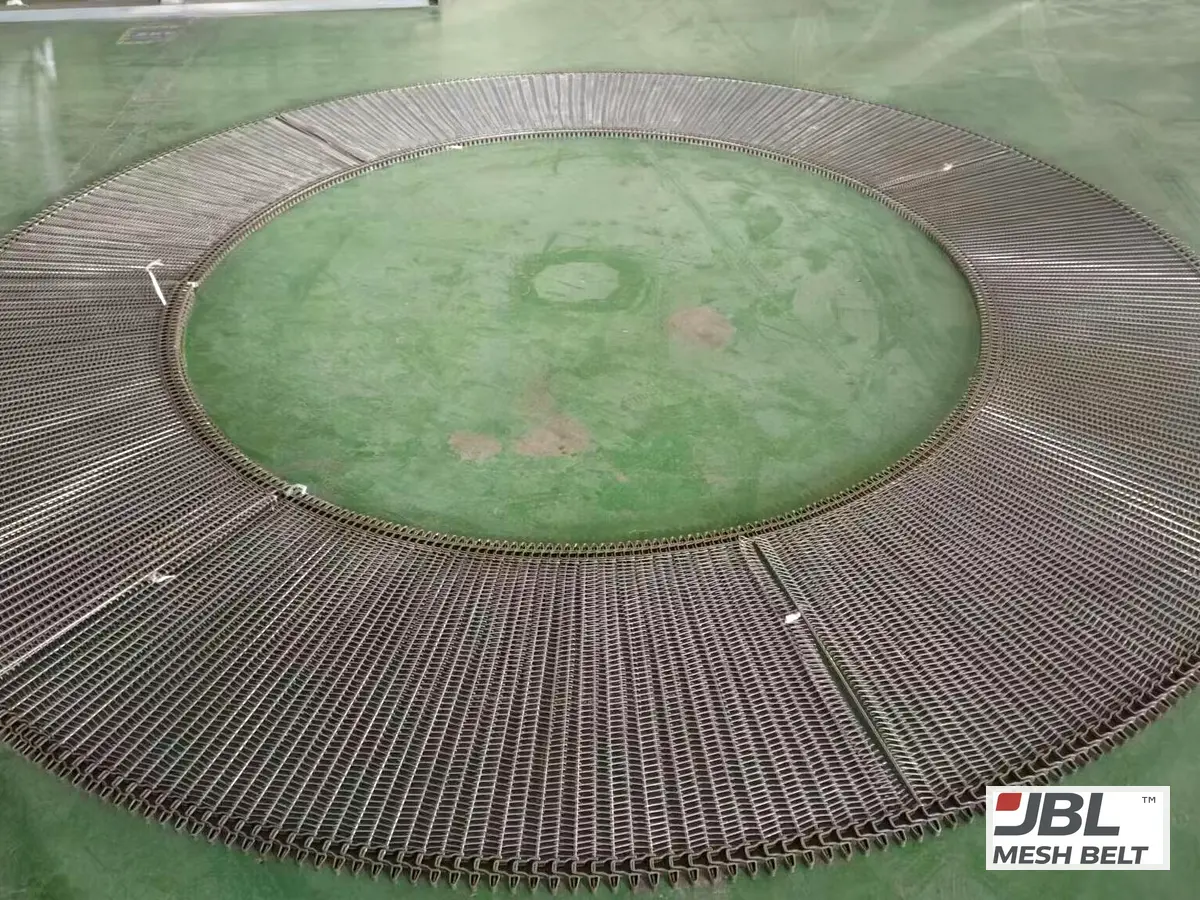
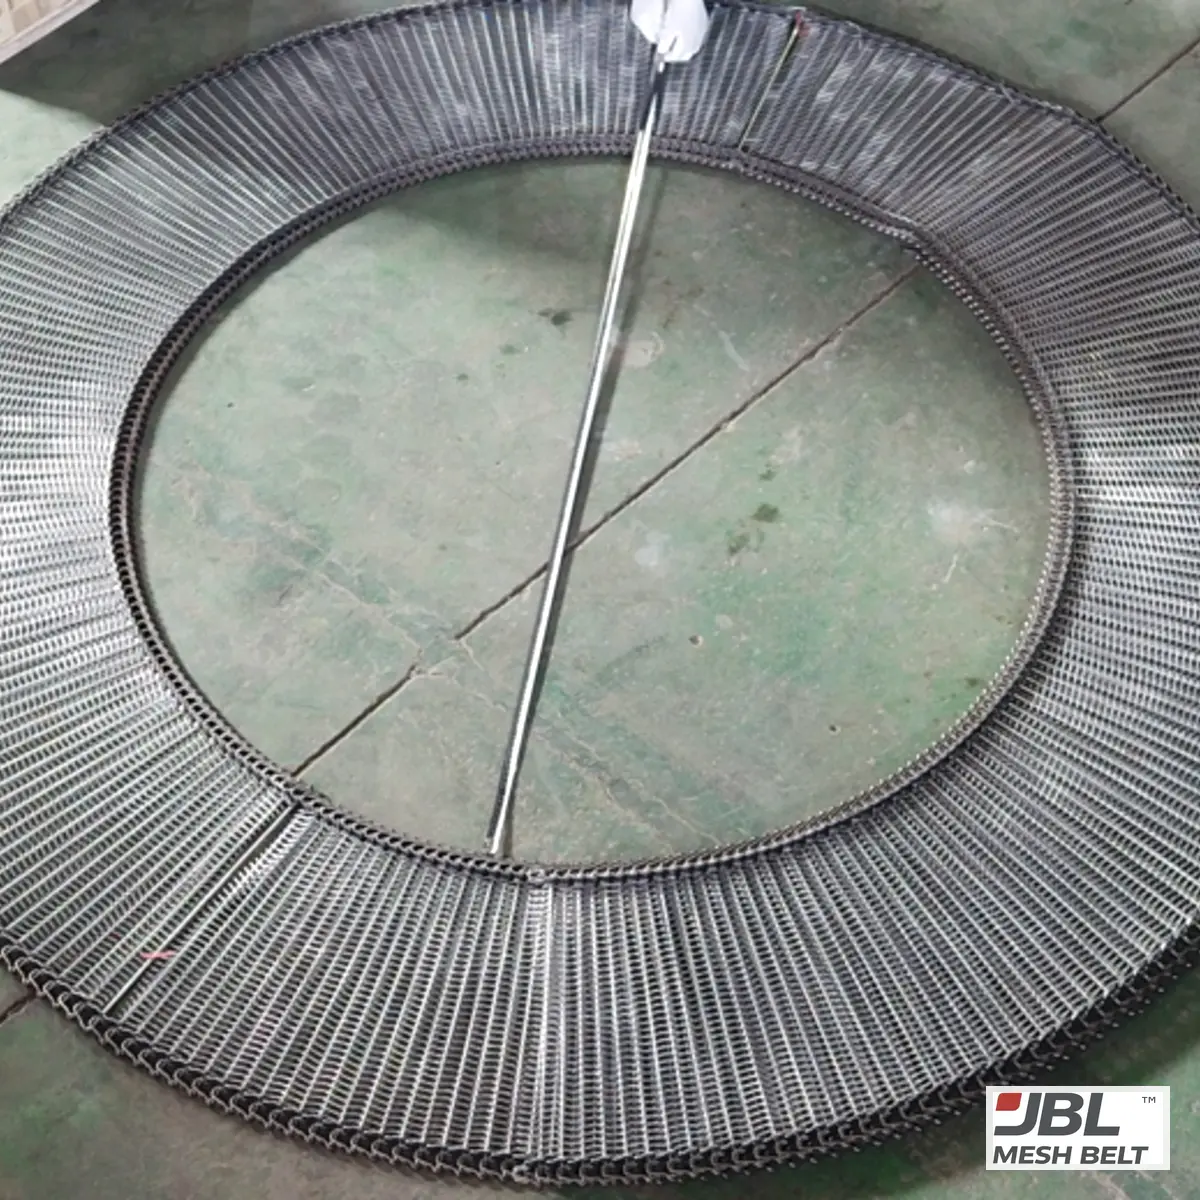
On our side, a spiral belt is laid out in a circle or turned on a test drum matched to your drum diameter and turn ratio before shipment. That proves the belt. Your drum still needs its own check.
03What should you check on drive and idler sprockets?
Sprockets are cheap compared with a belt. Leaving worn ones in place is one of the most expensive shortcuts I see.
Short answer
On drive sprockets, check for hooked, thinned or one-sided tooth wear, a loose bore or keyway, and the tooth count. On idler sprockets, check that they turn freely and that the teeth are not worn. Worn sprockets should be replaced with the belt and run on it before shipment.
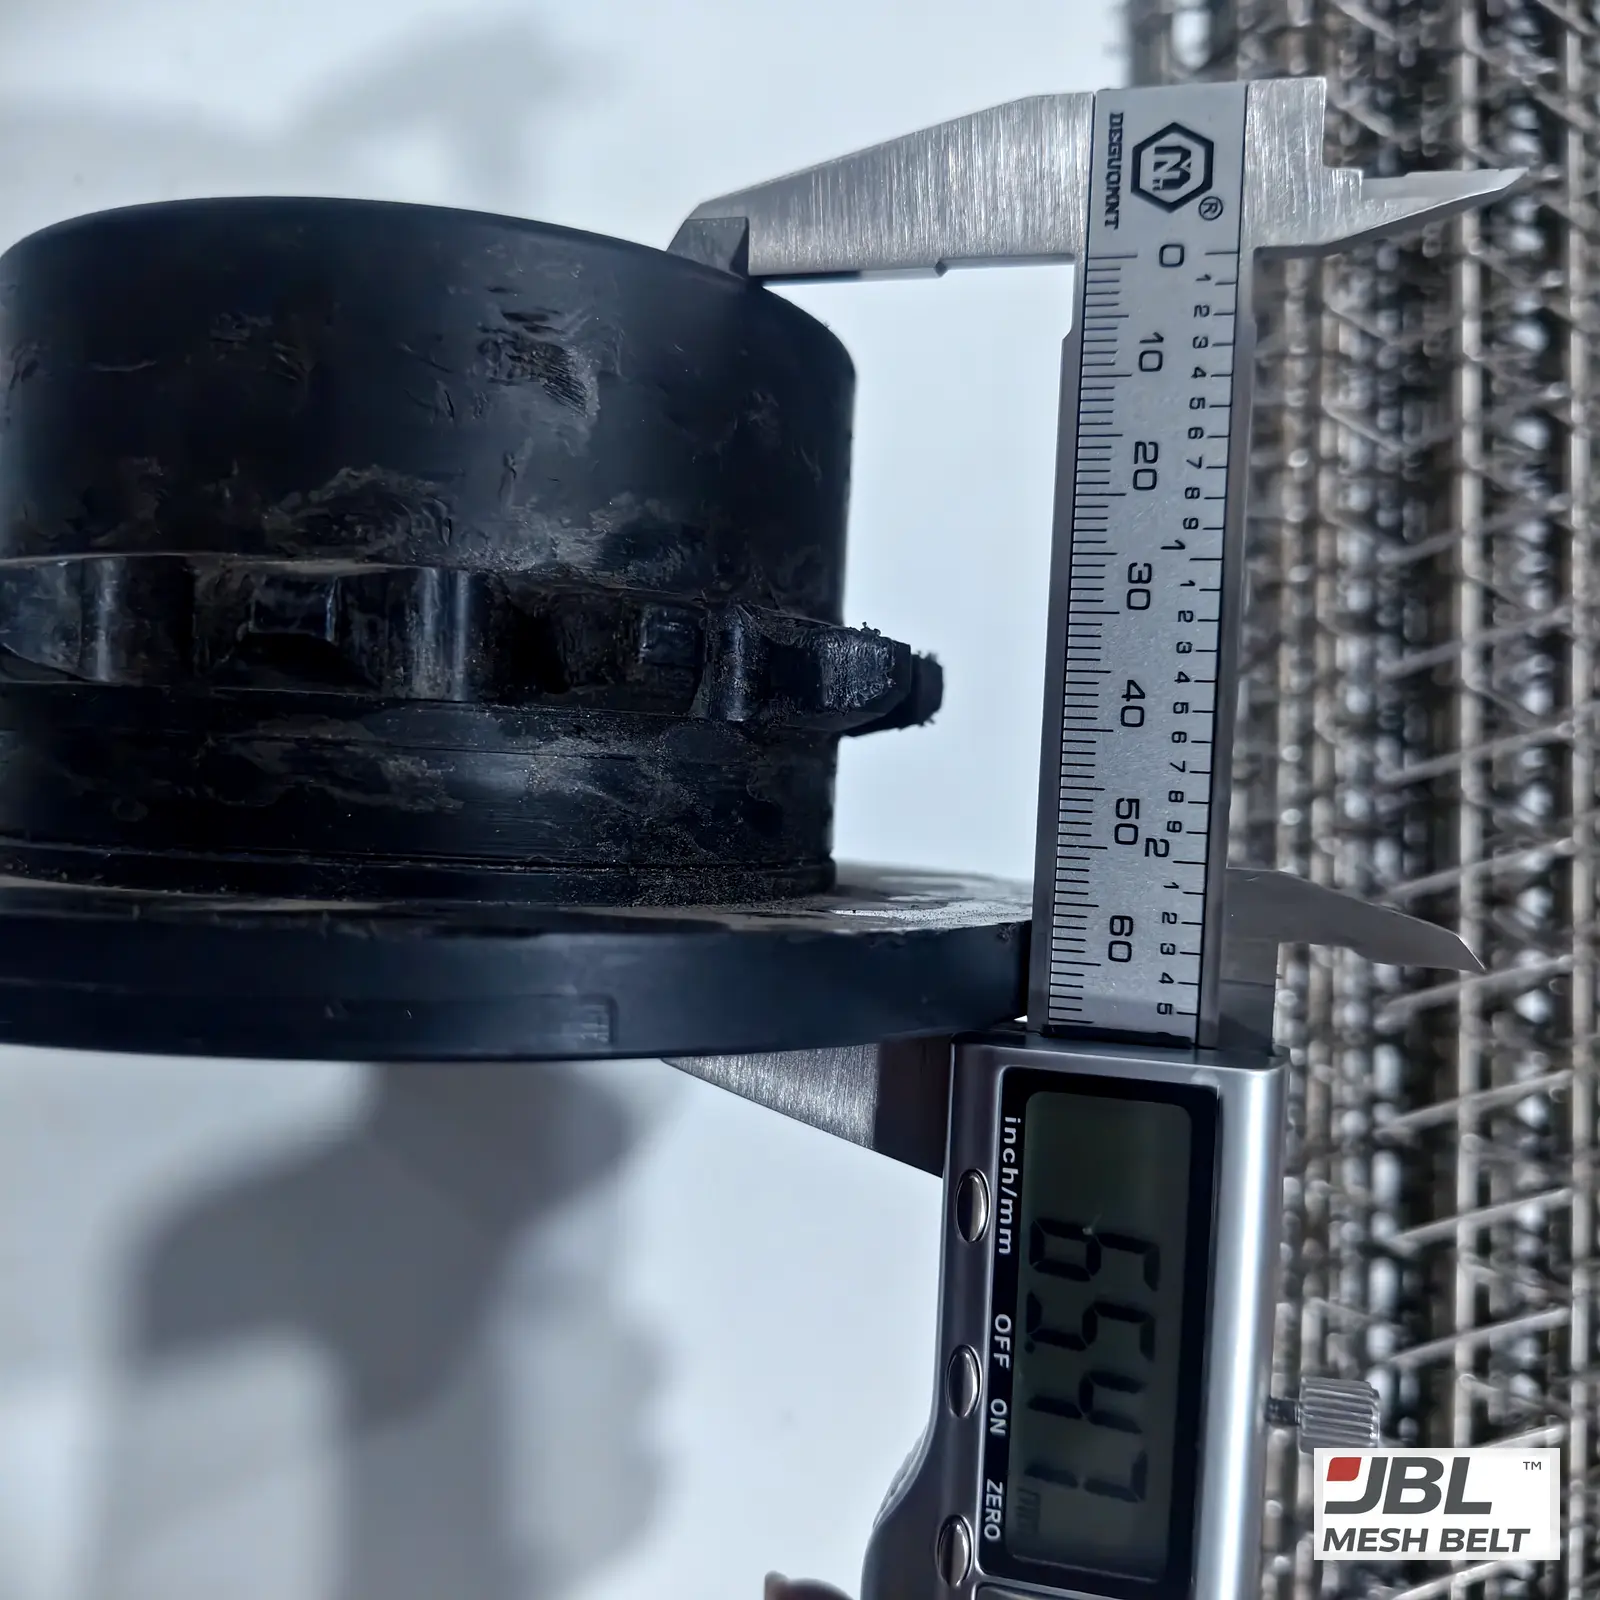
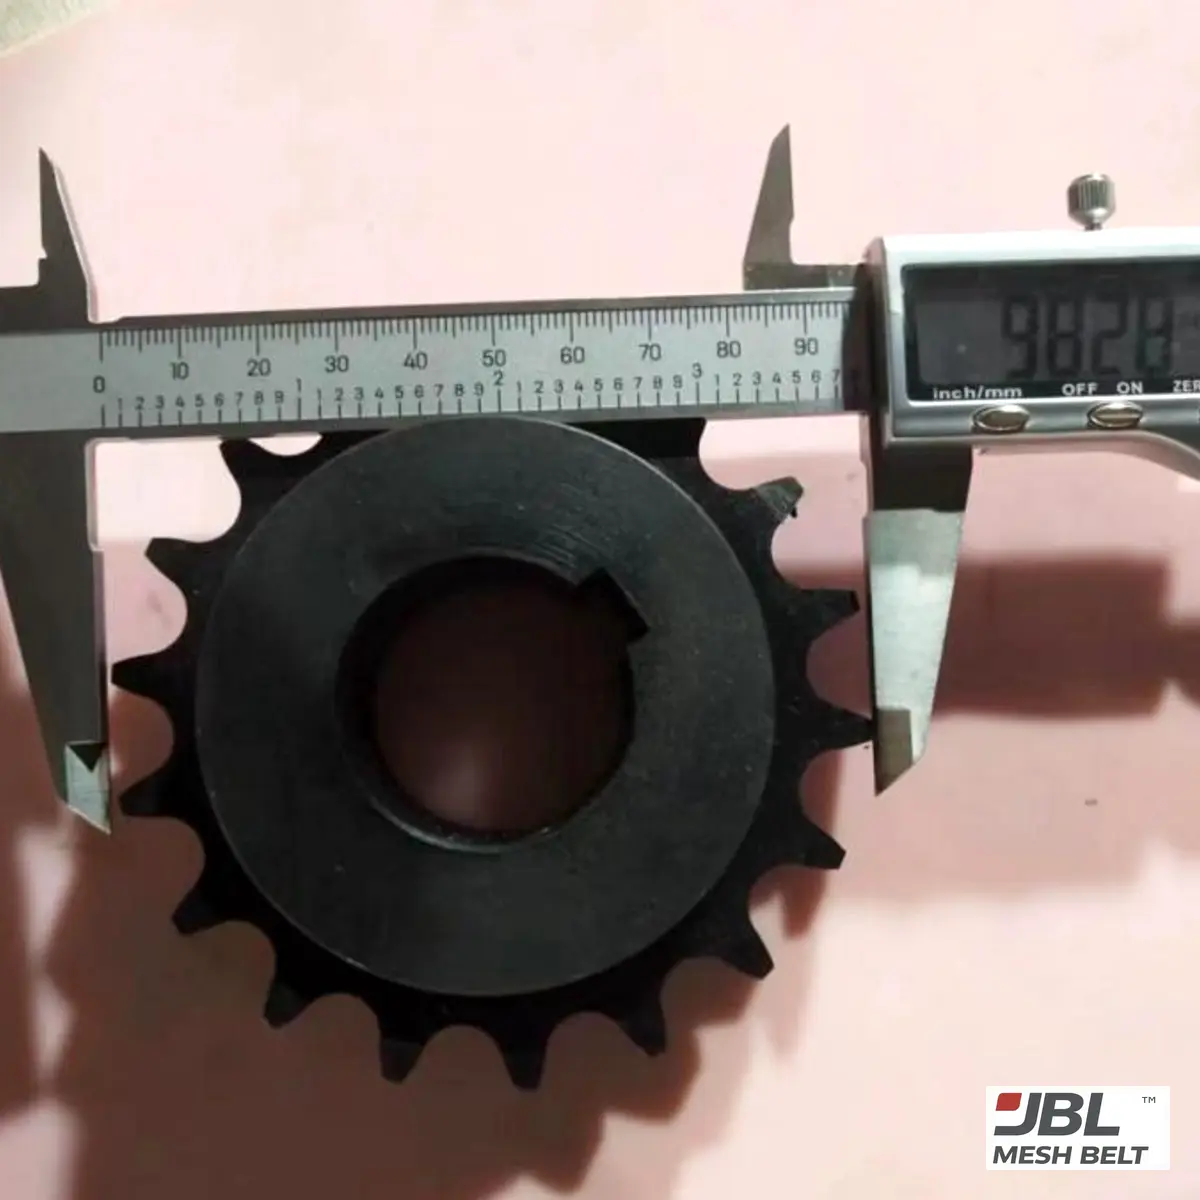
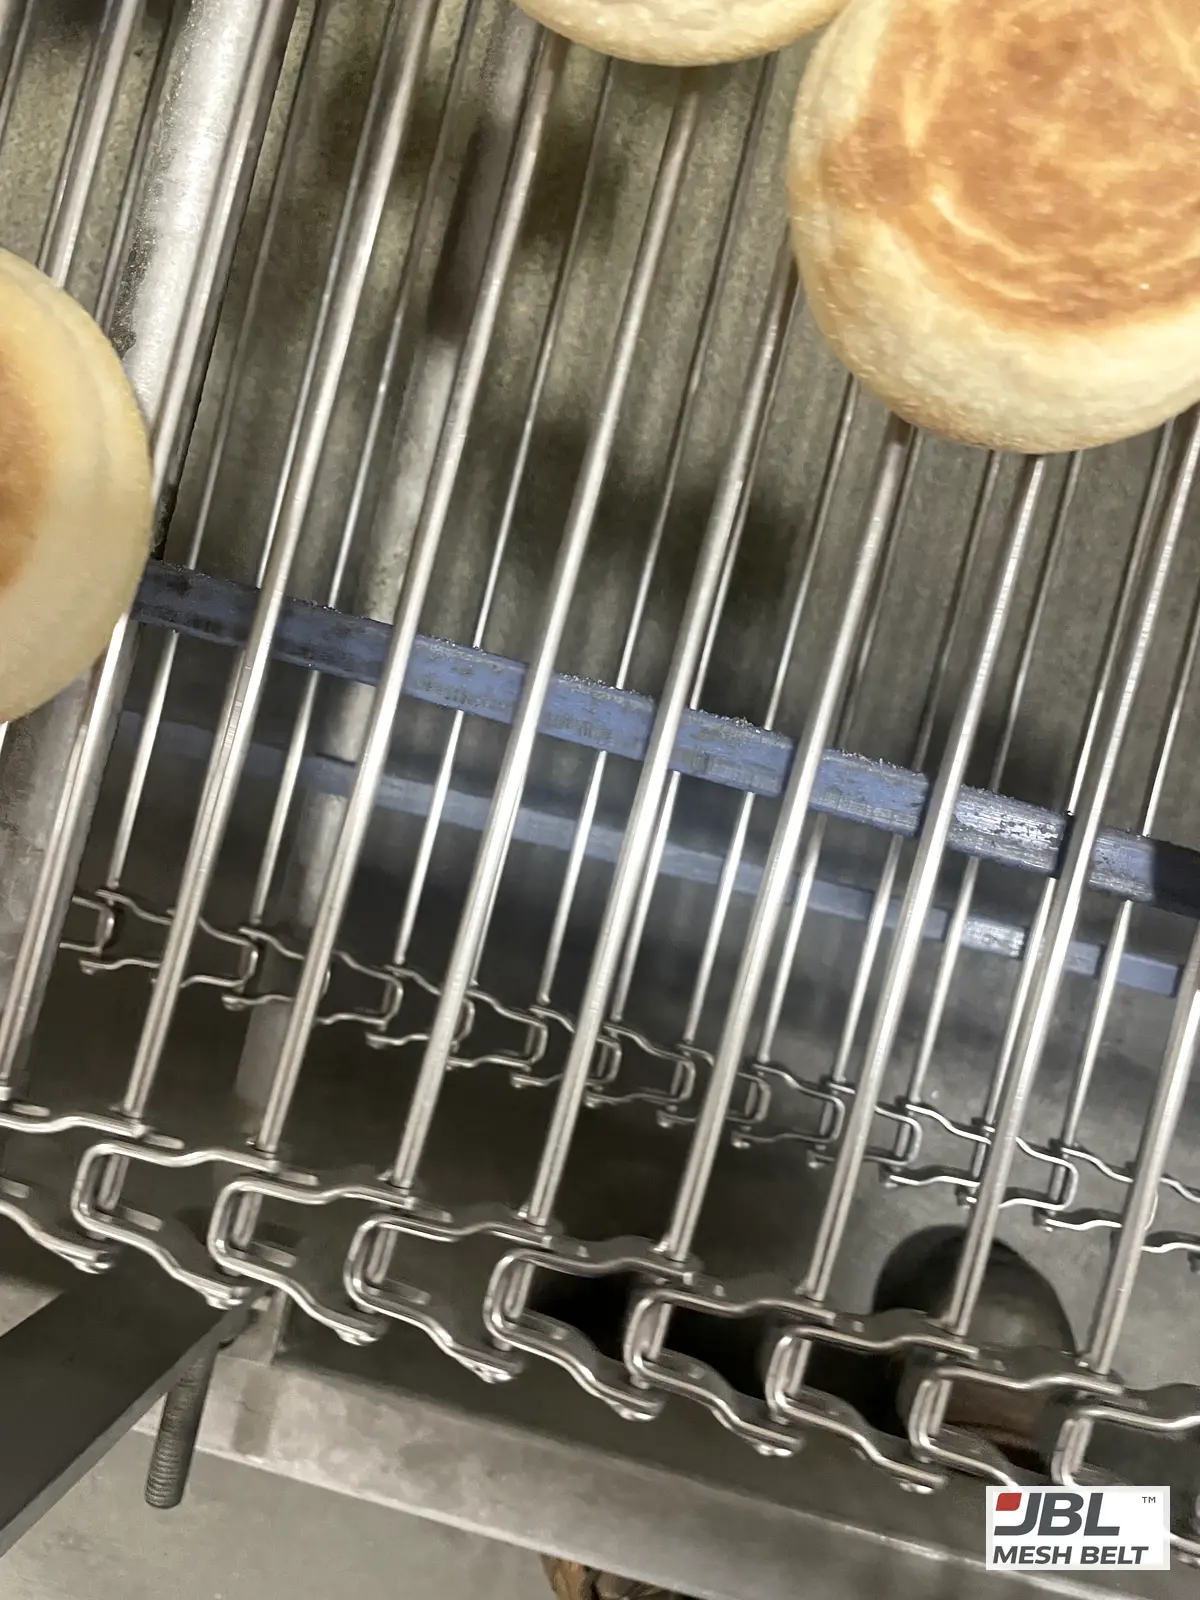
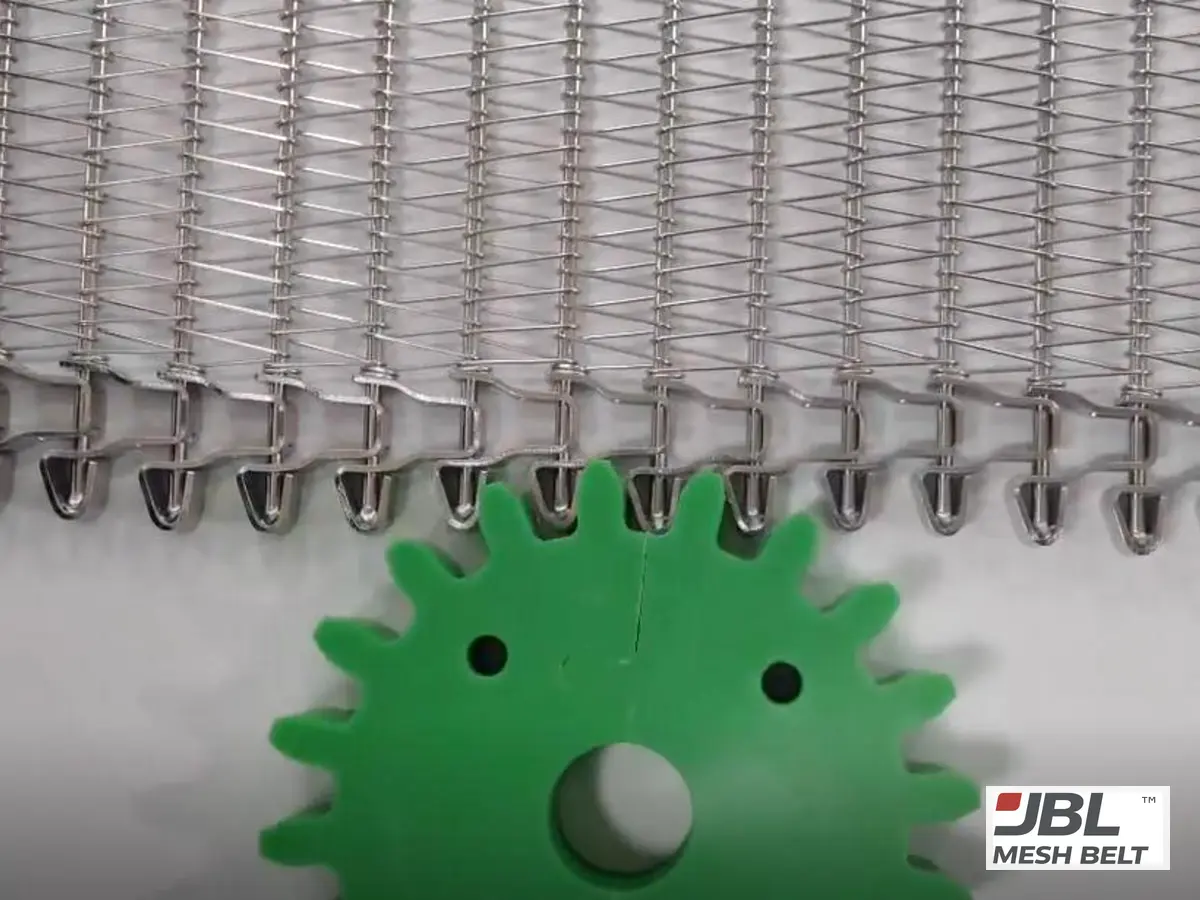
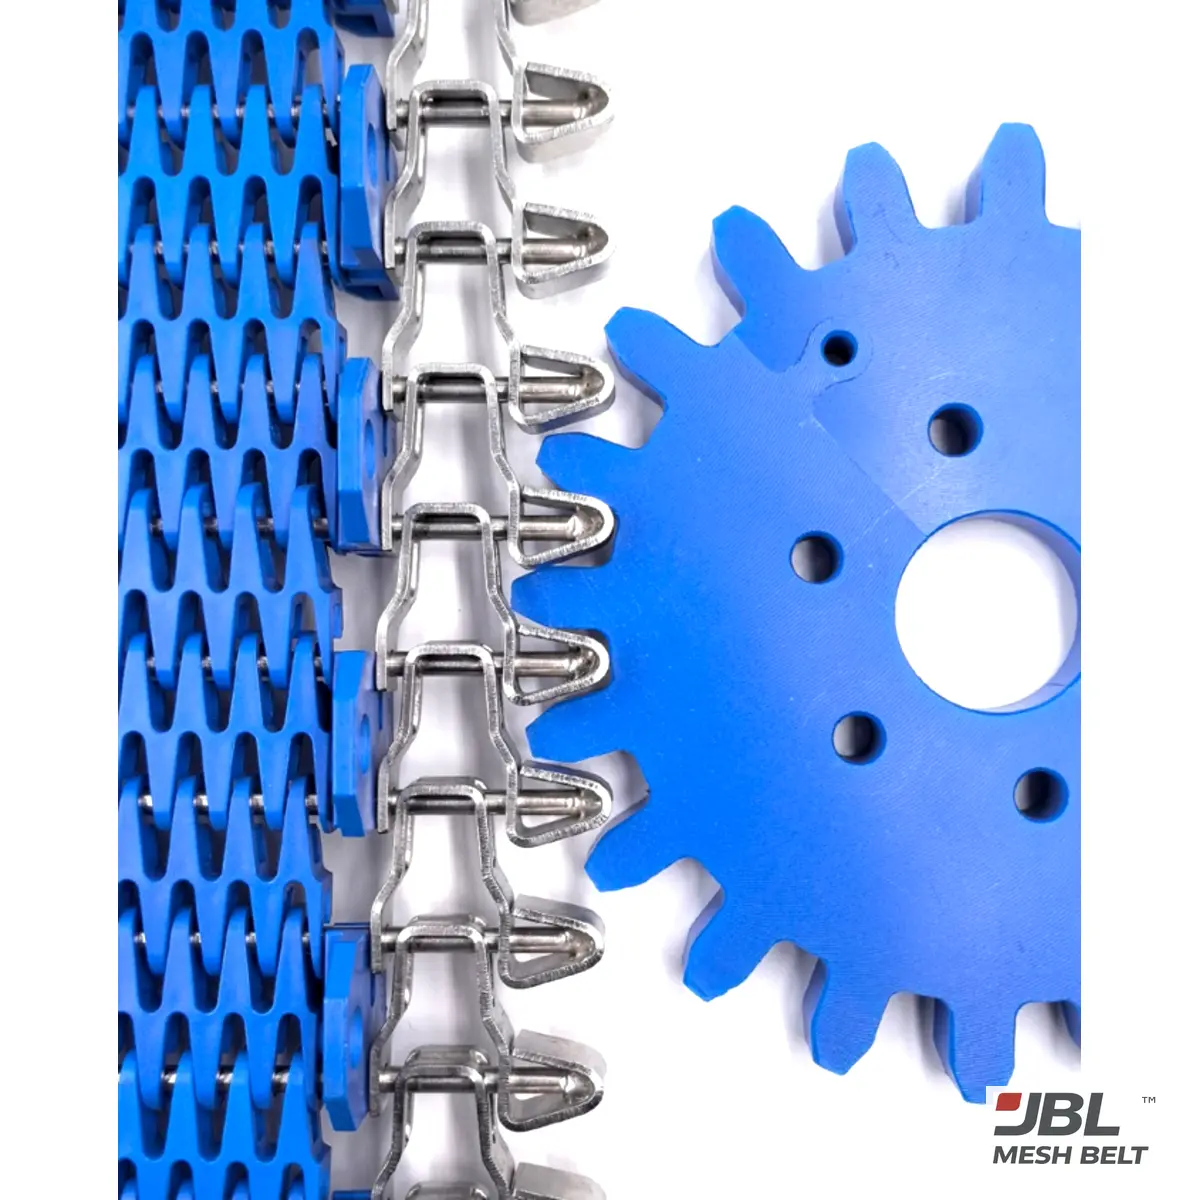
On the waffle cooling spiral, the original sprocket teeth were clearly worn. We measured the originals and made new sprockets, then ran one on the bulk belt before packing. Hooked or thinned teeth do not seat a new belt properly, so both were replaced.
Idler sprockets are easy to forget because they do not drive. But an idler that does not turn freely drags the belt, and a worn idler changes how the belt enters and leaves the turn. Spin each idler by hand when the line is safely stopped and locked out.
| Sprocket check | Drive | Idler |
|---|---|---|
| Tooth shape (hooked, thin, one-sided) | Yes | Yes |
| Turns freely, no play | — | Yes |
| Bore, keyway and set screws | Yes | Yes |
| Tooth count and pitch | Yes | Yes |
Why a worn sprocket damages a new belt is explained step by step in why a new spiral belt can fail on worn sprockets.
04What should you check on wear strips and support rails?
Wear strips and rails carry the belt between the drive points. When they wear, the belt rides on the wrong surface.
Short answer
Check wear strips for scoring, grooves, shavings and missing pieces, and support rails for bends, loose fixings and uneven height. Scored strips and shavings often point to rough belt edges; worn or uneven rails let the belt sag, tilt or touch the tier below.
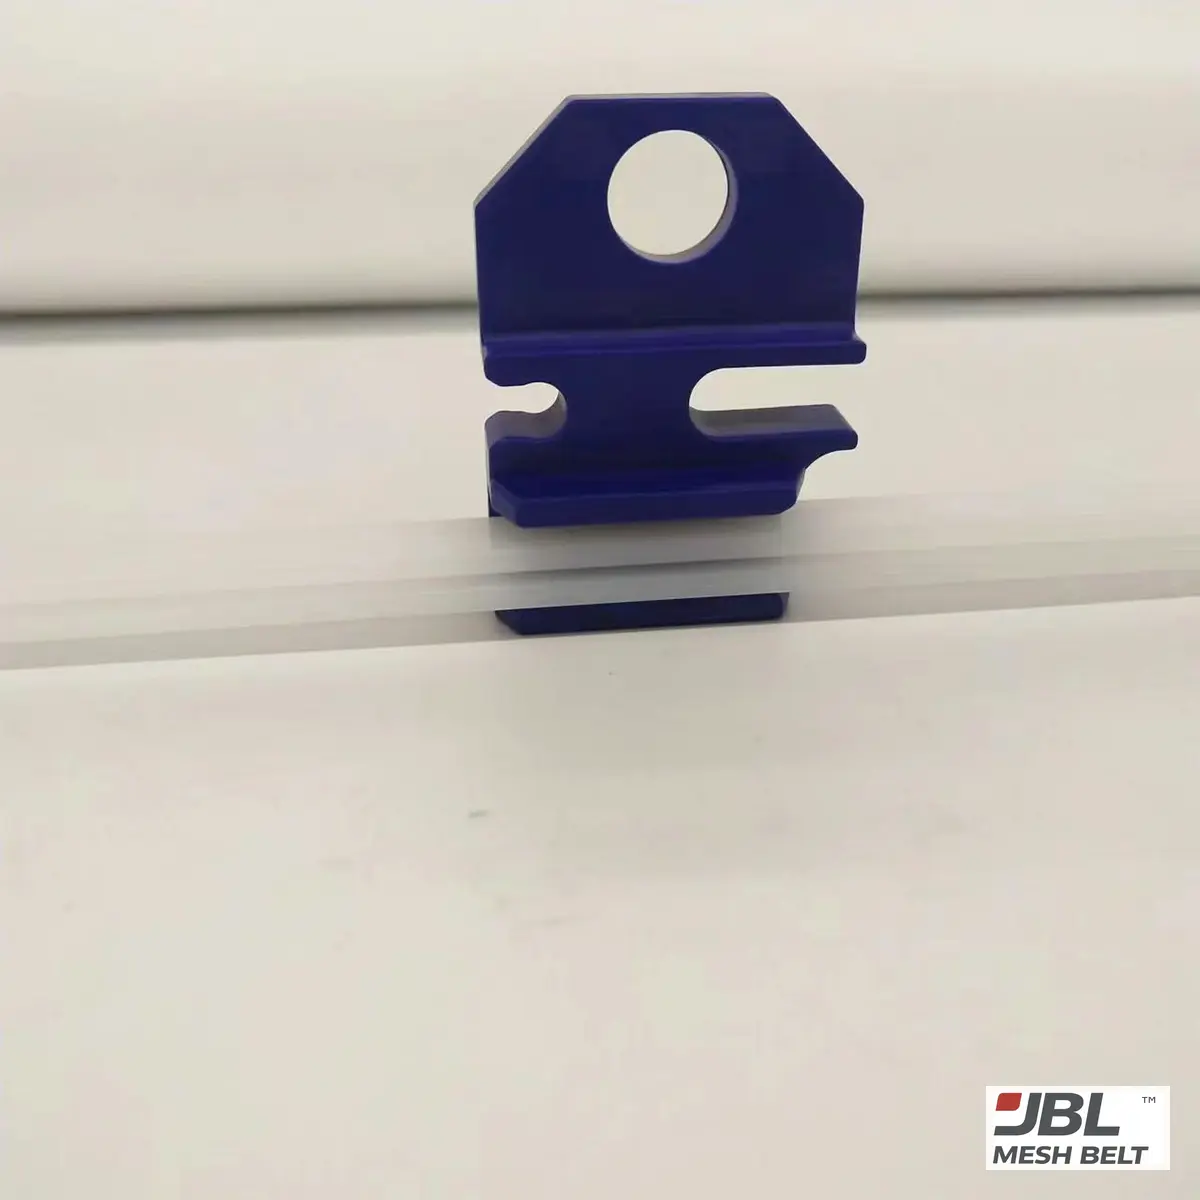
In Melbourne, the blue plastic guide strips were scored along the belt path, and plastic shavings collected at the belt edge. The cause was on the belt: rough rod-end welds with burrs. The replacement belt was made with smooth welds. If the strips were badly worn, they should be replaced with the belt too, or the new belt runs in the old grooves.
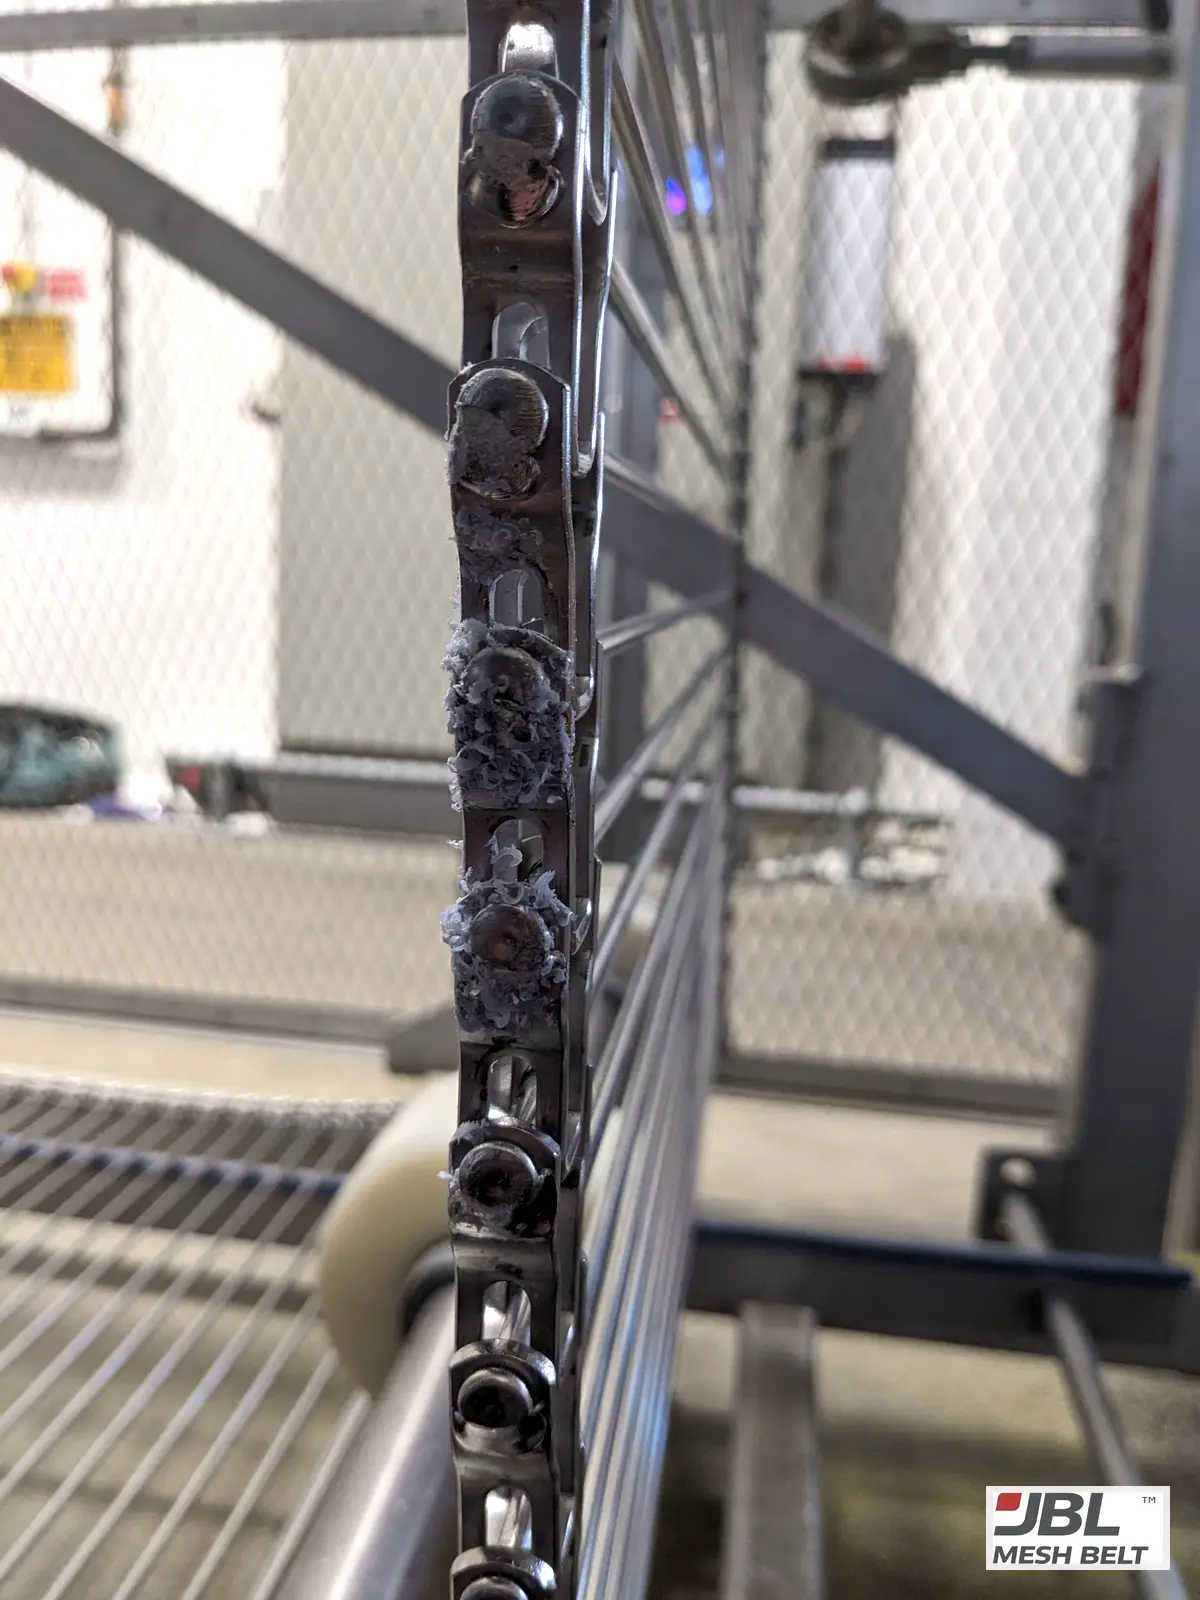
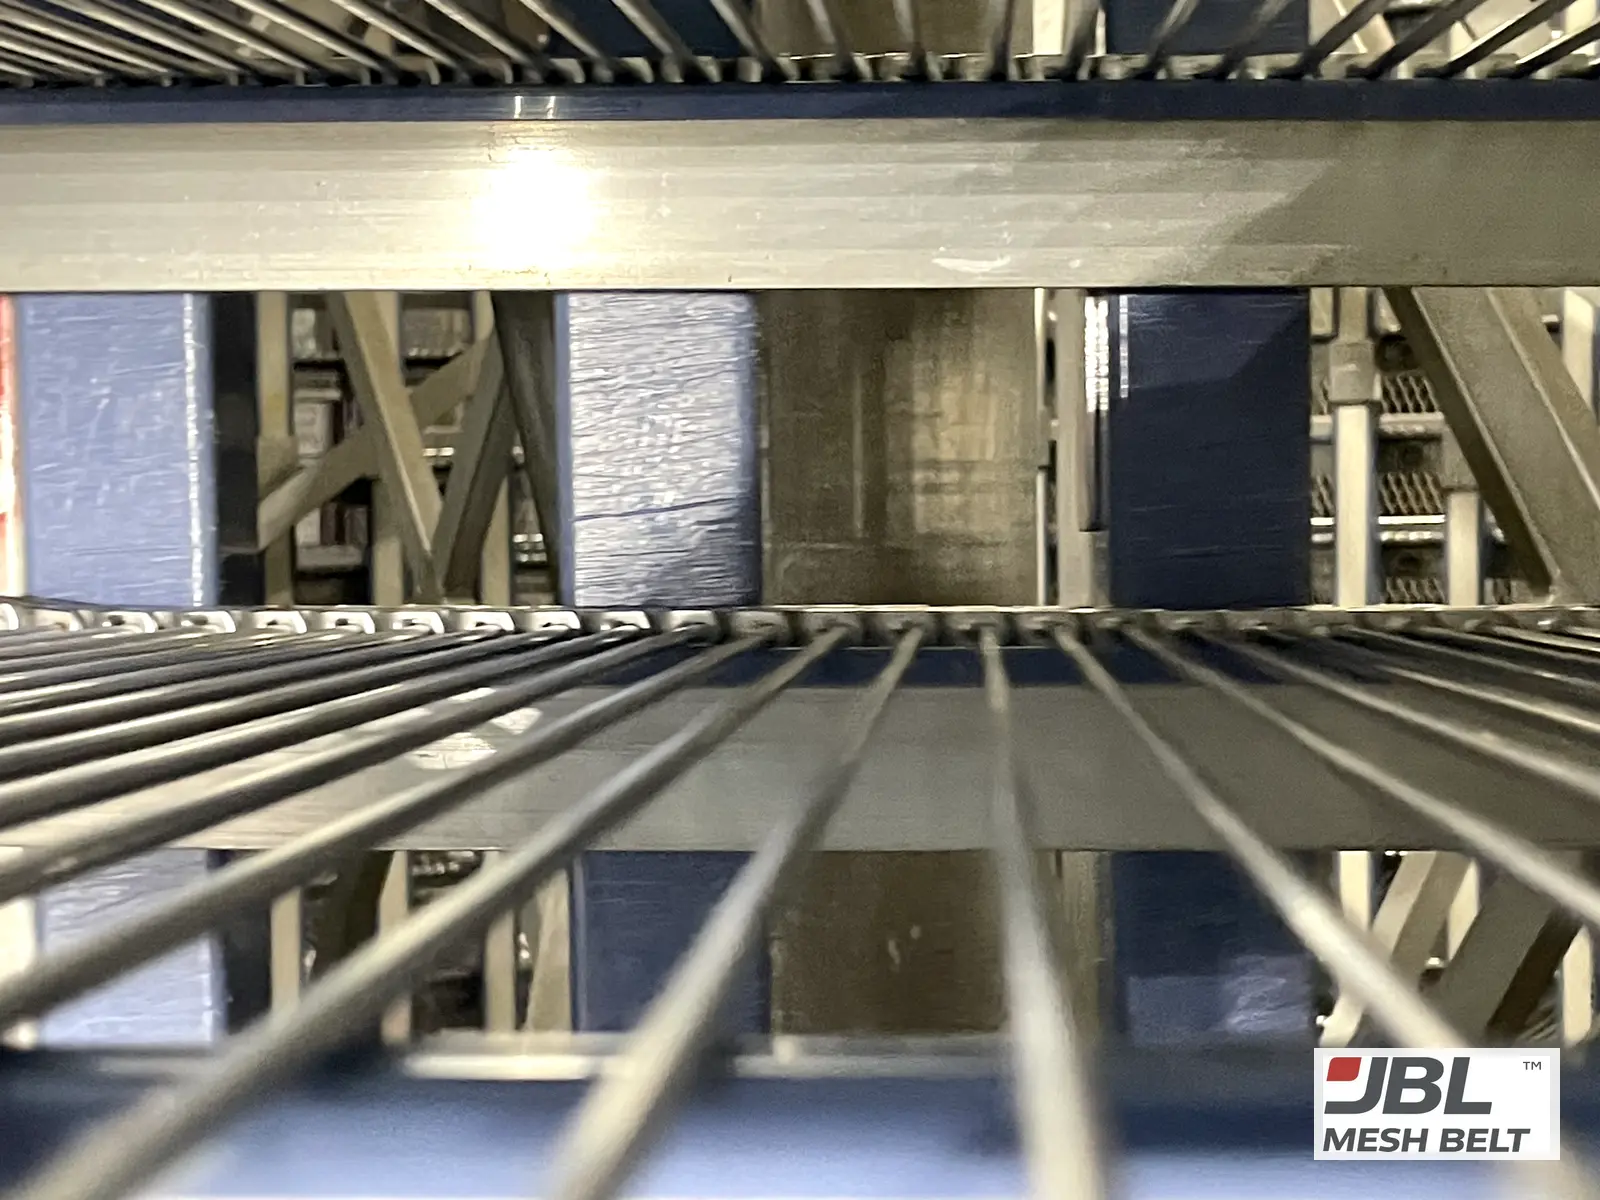
Support rails matter for flatness. If one rail is lower or bent, the belt tilts on that tier. On a spiral, a tilted tier can touch the tier below or rub a guide. Look at the rails from the side, tier by tier, and photograph anything that is not straight.
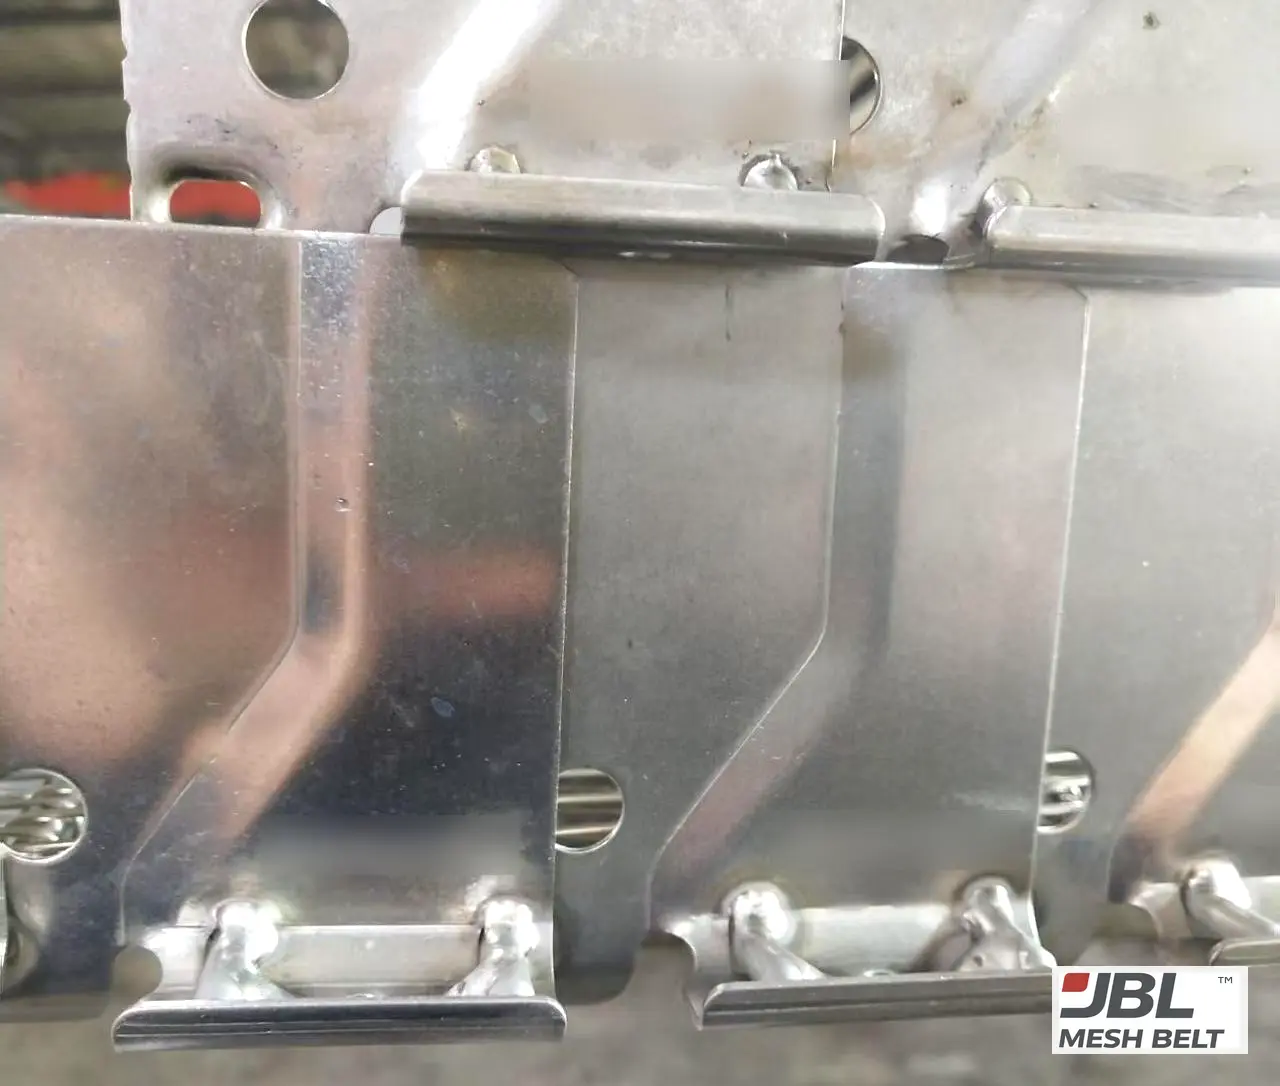
Some belts ship with their own wear strips. Our side-driven belts can be packed with wear strips and rods on the shipping list, so the strips are replaced at the same time as the belt.
05What should you check on the take-up, tension, bearings, shafts and alignment?
These parts are hidden and rarely photographed. They still decide how evenly the belt is pulled.
Short answer
Check that the take-up moves freely and is not at the end of its travel, tension settings have not drifted, bearings run without play or noise, shafts are straight, and sprockets line up across the belt. Misalignment and tension errors cause tracking and uneven wear on any belt.
| Component | What to check | What to send me |
|---|---|---|
| Take-up / tension | Free movement, position in its travel, settings | Photo of the take-up and any setting record |
| Bearings | Play, noise, heat | Note of any noisy or hot bearings |
| Shafts | Straight, not worn at the sprocket | Photo along the shaft |
| Alignment | Sprockets in line across the belt | Photo from the end of the shaft |
A take-up at the end of its travel is a common sign: the belt has stretched so far that the take-up can no longer hold tension. A new belt has not stretched yet, so the take-up must be reset for it. If it is stuck, the new belt will run with the wrong tension from the first day.
Bearings, shafts and alignment are the freezer maker's or your maintenance team's job. I do not give settings for them. What I do is look at the belt evidence: if one edge wears faster, or the belt tracks to one side on a straight run, I ask for alignment photos before I blame the belt.
Request a root cause review
Send photos of the belt damage, the drive area, the sprockets, the drum, the wear strips and the machine nameplate. I tell you where I think the problem starts before you order a belt.
Always lock out the line before inspecting or photographing moving parts. The US workplace safety rule on controlling hazardous energy is a useful reference for that procedure.
When This Is Not the Right Choice
- ✕If the belt failed because of a one-off jam or foreign object, repair the cause; a full system inspection may not be needed.
- ✕If the system is under the freezer maker's service contract, involve their engineer in the inspection.
- ✕If the belt simply reached the end of a long, normal life and the line ran well, a quick check of sprockets and strips may be enough.
From My Engineering Experience
When a buyer tells me the last belt failed, my first question is not about the belt. It is: what did the parts around it look like?
In Melbourne, the damage showed on the guide strips. On the waffle line, the sprocket teeth were worn. In Melbourne, the new belt removed the cause with smooth welds. On the waffle line, the sprockets were replaced together with the belt.
A new belt cannot compensate for a worn drive system. That is why I ask for photos of the system before I quote a belt.
— Spring, Sales Director, JBL Mesh Belt
Evidence From Our Work
Melbourne, Australia — wear strips showed the problem →
| Step | Detail |
|---|---|
| Seen on the system | Scored guide strips, plastic shavings at the edge |
| Root cause | Rough rod-end welds with burrs on the original belt |
| Replacement | Same pitch, rod and link; welds finished smooth; electropolished |
| Also supplied | Nylon sprockets, run on the new belt before shipment |
Waffle spiral cooling — sprockets replaced with the belt →
| Step | Detail |
|---|---|
| Seen on the system | Worn sprocket teeth |
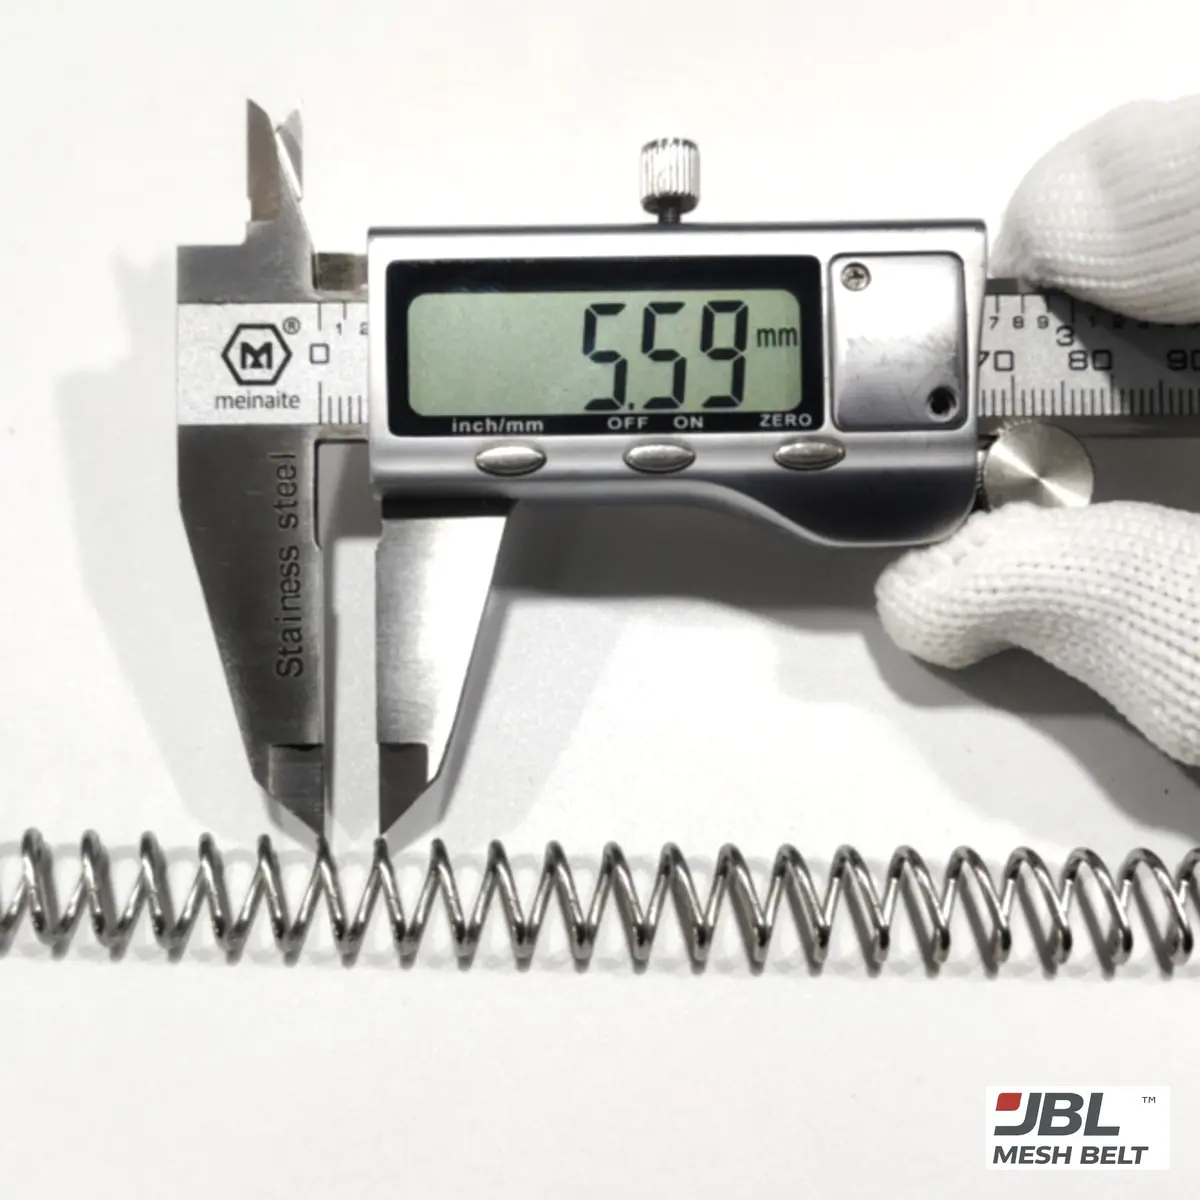
| Measured | Sprocket width 40.36 mm, hub 90.42 mm, tooth 10.77 mm |
| Replacement | New belt and new sprockets |
| Checked | Sprocket run on the bulk belt before packing |
FAQ
Q1Why does my new spiral belt fail like the old one?
Usually because the cause is still in the machine: worn sprockets, grooved drum bars, scored wear strips, tension or alignment.
Q2Which parts should I inspect before replacing a spiral belt?
The drum or cage, drive and idler sprockets, wear strips, support rails, the take-up or tension system, and bearings, shafts and alignment.
Q3Should I replace wear strips with the belt?
If they are scored or grooved, yes; otherwise the new belt runs in the old grooves.
Q4Can you adjust tension or alignment for us?
No. That is the freezer maker's or your maintenance team's work, but I can tell you when the belt evidence points there.
Q5What photos do you need for a root cause review?
Belt damage, drive area, sprockets, drum, wear strips and the machine nameplate.
Conclusion
A new belt cannot make up for a worn system. Inspect the seven components, fix what is worn, then fit the belt.
Download the Spiral Freezer Belt Technical Specification (PDF)
Specification ranges and options in mm and inch. Enter your work email and the file downloads right away.
References

Your contact for this belt
Spring · Sales Director, JBL Mesh Belt · 16 years
“Your belt is worn, the OEM price is high, and there is no drawing. That is where I start.”
Send me a worn section, a few photos with a caliper in the picture, or a drawing. I tell you what fits, what is missing, and show you a sample measured against your own belt before you pay for the full length. Buyers in the UK, the USA, Australia, Brazil, South Korea, Spain and Malaysia have replaced belts this way.
- ✓Readings on your original next to readings on our sample
- ✓Nothing in bulk until you approve the sample
- ✓Turning, stacking or sprocket tests before your belt ships
- ✓A reply from me, usually within 8 hours